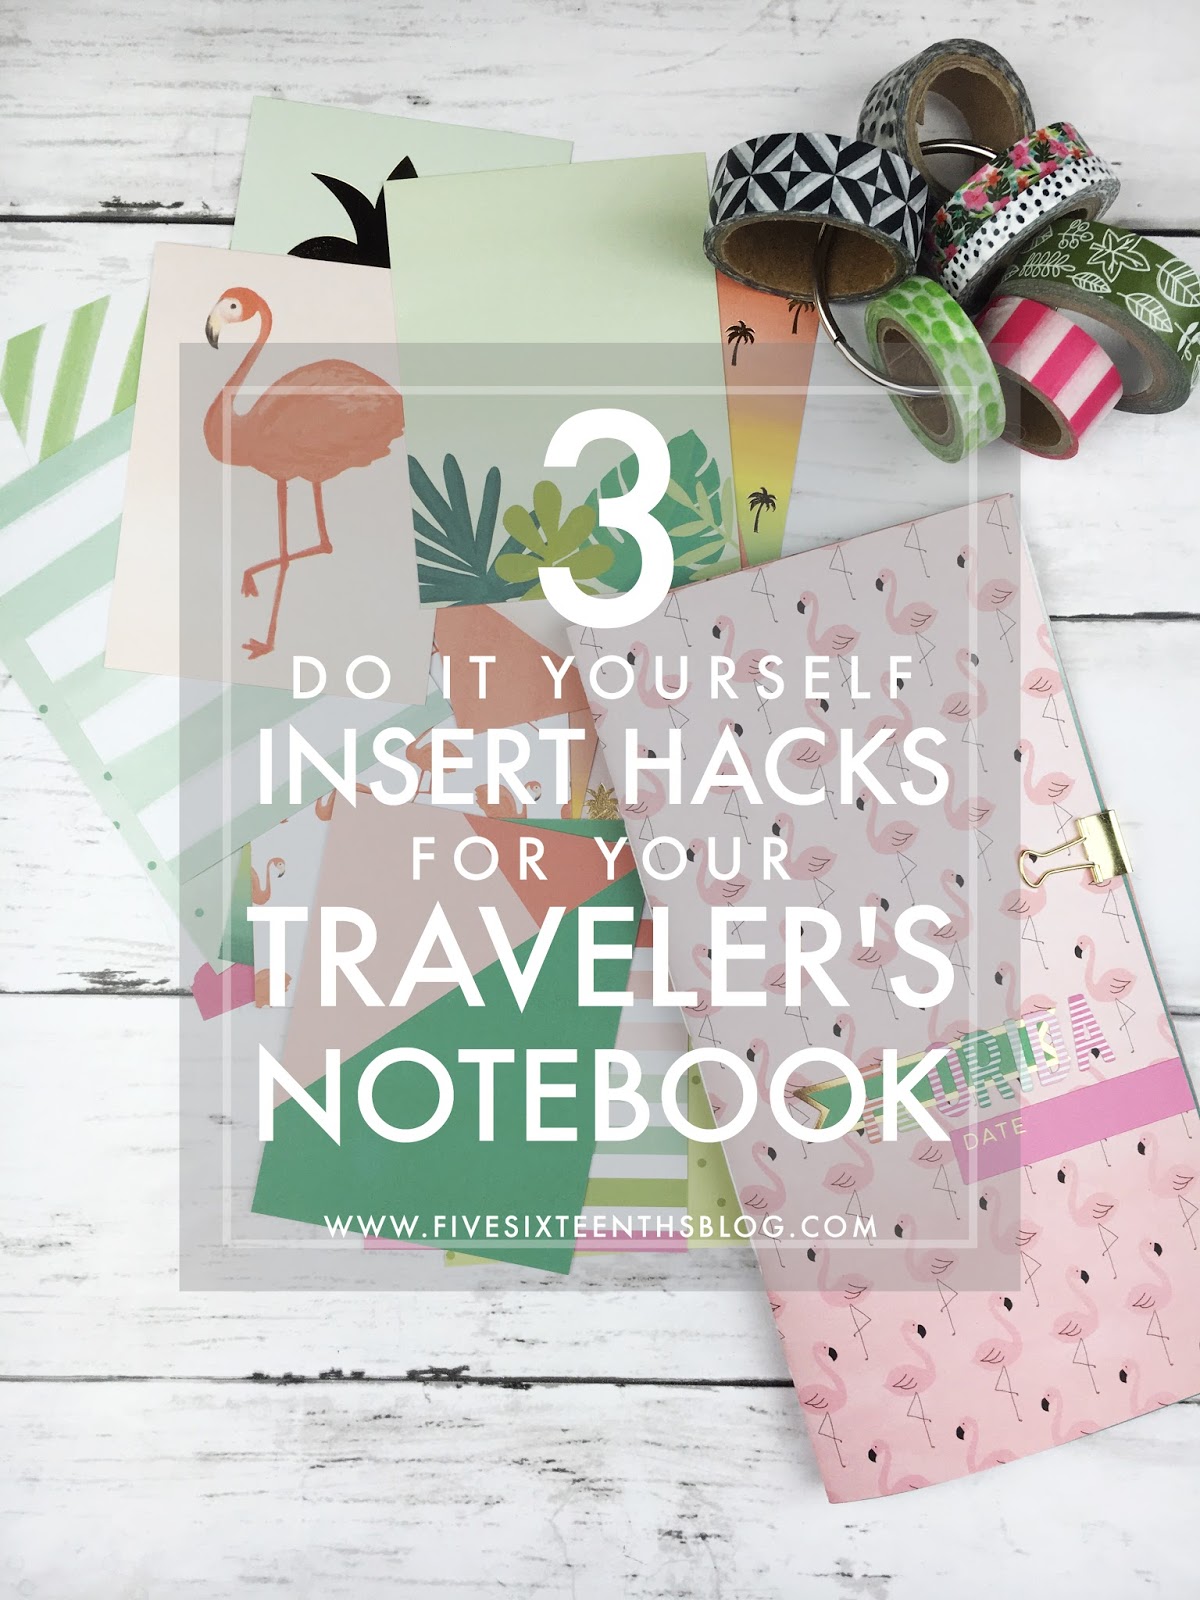
Something I am getting back into this month is journaling. I've put together quite a few travelers notebooks recently for quite a few different things - a tarot, essential oil, & gratitude journal, a listing journal, and a memory keeping journal. I've got two trips I really, really need to memory keep this year, since I kinda gave up on my memory planner. I just could not get back into that guy at the beginning of this year.
this post contains affiliate links, please read my full disclosure here.
The two trips I need to memory keep are when we went to Japan in January & when we went to Florida in April. When we went to Japan, I tried my hardest to do a physical journal while we were there. I brought my zip printer, ink, paper, journalling cards.......and then it just became too much! So I thought I'd just make another little memory keeping journal at home.
supplies // scrapbook paper, personal size planner photo sleeves or tim holtz photo sleeves, stapler or needle & thread to bind, paper trimmer, journal cards, 6x6 paper pad, washi tape
(I used this collection by My Mind's Eye of journaling cards, ephemera, & 6x6 paper)
(I used this collection by My Mind's Eye of journaling cards, ephemera, & 6x6 paper)
I have a ton of pictures from each trip that I want to use. I hoard pictures on my camera roll - every picture might be a picture I want to use! That makes it super hard to choose pictures to save when I upload them to my Google Drive and super hard to choose pictures when I want to print them. Enter the planner photo sleeves from Webster's Pages! I actually purchased the wrong ones from Biltsy a while ago but they were perfect for this tutorial. You can also use the Tim Holtz photo sleeves, those would work great too. And hey, if you have a fuse tool you can make your own photo sleeves!
Gather up the papers you plan to use and trim them down. A standard travelers notebook is about 8 & 1/2 inches wide x 8 & 3/8 inches tall. Double sided scrapbook paper works great for this, but single sided is find too. Here are the 3 ways to add interest to you inserts:
Photo Sleeves
Trim a little bit off of the side where the hole punches are & use a strip of washi tape to tape two photo sleeves together on the sides where the hole punches are. Be sure you have the photo pockets facing the correct way!
6x6 Paper Pad + 4x6 Journal Cards
Simply folding over the 6x6 or 4x6 cards in half you get added interest. Putting a 4x6 card over a 6x6 piece of paper over another insert adds layers. If you've got a lot of photos or ephemera or other what-nots, this is a great way to get a chunky notebook!
3x4 Journal Cards
Another trick with washi to to tape two 3x4 cards together. These fit nicely in between the pages to give more space to decorate & journal. If anything they are just really pretty!
I've shared before how to bind your own traveler's notebook inserts back when I was using a fauxdori at the beginning of 2015, so I'm going to use the same way to bind this one. Using a needle & thread you can follow this written tutorial here or this video tutorial. This is the way I bind all of my traveler's notebook inserts. Here's a look at how the book looks all put together.
Now you're ready to get to memory keeping! I plan on working on these guys over the next month or so to get my creative juices going. I will probably put together another tool box like this one so I have all of the ephemera I need in one place. Can't wait to use these two guys and make more for any other memory keeping needs!
How do you memory keep? How do you use your travelers notebooks?
xoxo, Moe
