The holiday season always gives me the warm and fuzzies. It is a time for family, a time for coming together, and a time for forgetting our troubles. It is a time to be kind, to help others, to see the good in others. Something we shouldn't forget when January 1st rolls around. Today I want to share with you some apps that I love for memory keeping all year round, not just for the warm and fuzzy times.
(this post contains affiliate links, please read my full disclosure here.)
Ever since I started my
memory planner I've loved the instant access to memory keeping that my phone provides. You no longer have to worry about the 24 exposures on your camera roll, you can fill up your phone with as many memories as you'd like. But the key is to participate in the memories too. Don't just stand behind the camera get out there and make the memories too!
Collecting Photos and Memories
There are a few apps to help you collect the memories you're making if you're going to transfer them to paper later. If you're into scrapbooking, memory planning, or journaling, the apps
Collect and
Penzu will really help you keep track of your daily happenings to reflect on at a later time.
Collect will help you create a daily snapshot of your life by adding photos by date into albums then allowing you to tag those photos and add a little note. This is perfect for memory planning and scrapbooking.
Penzu is a journaling app that allows you to keep a secure diary on your phone. If you like to spend more time reflecting on your day to day life, you can keep detailed notes of thought and happenings to reflect on later. This app allows you to add photos from your camera roll into your logs and is more of a
traditional diary format. Best of all? Both of these apps are free! They do require and upgrade for some features but the free versions of the apps are still very, very useful.
Collecting all these memories may clog up your phone. I love having
Google Drive,
Dropbox, and my
SanDisk iXpand app on my phone. With your Gmail address, you get 15GB free storage through
Google Drive. The app is great for organizing photos and sharing with friends. Create albums to access on your desktop or to share with those you choose.
Dropbox works about the same way. If you're traveling where you may not have access to wifi to back up your photos to Google Drive or Dropbox, the
SanDisk IXpand Flash Drive is a great back up device. I use this when I travel with Zach (mentioned in this post
here).
Editing Photos and Adding Text
Sometimes the photos you take need a little bit of editing. Use the tips in
this post to take the best pictures possible and check out my past photo app recommendations
here. My current favorite photo editing app is
A Color Story. This app is great for giving your photos that
unedited look. Add subtle effects to enhance your photos without going over board. Plus the free filters are perfect for creating a natural look. No need to purchase any of the other packs for everyday editing. I find the filters Light Bright and Everyday are the best for adding the right about of brightness and the right amount of sharpness and contrast to the photos. Two other apps I love for subtle edits are
Afterlight (review
here) and
Snapseed.
If you like to get creative with your photos, there are quite a few apps to add text and overlays - here is a list of
8 overlay apps for iPhone users. My favorite app for adding basic text is
Phonto. Choose from a crazy array of fonts and it is so simple to add text, change color, etc. Even save some of your most use text/phrases as presets so you don't have to type it every time. Check out the review
here. You can also use this app to create
journaling cards!
A great app for overlays & text is
Rhonna Designs. While the app is free (check out the suite on iTunes
here) there are some stickers, overlays, and fonts that do require purchase. However you can create a lot with the free edition. This is my favorite app for making graphics and journaling cards. See
this tutorial on making a planner dashboard for some creative inspiration. Plus, if you follow the
Rhonna Instagram account she often posts links to free backgrounds for the app!
Another app for simple overlays and creativity is the
PicMonkey app. Finally,
PicMonkey has an app!! The best part of the app is if you're a
Royale member you can save your creations to Hub - PicMonkey's cloud based platform to use your photos and edits between multiple devices. Great if you want to edit something later.
Creating Collages
My favorite collage app that has been my ride or die for ages is
PicFrame.
PicFrame is not free but it's been the best investment since the dawn of my iPhone usage! It is so simple and so easy to use. There is a very in depth review
here.
Another fun collage app is the
A Beautiful Mess app. This allows you to create fun and unique collages perfect for larger pocket pages. Add stickers, emojis, and text through this app too. See more about that app
here.
Printing your Memories
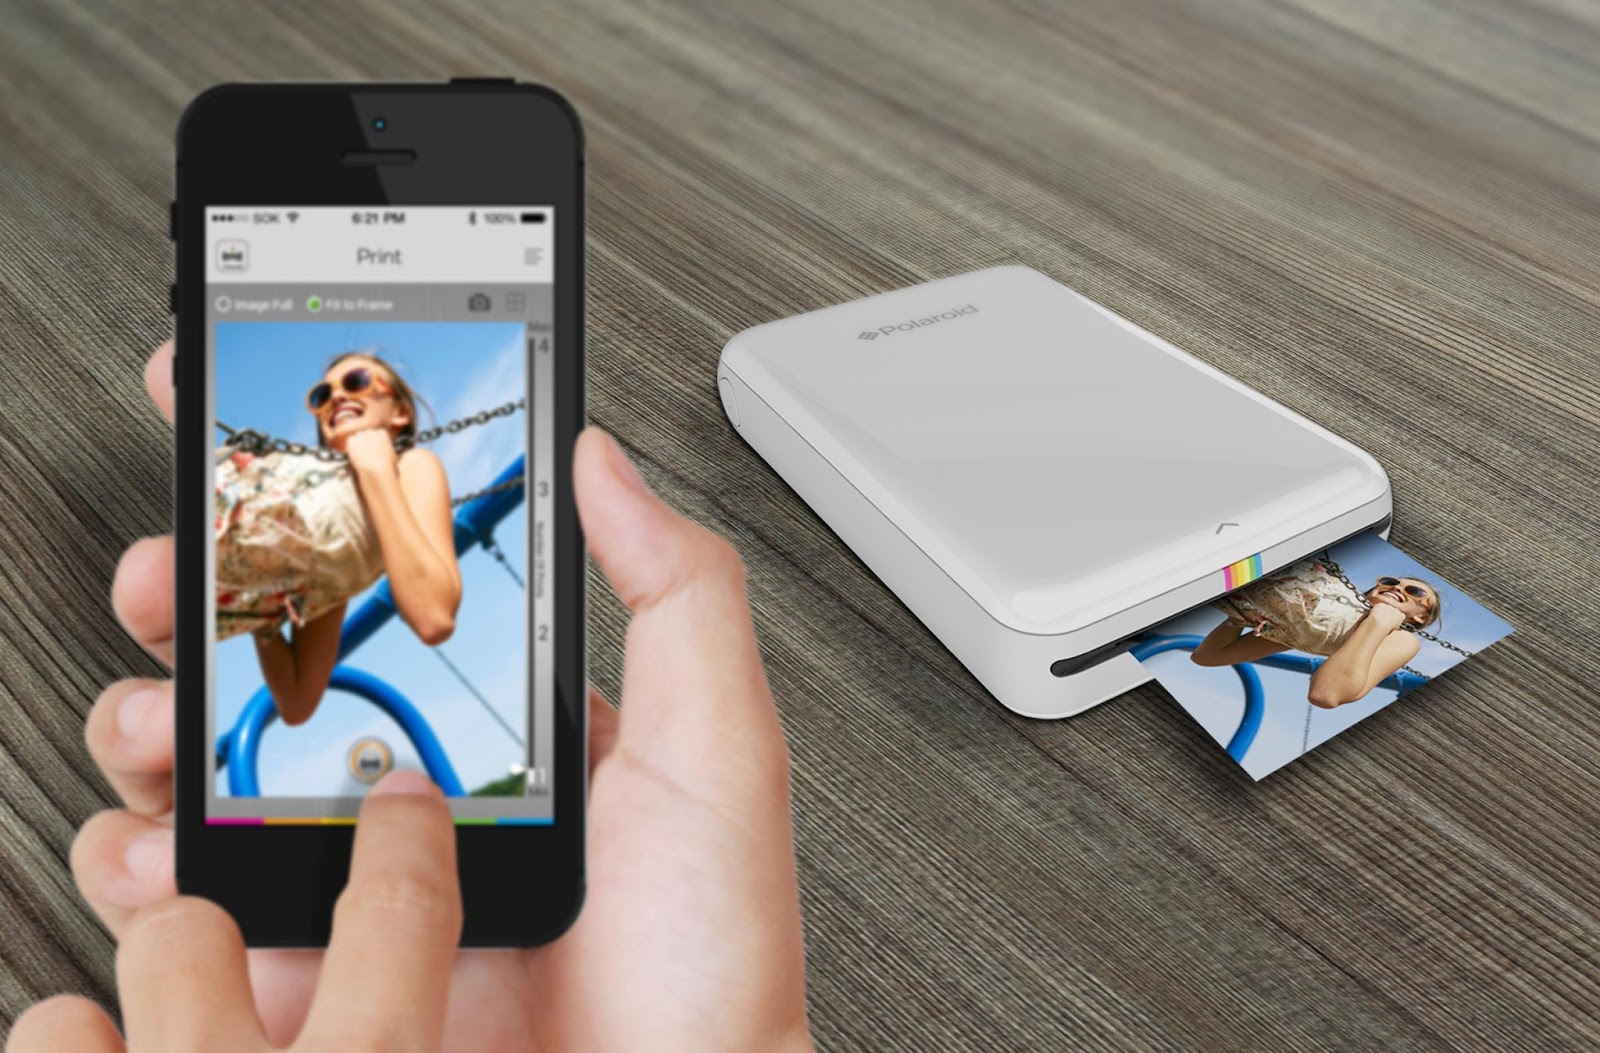
Finally, in order to preserve your memories you probably want to print them. Two specific mobile printers are the
Cannon Selphy and the
Polaroid Zip printer. I use the
Polaroid Zip printer to print 2x3 inch photos. This is great for on the go memory keeping - if your traveling or if you're journaling as you go. The
Cannon Selphy prints photos on 4x6 inch paper and is much bigger than the Zip printer. Each have apps that can help you create collages and edit photos for printing.
Before I had my Zip printer, I used the app
Print to Size to print to my wireless printer. I love this app because I can choose the exact size I want the photo to print. Change the size to fit in a pocket page or even print the journaling cards you've made using the apps above. Print to Size creates an 8.5x11 inch page that you send to your wireless printer. You can also save the page as a PDF to your phone to print later. Email it to yourself and print it at a place like Staples or Office Max.
Phew! That was a crazy comprehensive list of memory keeping apps! Everyday my smart phone blows my mind with the stuff it can do. Did you ever think you'd be carrying around such a powerful machine in your pocket?
I hope you have a fun time memory keeping around this time of year. But remember to keep that warm and fuzzy feeling going all year round, too!
xoxo, Moe
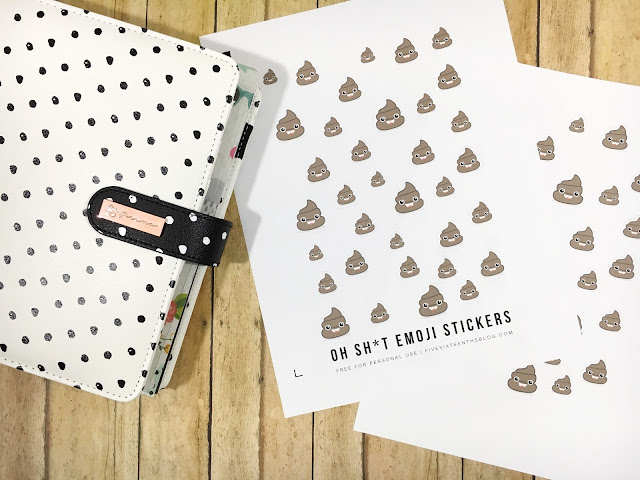
 This download includes a PNG file to cut with your Cricut Explore (size to 5.5 inches wide in Design Space), a Silhouette Studio file to cut with your Silhouette, and a PDF file to cut by hand (or I hear good things about this tool). As always please do not share this file with anyone. Do not claim this design as your own, do not print and disseminate in mass quantities, and do not sell the digital or printed item. If you would like to link to these stickers please Pin or link to the blog post and not the file itself. Thanks for playing nice!
 I hope you enjoy these little poop guys...I also hope that you don't have too many poop days where you will need them!