As a new stay at home mom, there are several things I didn't know I'd need to keep track of in my planner! With a little guy at home my routine has been shaken up, to say the least. And then every dang month the routine changes. Of course this is how it goes, right? But when you're thrust into this for the first time, plus add in mom brain on top of that, keeping track of things can get daunting.
this post contains affiliate links, please read my full disclosure here.
I'm a planner girl and a planner person by nature. With Marcus home for the first 3 months I was searching for anything that would give me a sense of structure. It wasn't until he was about 4 months old that we got any semblance of a routine. Then we were throwing starting food in the mix, gotta brush the teeth, now we're eating solids 3x a day, AND at one point he had a prescription to take. That's a lot of stuff for one mamma to handle. I've got like 77 habit trackers in my planner right now!
Before we dive into the 5 routines stay at home mom's should track in their planners I want to share with you two things: first, check out this video on how I made a
daily routine page for Marcus at 6 months & second, check out
this post on tracking spirituality in your planner because some of the tools can be the same. But lets jump into the list.
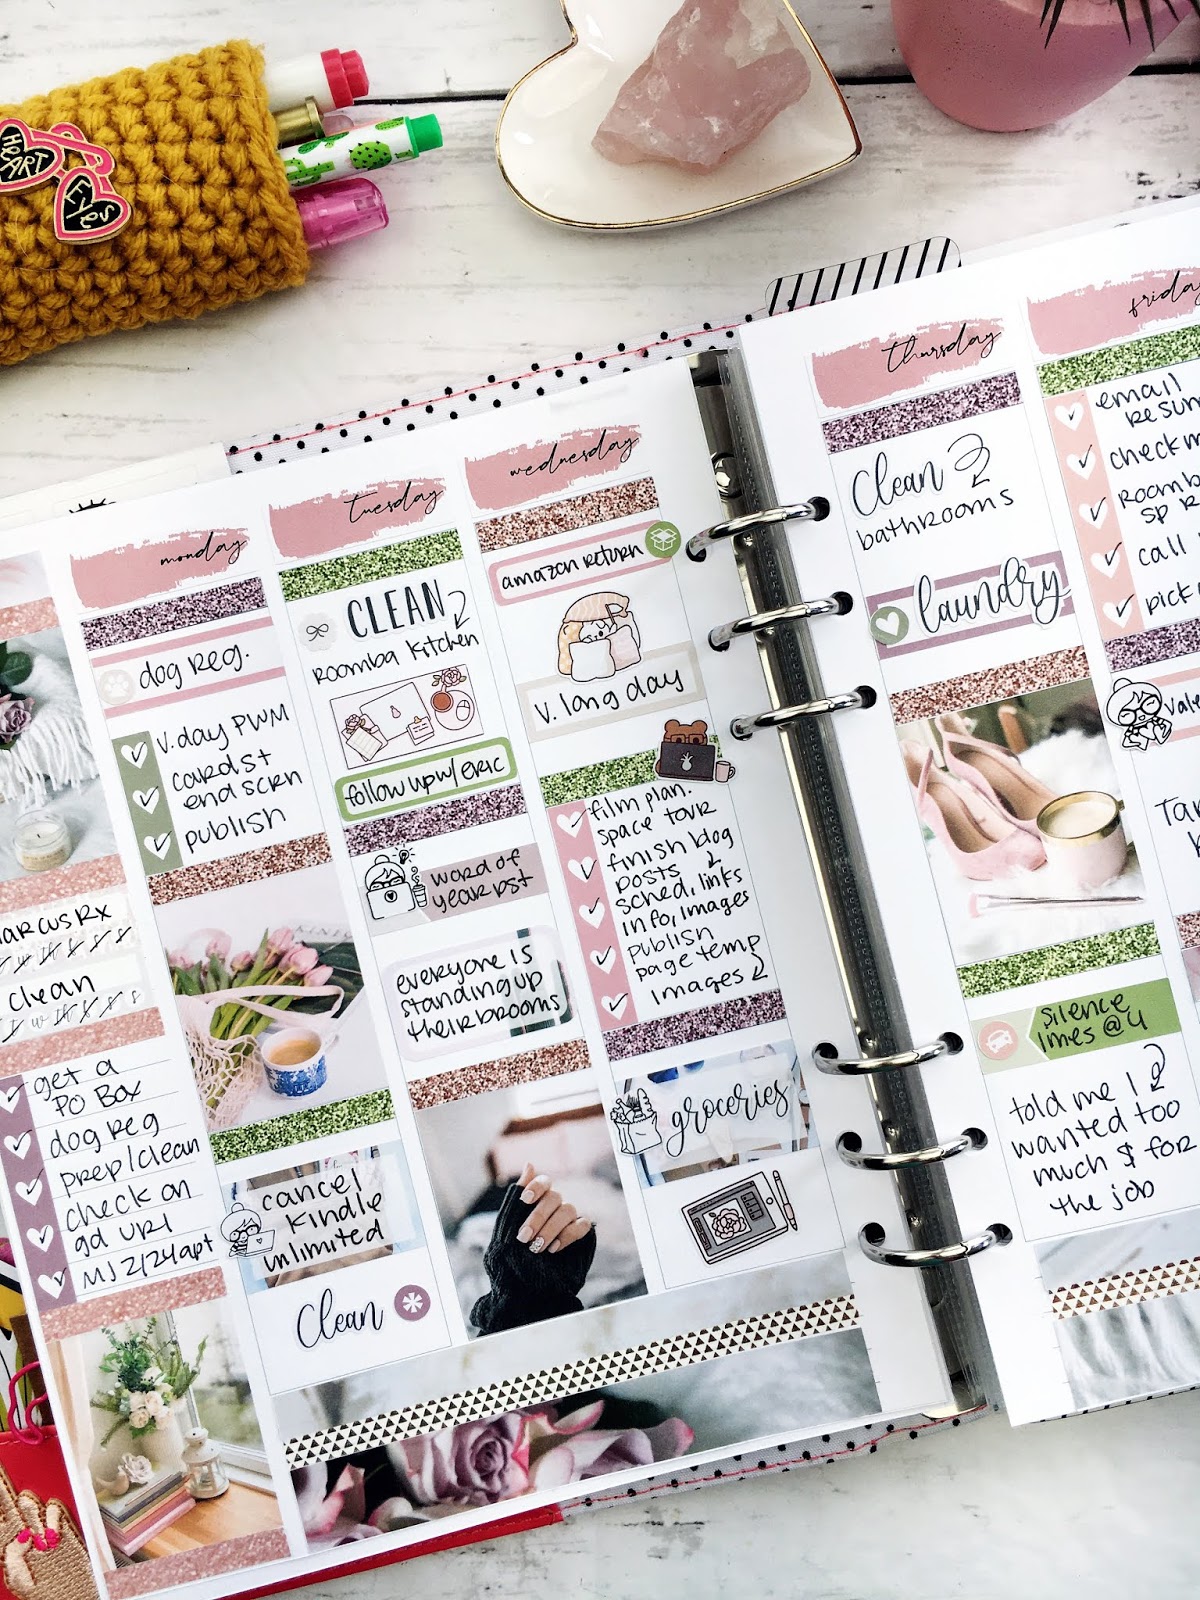
Cleaning Routine
If you've been following the blog for a while you'll know that
one of my biggest goals EVER is to have a sustainable cleaning routine. I've got post after post on cleaning here on the blog but my two favorites are this one on
creating a cleaning routine and this one on the
3 Waves Cleaning Method. Just like with the old house, when we moved I broke our new house up into zones or sections and clean one zone a day.
I created a routine page for my planner and then each day I clean that zone for 30 minutes.
Morning/Evening Routine
Getting ready and unready for the day can really set the tone for yourself.
Waking up with intention and going to bed with intention can mean you get the most out of each part of the day. I have a few chores I like to get done before the baby wakes and after the baby goes to bed. It is also important to
prioritize your time and couple time when you're a mom (or a dad). Baby's shake up a lot of stuff and getting
down a simple morning and evening routine that can revitalize you is important!
Feeding Schedules
I am obsessed with structure. This is hard to manage when naps and appointments and big poop blow outs can throw things off. But you can create a general daily schedule for yourself and the baby to track in you planner using hour stickers, daily pages, or an hourly planner. I have a loose idea that Marcus will wake up at 7 am and eat, then eat cereal at about 8:30 am, then go down for a nap around 10 am. I started with an app on my phone when Marcus was born to kind of gauge his schedule, but again it didn't get really cemented until about 4 months. So don't stress about this in the beginning! I don't want you to get stressed out when the baby's needs are all over the charts but I can understand the need for some semblance of a schedule.
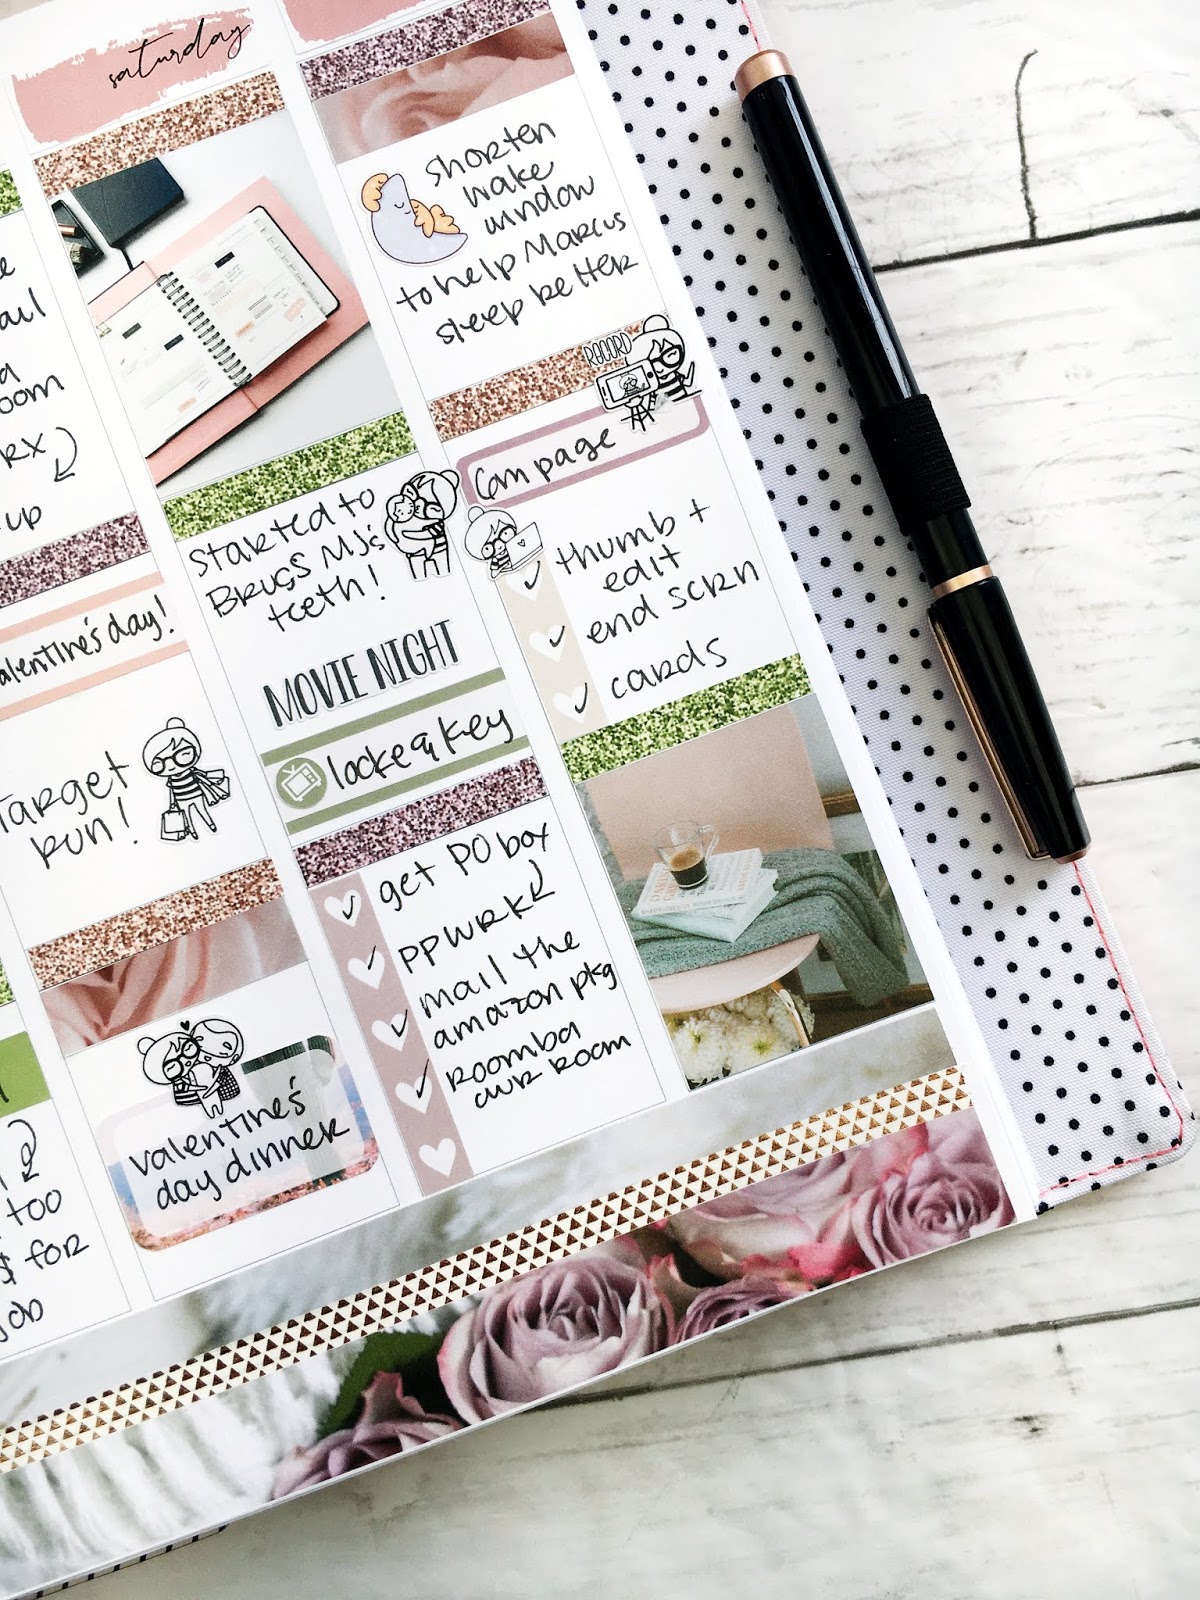
Bath Time/Teeth Brushing
We bathe Marky boy everyday as a part of his night time routine. (Night time routines are important for babies, why the heck wouldn't they be important for us!?!) But not everyone does
. The Happy Planner has a Pregnancy sticker book with bath time stickers. Use these to mark the days you give the little beeb a bath. Things can get busy so maybe you can't bathe them one night. If you start to track it then you'll know if you've gone a little two far between baths. Marcus has just broken two teeth so we've been starting to brush his teeth and gums. I can't tell you how many times I've forgotten to do this though! So I have a habit tracker dedicated to it in my planner now!
Meal Planning
Of course we all know at the end of a long day - whether you're a stay at home mom or work outside of the home - the last thing you want to do is make dinner. I stink at this right now but meal planning is a great thing to track in your planner.
Use something like a weekly sticker to write out what you're going to make and track the use of leftovers. I've not been doing this like at all! Even at the beginning of the day I don't want to think about dinner! And now that Marcus is eating food I've got to think about feeding him too?!?! I share in
this post 3 ways I prep food easily for him.
Being a new stay at home mom has created a new routine for me and I need to keep track of it! Whether you use different stickers for different routines or a planner layout (like the
Teacher planner layout), tracking what needs to be done when can give you an idea that you've got your day under control! I really have loved creating these
little daily schedule pages for my planner. Marcus is constantly growing so it's been wonderful to see how his schedule has changed as he's grown.
What mom life routines do you track in your planner?
xoxo, Moe
listen to this blog post below: