A lot of my DIY inspiration has been digital recently. A few weeks ago was a DIY desktop background to keep your organized using PicMonkey, then a few weeks before that was using overlays in PicMonkey. Well now I'm onto using some apps on my iPad to get creative digitally. I don't know if it was the recent release of the new Project Life app (side note: would you like to see an app review on that one?) or what but I've been feeling making some digital project life cards. Of course, with any card you design you can totally print it out as well but sometimes it's fun to change it up a bit. If I'm already creating a page on my iPad might as well use the same tool to make some cards!

For this DIY you'll need to spend a few bucks - the Stackables App is $0.99 in the iTunes App Store and TextMask is also $0.99 in the App Store (there is a TextMask lite, though I haven't played with it yet but you can check it out here, it's free!). If you're not down for dropping two bucks for this DIY, I totally get it. You can use the grunge option in an app like Snapseed, though you'll have little control over layers, opacity, and the like. You can also use an app like Pxture for text masks that is also free. If you already have Rhonna Designs on your phone ($1.99 in the app store) there is also text mask option there, too. I chose the Stackables App and TextMask because they are apps I'd already invested in and have a lot of design options. So if you're interested in dabbling in design these apps have a lot to offer when it comes to control. Anyway, onto the tutorial.
First, from your iPad and an internet browser (Chrome, Safari, etc) go to the website ColourLovers.com. I love this website for finding patterns, colors, and palettes when I'm starting a project. (I've used Colour Lovers a lot on the blog, mainly in the Boost Your Blog section!) Start by using the search bar to find a color you love. Of course, I'm partial to purple which is what I used to create this card. But for this one I want a deep pumpkin color. (btw: I didn't crop out all the tabs I had open! Can you tell we're shopping for a new dryer, trying to learn about casting, and are on Reddit a lot?)

Once you settle on a color, from the right hand side of the screen download the largest size possible of the color, usually it will be 1600 x 12000. You want the biggest size so when you crop out the water mark on the bottom you'll still have enough resolution to print in wether you want to print the physical card or the final page created in the Project Life App.

Once you've saved the image of the color you've chosen, open your camera roll and crop out the bottom watermark from the Edit option. Use the original ratio and only crop enough to get rid of the watermark. Don't crop too small or you will reduce the resolution. Save the edits

Open the Stackables app. Open your color image in the app. You'll be asked to crop the image. Skip this step by tapping the green check mark in the upper right hand corner. You'll see on the left hand side is a column, this is your layers column. On the right hand side you see a column with the textures. To unlock some textures you'll need to follow Stackables on Instagram, others you'll need to buy. But with what is provided in the app, you get a lot.

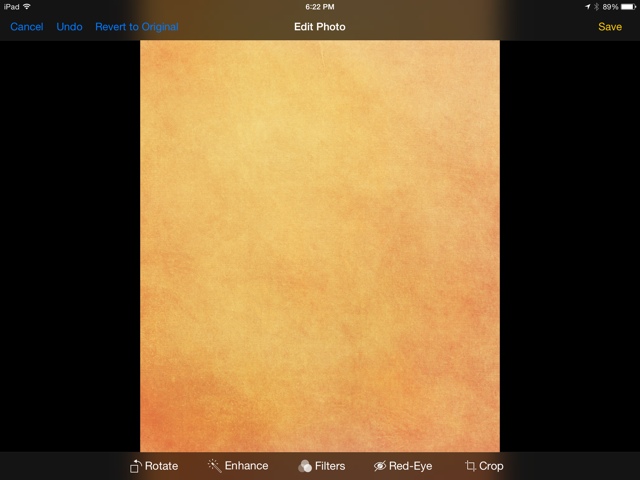
On your first layer, play with the textures on the right side. Once you find one you like and want to keep, add a new layer by tapping on the + button in the lower left hand column. Add another texture, and adjust the opacity with the slider on the bottom. Once you're satisfied, add another layer. Play around like this until you get a nice texture style going on that you like. Make sure to add a new layer each time you want to try something new. The whole point of this is to build up a bunch of fun layers. I find that I can get a sort of watercolor effect by layering and playing around.

You can then use the menu at the top of the screen to scroll through textures, filters, color gradients, patterns, basic edits like brightness and exposure (this app is intended for photo editing but I like using it this way much better!), and your formulas.

If you like what you've come up with - your texture layers, etc - you can tap the green box in the corner and select Save Edits as Formula. This way you can apply the same edits to the next image you work on. If you're fully satisfied save your image to the camera roll.

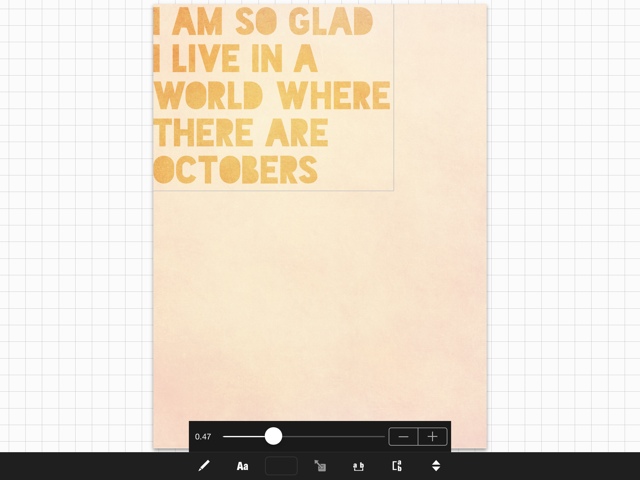
Open your image in the Camera Roll again. Crop again by selecting aspect ratio. If you want to make a 3x4 card, select that 4x3 option and rotate vertical - but your image should already fit those constraints. If you want a 4x6 card, select that option and this will crop your image to fit the correct size. Again, don't crop out too much as you still want to maintain the highest resolution. You're not working from the most professional software here. Make sure to save you're edits.

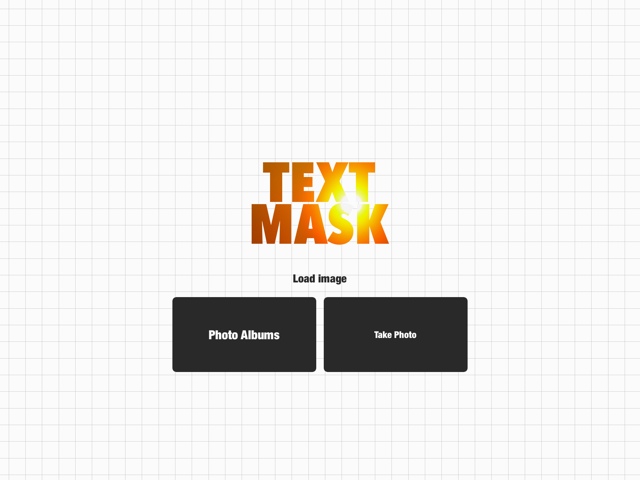
Now, open the image in Text Mask. This app will give you the amazing mask effect and let the texture you just created show through.
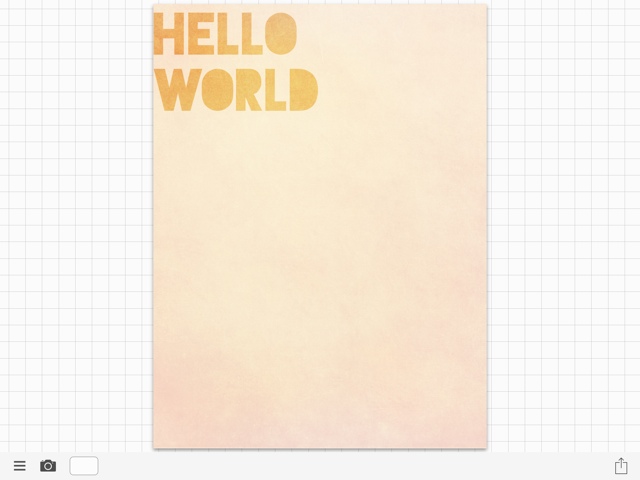
Add your text by selecting the little pencil icon at the bottom of the screen. I pasted my text then formatted it the way I liked it.
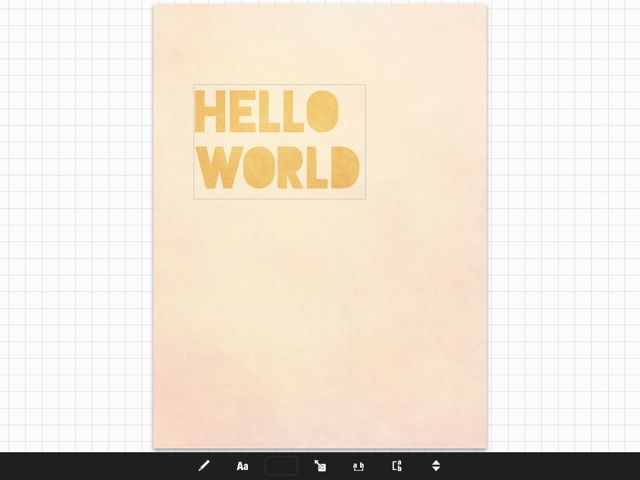
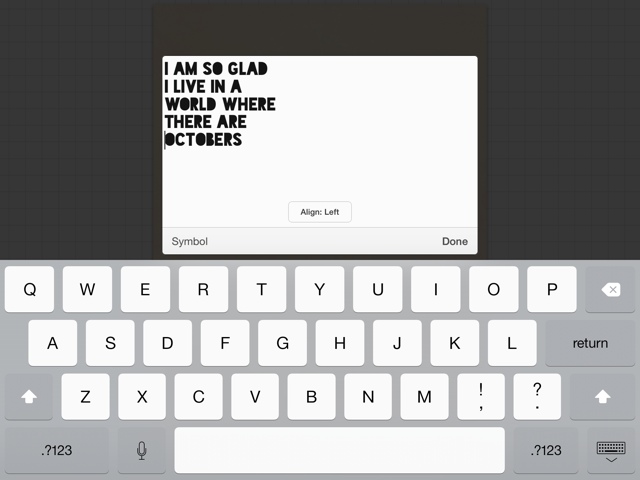
You can change the size by tapping the square with a little, double ended arrow.
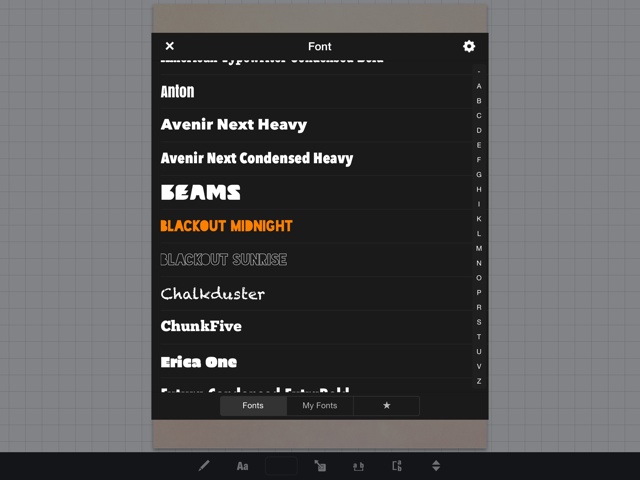
And change the font by selecting the Aa icon. If you connect your device to your computer you are able to transfer fonts to use in this app. (Here are the instructions.)
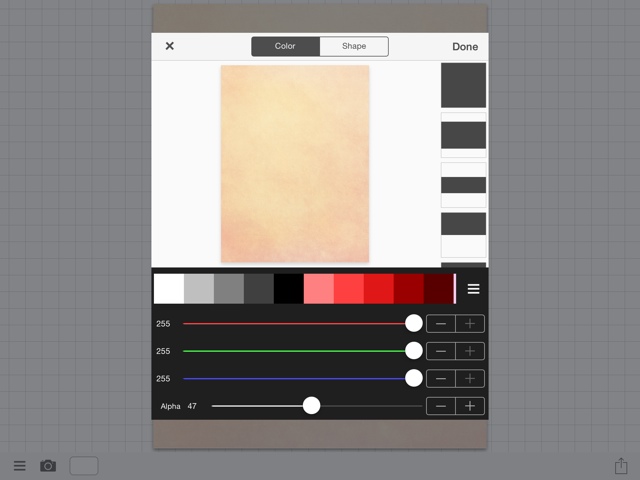
You can adjust the opacity of the mask by tapping the grid space outside of your image, then clicking the white rectangle near the camera icon. The bottom slider called Alpha works the opacity scale. You can also change the color of the mask from this screen.
If you poke around in this app you will find a ton more design features, fyi, so sit down and play around! Now save your image to the camera roll. Keep the app open and play around, saving as you go so you can have all the images you find interesting.
There you go! Now you have a fun journal card that has a watercolor type feel. These two apps give you a lot of design power for $0.99 each. For a $2 investment you can create personalized cards for your digital - or print - Project Life or pocket scrapbooking projects!
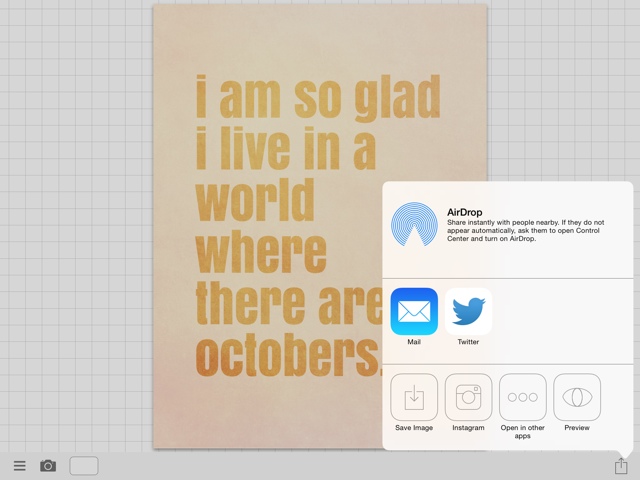
If you want to print the cards you've made you can email the images to yourself - or use fancy DropBox, Google Drive, etc to get it from your device to your computer - and use this tutorial to learn how to print 3x4 cards easily with Picasa.
If you'd like to download the card made using the tutorial, click here for the image. Just right click and save image. You can get an 8x10 print, 3x4 journal cards, and iPhone 5/5s background of the pink card in this post.
How do you create digital products to scrapbook with?
xoxo, Moe
Moe, thanks for sharing, always wanted to create project life cards with my iPad but with your tutorial is very easy. I cant stop making them. Xoxo
ReplyDelete