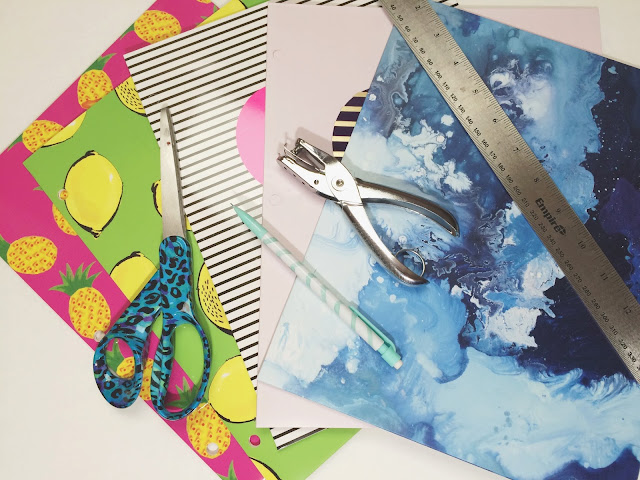
If you've been wanting about a zillion planner covers but can not justify spending about a zillion dollars on them, I've got a tip for you - check the school supply section of your favorite retailer! Yes, it is school supply season! I would suggest running out as soon as you can before all the good folders are gone. You know they will only have Justin Bieber folder left if you wait for September first!
(this post contains affiliate links, please see my full disclosure here)
I found some really cute pineapple and lemon folders (plus matching notebooks) at the Meijer down the street and had to scoop them up for $1. It's not breaking my no buy if it's something for the blog right? So I decided to make another planner cover (here is my first one and my second one) for my MAMBI Happy Planner that I use now for my blog/etsy/youtube planning. I use it in the same way I used my ECLP, however I love the customization of the Happy Planner. I still need to get an ARC punch for it but you can totally use a single hole punch to add things into your planner. Here's how to make your own:
Supplies :: pocket folders, single hole punch, scissors, pencil, paper slicer or ruler and craft knife
In order to make this a bit easier, start of by slicing your folders in half down the folded line. Next trace the existing cover onto the back side - the folder side - of your pocket folder. Make sure to push the cover all the way to the edge opposite the edge you just cut so you have a pocket on the inside of your cover. Repeat on both sides.
Using the paper cutter (or ruler and craft knife) cut down the folders from the lines you've traced. Place the existing cover on to the trimmed down folder and trace the top part of the 'mushroom' that is the ARC punch.
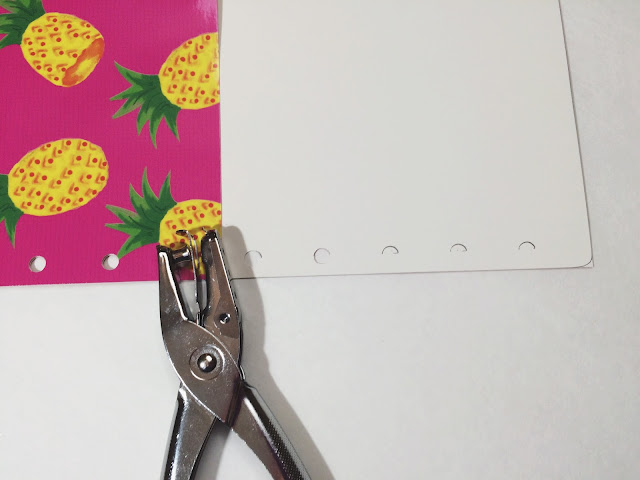
The single hole punch is the correct size to fit that little arc there. Line up the hole punch with the arc, and punch away.
Next use the scissors to trim slits on the edge of each of the holes. Make sure to trim a little bit from the middle so that there is a gap. This will help the cover turn in with the arced pages. Insert your cover like normal and enjoy your new pocket storage!
Using a single hole punch is a great way to get around not having a specific ARC punch and if you want to add other inserts it is super easy - add journaling cards, add printed inserts, etc. And if you already have ARC discs, then they will work with your Happy Planner and your punched inserts. I switched out the gold discs for some purple discs sent to me by Criss of Stop n Jot Crafts.
ps the stickers in the pocket there are from my etsy shop! Check it out here.
Do you have the Happy Planner? How are you liking it so far?
xoxo, Moe


Thank you for a great idea! I used it and it works perfectly. :)
ReplyDeleteI always see these fabulous folders out there [particularly for back to school] but I don't really have any need for them . . . until now! Thanks for the instruction!
ReplyDelete