Did you know that the new Erin Condren Life Planners launch tomorrow??? Did you know?? (Did you also know that if you click here and sign up with a new email you can get $10 off your first purchase??) In honor of my freaking excitement I thought I'd share with you a super cool way to protect your ECLP if you travel with it a lot or if you're just going to do some rigorous activity for a short while with it. I don't know what you do with your planner...I won't judge.
This post contains affiliate links, please read my full disclosure here.
I'm a two planner girl now and I love the look of both my Filofax and my ECLP. To give a little more protection to my ECLP in my purse I used an accordion folder from the Target Dollar Spot to create a fold over cover! I couldn't find any of the cute colored $1 folders so I ran back to the office supply section and picked up a $6 accordion folder too. So this DIY isn't too expensive to give you a lot of protection.
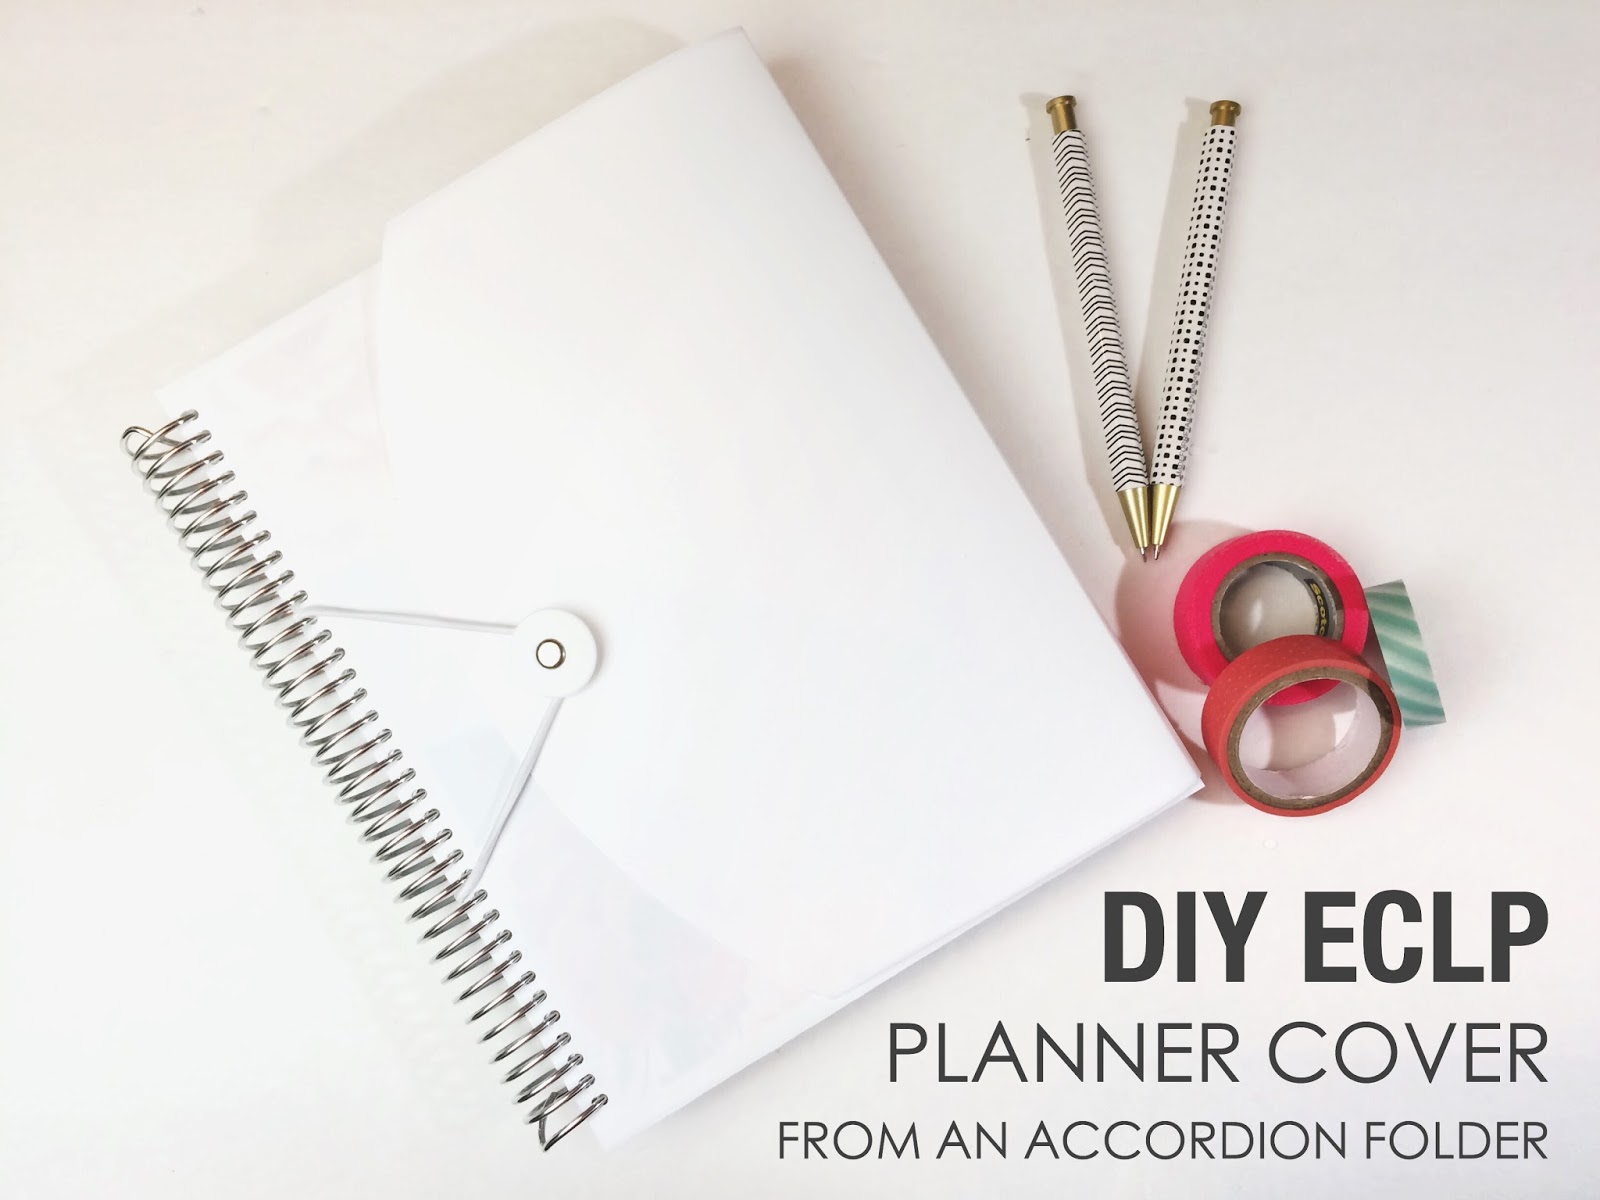
Supplies : scissors, ruler, marker, acetone to remove marker from folder (nail polish remover with acetone will work), large accordion folder with elastic, paper cutter (optional), craft knife & cutting mat (optional). 1/8 hole punch, ECLP or equivalent planner, small binder clips.

First, cut out the insides of your accordion folder. You want to orient yourself with your folder too - the opening flap should be towards the right side, or the open side of your planner, like the image above. Keep this in mind as you're working on your cover so you don't get confused.

To make your front cover take one of the existing covers from your ECLP (I chose the front cover because it was easier to use the information section to line up the center between the two holes for the elastic) and trace out your front cover using your marker. You want to align the cover in the middle of the folder at the bottom edge of where the plastic dividers used to be. This is the front cover so you want none of the accordion folds on this cover. Avoid going towards the middle fold of the accordion. Cut this out using your scissors, craft knife and cutting mat, or paper trimmer. Any way you feel comfortable getting a straight line.

To make your back cover (the cover that will have the accordion fold-over) align your existing ECLP cover to trace on the other edge of the middle of the accordion folder. Keep the edge of your ECLP cover off of the middle part of the accordion folder with the two holes. Trace just the left and right edges.


Using your ruler and marker use these two lines to make two longer lines stretching across the length of the left over folder. This way we won't cut too much off when we try to create the part of the cover to fold over. Using your paper cutter, scissors, or craft knife and cutting matt, trim off the excess to the left and the right.

Using your full planner, decide the thickness that the cover needs to fold over. Since every ECLP is about the same I would say fold the first score from the rounded edge (the edge with the button) and then count down three score lines and fold there. That should accommodate the thickness of your ECLP. Next, using your existing ECLP cover, place it at the edge of the third score line and trace the bottom edge where the coil would be. Trim off the excess.

Using the hole punch, align your existing cover to each new cover you've made and punch. Make a slit in each hole to allow the cover to slip in and out. The binder clips help keep the existing cover aligned so that all your holes will match up.

Using the extra piece you cut off when making the back cover (the piece with the middle of the accordion folder with the two holes for the elastics) line up the left and right edges then make a mark at each hole about an inch or less up from the holes you punched for the coils. Do this on the back cover so that the elastic comes from the back, around the coil, to attach to the button on the front. If it's too high up and your hole punch won't reach - just align and mark again a bit closer to the coil punches. Use the hole punch to create the two holes. Before threading the elastic back through these holes, use the acetone to remove the marker from the plastic.

And there you go!! A nice, easy, and cheap protective cover for your ECLP! I haven't decided if I'm going to purchase the new ECLP since I already have my old one...and it was such a good deal. But if you do want to purchase one click here for $10 off your purchase when you sign up with a new email!!
Are you excited for the launch? Do you have the old style ECLP or are you looking to switch?
xoxo, Moe
No comments:
Post a Comment
Hi there, thanks so much for taking the time to comment. I love &value each & every one! If you have a question, I will respond as soon as I can. Don't be afraid to shoot me an email! If you have a blog, I will pop on by :)