So I am all stuck in bed with an Icy Hot Patch on my back drinking Iced Tea (see this post) working on blog templates, updating the shop, & watching Bio.
I really was excited to get to making something yesterday & this morning for Make It Monday.....but since I hurt my back yesterday, I haven't been able to move!
In the studio yesterday, I started to wedge clay with a little twinge in my back. I dismissed it because I've always had a little bit of back pain. I plopped my clay down on the bat & began to center it. All was well until I sat up. OUCH!! I was nearly blinded by pain. Whoops! So I laid on the floor for 2 hours while Katie made a few things. It hurts less than yesterday but I still can't move around.
Any way, I decided to finish up the photos for this awesome DIY today & post it: A DIY faux enamel ring.
Enameling has its roots in ancient history in decorating everything from stoneware, metal objects, & jewelry. The basic enameling process includes adding glass powder to a metal surface & heating the piece until the glass melts. This process adheres the glass to the metal creating a decorative piece.
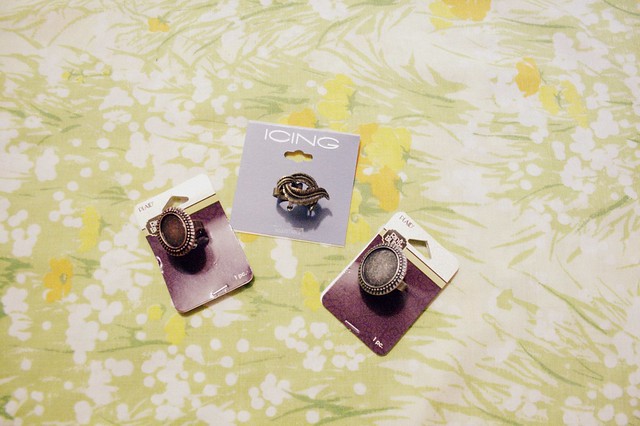
I've been really inspired by Art Nouveaux enamel ware & decided to try to imitate the look of enamel with nail polish. Nail polish?!?! Well, it is also called nail enamel. What could it hurt. When I saw a great brushed gold ring on sale for about $3 at Icing, I scooped it up and saved it for this DIY!
While at the craft store I also saw these ring blanks with deep wells perfect to hold the nail polish since it would have to fill up a space too get the right effect.
You'll need:
ring blanks with deep wells or a textured ring or other jewelry
nail polish (I used some dollar store polishes! But Icing No Chip polish -if you want to spare it- would be a great alternative)
a level place to store the rings as they dry (my nail polish bottles were the right size to slip the rings onto)
The easiest rings first:
Uncap the polish & set the brush where it won't drip on something nice! pour a little of you polish into the center of the ring & rotate. Be sure not to over fill! The rotation will help distribute the polish evenly & you can always add more if need be.

Line them up to let them dry & make sure to keep them level. Let dry for a long time! You'll need at least 24 hours to let them dry. You might be able to speed it up with a fan. The longer you wait the better. You don't want to accidentally create a texture on the ring by pressing something into it!

You could add another level of interest by using a glitter polish or even try the nail polish you made from the earlier DIY. Since the polish came from the dollar tree, it won't be wasting a precious color!

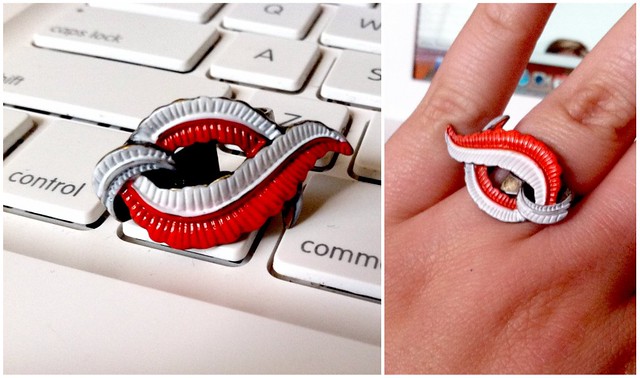
I found the LA Colors Art Deco polishes at the Dollar Store & found out they have a really thin brush perfect for nail art & precision perfect for painting the textured feather ring. The texture on this ring came to life with the color on it & really emulates the Art Nouveau look I was going for.
Also, Happy President's Day! :)
What crazy things have you done with nail polish???

girl, get outta here with this adorableness :)
ReplyDeletei hope your back is feeling better!!
lovin the new layout too! i need to email you soon. i have questions :)
the blog have nice collection of many types of rings.. have a look for beautiful silver designs rings Silver Rings
ReplyDeleteHey its a nice collection of Fashion Accessories you share. looking for more Fashion Accessories
ReplyDeletelook at Fashion Bracelets.
I am looking forward to best Fashion Rings Online store in USA? can anyone suggest me the best one?
ReplyDeleteI think you should consult to PALOMAR FASHION Wholesale Earrings dealer?
ReplyDelete