If there's one thing I love making, it is planner inserts. Not only do I love making functional ones (peep the ones in my shop here) but I also love making fun ones. I would say that this insert falls under the category of fun + functional though.

this post contains affiliate links, please read my full disclosure here.
Today I wanted to share with you how to make another fun planner insert using my favorite online design tool - PicMonkey! If you've read or seen any of my planner insert tutorials using PicMonkey, this will be familiar. But I wanted to share another take on this DIY and offer some more things to you free! If you're not down for making this yourself, don't worry - I've got some freebies at the end of the post!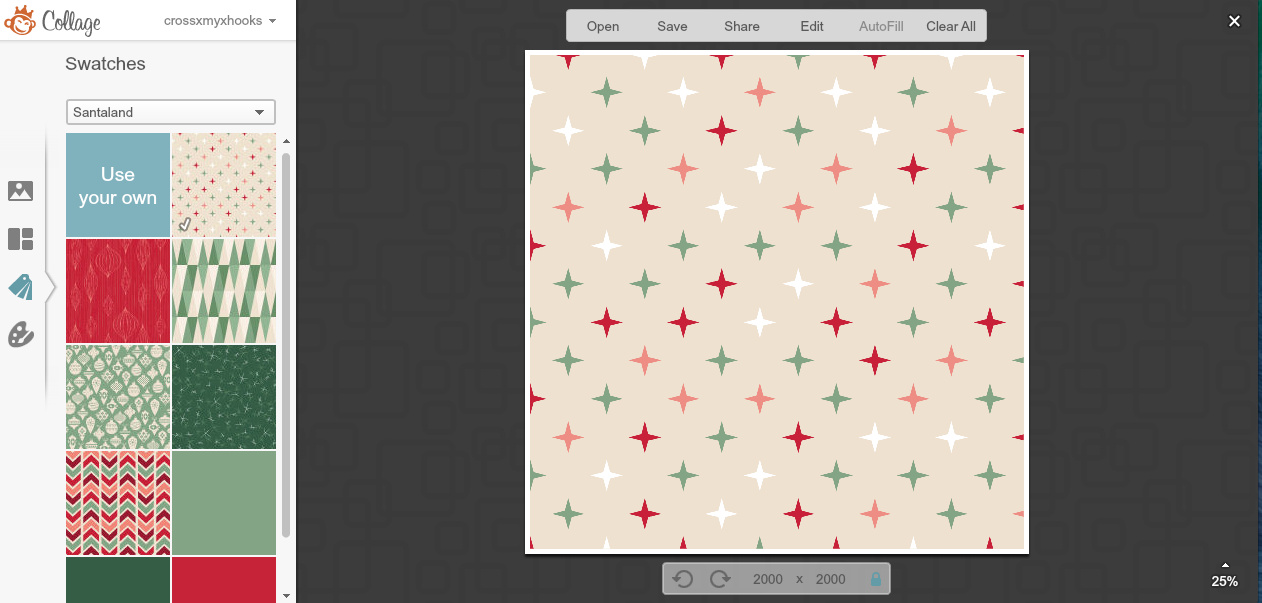
First, start off in the collage feature offered by PicMonkey. Hover over each box in the collage and click the 'x' until you have a collage of only one image. Navigate to the Swatches category & pick a background to be added to the collage.

Be sure to remove the white border by using the slider under the Background category. At the top of the screen, there is an Edit button. Click this to navigate to the editor. This step eliminates the step of saving to your computer and then re-uploading the image to PicMonkey. One less image file save on my computer is a blessing!

Once the editor screen is active, select the crop tool and move into crop the image. Select the iPhone 6 Plus preset to get the perfect height to width ratio for personal sized planner inserts. Be sure to uncheck scale photo as scaling it may cause quality loss. Be sure to apply the crop.

Next, from the Overlays category, select a rectangle. Change each color to white - the rectangle border and the fill color - then increase the transparency until the background is visible. To create a page with room for punching on the left hand side, eyeball the placing of the rectangle to the right of the image. To create a page with room for punching on the right hand side, eyeball the placing of the rectangle to the left of the image. Create both a left and right hand page and save both images.

Open the image with the space on the left hand side to create the countdown. Add a title using the text of your choice, I chose to use a new font added to the collection on PicMonkey called Coffee Break to title the page. One of the best parts of using PicMonkey is that you can use the fonts installed on your computer. However, if you don't have anything fun to use, you can always find great free and Royale fonts to fit your project. Personally, I love the Royale feature! You get access to many more fonts and overlays with a Royale subscription! For just $33/year or $4.99/month you can get an all access pass to amazing design tools! Sign up here.

Next, using the Themes category (the snowflake at the bottom) select Santa Land and overlay some of the Christmas ornaments in a pattern with in the rectangle. Obviously you'll need to lay at least 24 down. I reserved the 25th place for a big Christmas tree, also found in the Santa Land theme. Using the font Budmo Jiggler, I added the numbered countdown.

To create the reverse Santa's List Page, open the image with the room for the holes on the right side. Using the same font, Coffee Break, create the title. I used a sans serif font called Lato to lay down the lines. Add another Christmas tree overlay for a decorative touch.
Be sure to save your work to your computer.

Finally using the tail end of this tutorial, place the two images you've created into word (or another word processing document) to create the file to print from. Because this tutorial places the images on either side of the word document, when you print the page back to front, you'll end up with two Christmas countdowns with a notes page on the back. Not a bad thing to have.............but it may be more than you need!

If you follow this tutorial, you will design a page intended for a personal sized planner. However, if you're willing to play around in Word, you may be able to get this to fit near A5 size. Because you unchecked the scale photo box you have a lot of quality to work with. So increasing the size shouldn't be a problem.

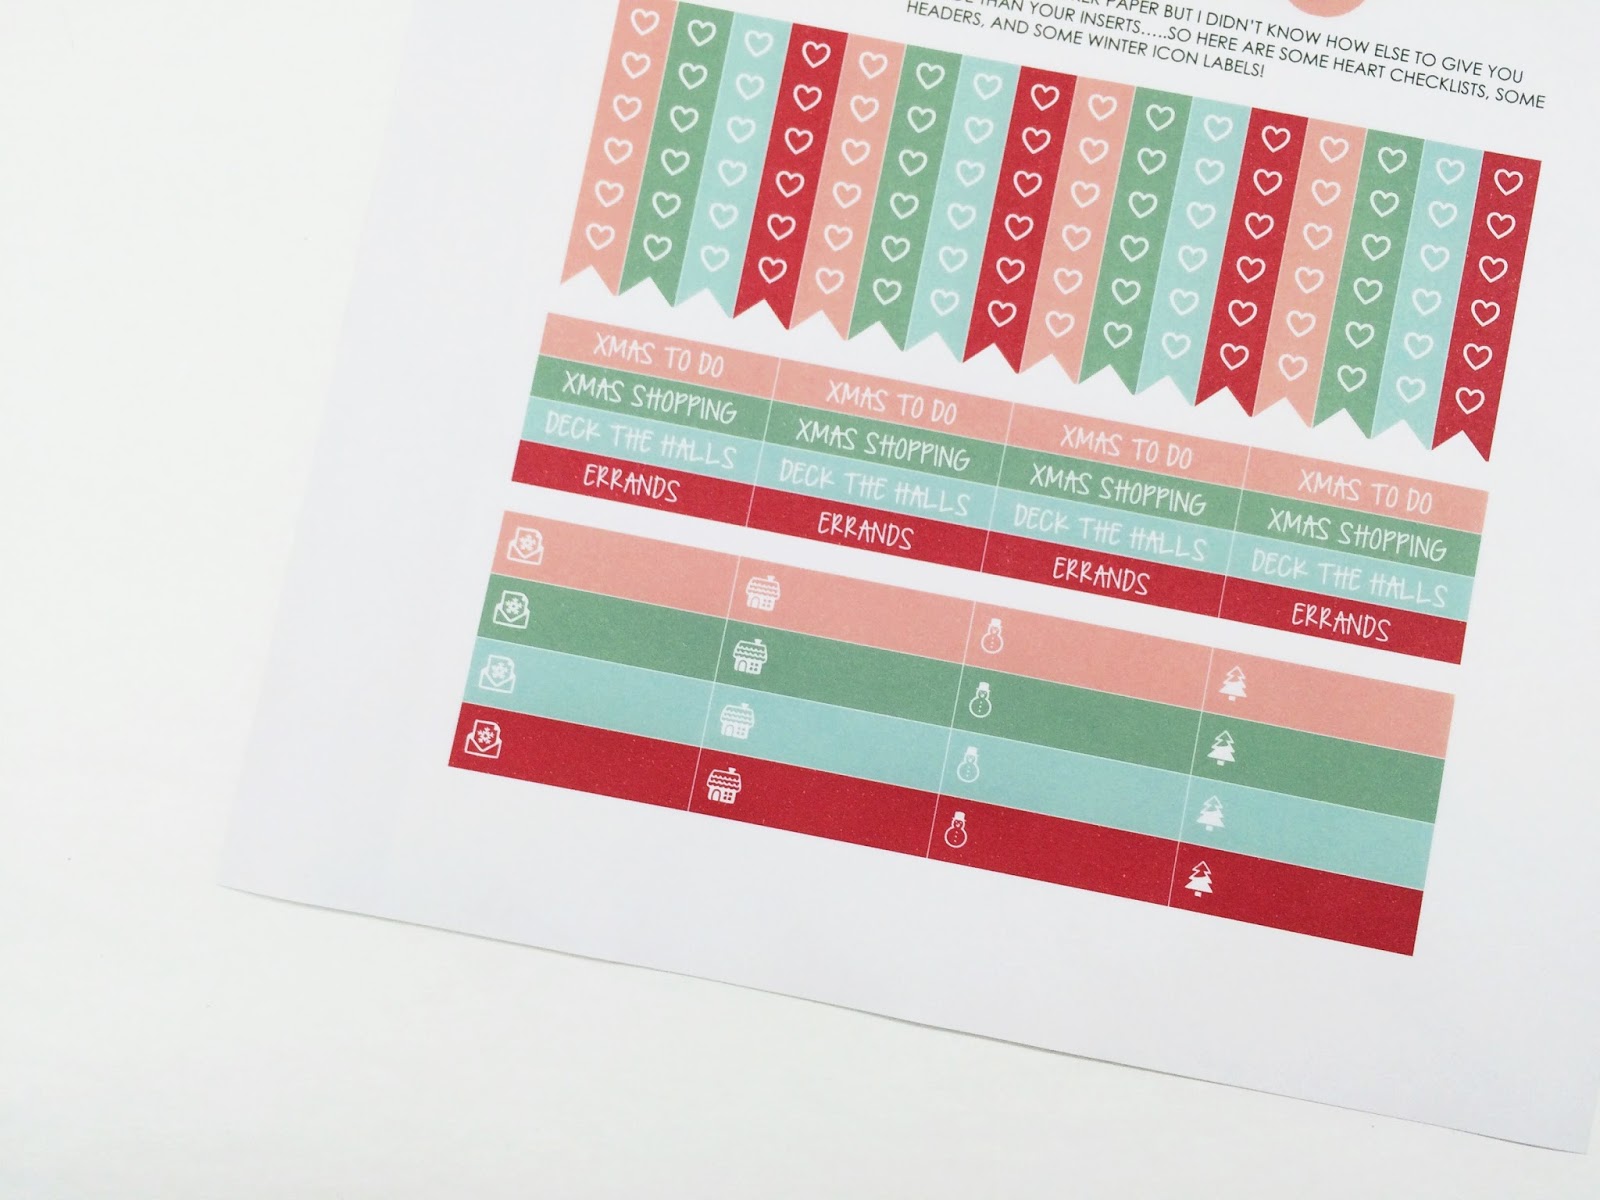
If you're not keene on making your own inserts, don't fret - I've got you covered. Click here for the free PDF download. I've also created a set of printable stickers that you can use to mark of the dates. Annnddd because I didn't want you to waste a whole sheet of sticker paper I've also added some headers and heart checklists, too. (Click here for the stickers!) These will fit perfectly in your ECLP (sign up here for 10% off your first order, must create a new account!) or in any vertical style planner you may have - I have some personal sized planner inserts in my shop!

Remember that all the printables on the blog are intended for personal use only. So don't copy, distribute, or disseminate these for profit. Please share this blog post instead of the file and I'll appreciate it!
I am so happy to start my countdown tomorrow! So be sure to print yours out tonight!
If you'd like to find more PicMonkey tutorials, click here. If you're looking for more planner printables, click here.
What are you looking forward to this holiday season? Anything fun to countdown to other than Christmas!?!?
xoxo, Moe
No comments:
Post a Comment
Hi there, thanks so much for taking the time to comment. I love &value each & every one! If you have a question, I will respond as soon as I can. Don't be afraid to shoot me an email! If you have a blog, I will pop on by :)