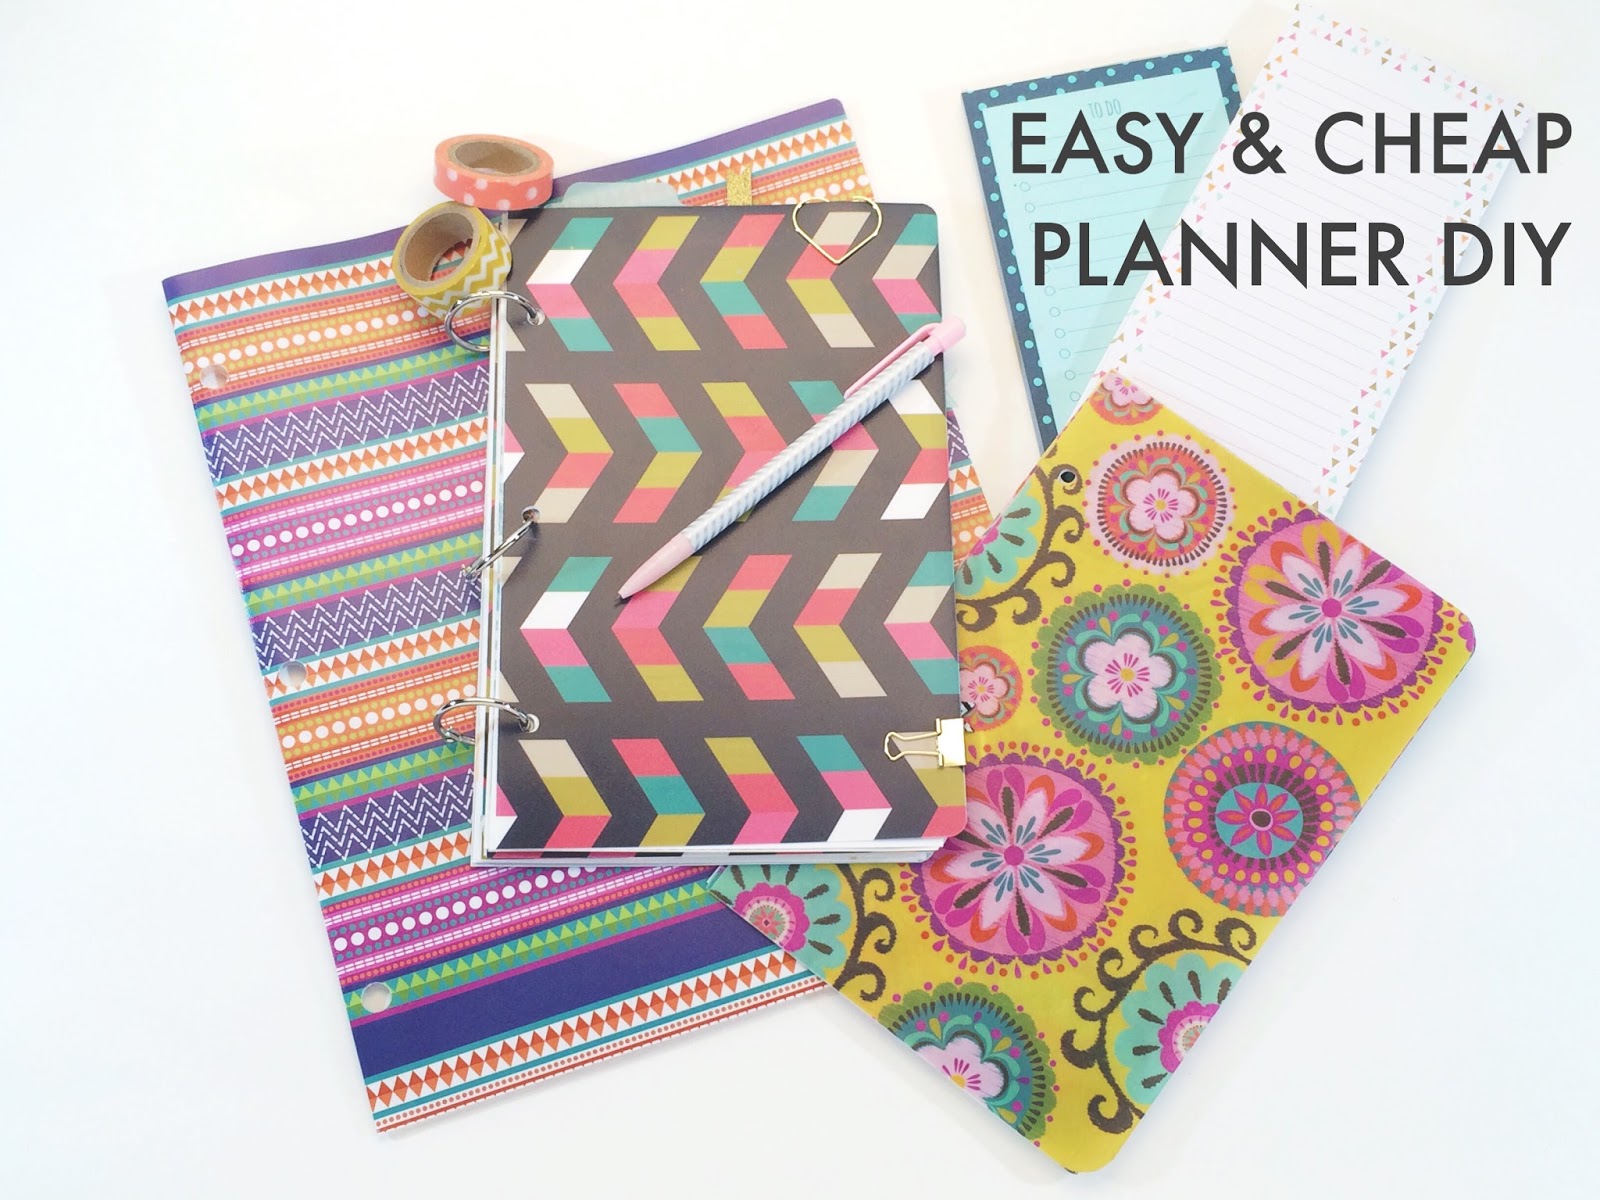
If you've ever thought to yourself 'man, those planner inserts are pretty....to bad I don't have a planner to put them in.' I've got something cheap and easy for you *snickers*
 Today, I've got another DIY planner idea. This planner is super cheap to make - I found all the supplies (minus the inserts) at the dollar store! Don't worry, I know some Dollar Store DIY's are not that great...but this one is going to be good, like real good. I made this planner 8.5 x 5.5 because that is the size of the planner freebies I offer on the blog but you can adjust the sizing to fit your needs. If you're a personal sized girl (or boy) go ahead and experiment with different sizes to find what fits you best.


Supplies :: poly folders or file folders, binder rings, ruler, scissors, hole punch, printable inserts (I have some linked below), craft knife & surface to cut, paper trimmer, corner rounder or round item like a dime. Optional - laminator and laminating sheets, scrap paper, planner band, keep it together band, or project band to keep your planner closed, instead of folders you could also use a cutting board from the dollar tree like in this DIY,
First, you'll need to decide the type of material you'll use for the cover and dividers. There are two options here for making the covers/dividers:
If you've found some stinking cute poly folders (those are the plastic feeling pocket folders, not the paper ones) then you're good to go. These will hold up much better than their counter part the file folder. While these are plastic coated heavy card stock, for the most part these can get dinged up. Feel free to laminate them at home (I use 5mil laminating sheets so my covers stay super durrable) or take them to a store like Office Max or Staples. If you're not too rough on your planner, you'll probably be fine but if it's coming in and out of a bag often, stick with the poly folders if you can't get file folders laminated.
 Next, decide on the size. Like I mentioned above, all the free planner printables on the blog are half letter size so I decided to make mine accommodate that sizing. If you're changing the sizes you'll want to be sure you're accommodating for any dividers you'll have in your planner. I made my covers 5.75 inches wide by 8.5 inches tall, each divider will have that same sizing too, we'll put the tabs in later.
 Using your craft knife cut away the folder part from the front cover. I found it was easier to slice my folder down the center fold, then use the craft knife to slice the pockets off by placing it under the fold and gently pulling up. Do this in slow strokes so you don't accidentally cut off any small slices of the front of the folder.
 Once you have two rectangles of your folder you'll want to start trimming them down to size. I cut the folders in half horizontally - making each cover/divider 5 and 3/4 inches wide. I would use a spare insert you've printed to determine the size. If you're folder is a different size than mine, trimming exactly at the half way mark maybe too small for the size inserts you're using. I decided on a front and back cover and two center dividers - this means one poly folder made my whole planner. To decide the height I added 1/8th of an inch to the 8.5 inch measurement. I sliced each of my four pieces down until I had four 5 & 3/4 inch wide x 8 5/8 inch tall pieces.
Once you have everything trimmed down, choose the pieces that will be the dividers - for this project I chose to create two dividers to will give me three section. A great tool to use to make dividers is an envelope punch board by We R Memory Keepers (I plan to do a DIY post or video on this, I just haven't gotten to it!) but if you don't have that you can use something like a dime to create your rounded tabs or a corner rounder.
If it is helpful, use a post it note to mark divider 1, divider 2, and divider 3 so you know where you're to place the marks that will create your tabs.
 Flip the two dividers over so the wrong sides are facing up - this is where labeling the dividers helps, so you can keep them straight when marking and cutting. During this process try not to pick up or move the orientation of the dividers as you may get confused! Measure exactly the center of each divider across one of the taller sides. Place the insert you are going to use in your planner flush with the opposite side of the measurement you just marked. Draw a line down the side of the insert, onto the divider, to mark where your pages will stop. This is helpful so you don't cut the tab on your divider too deep. Using x's, mark the top skinny rectangle on one divider and mark the bottom skinny rectangle on the other. The rectangles with the x's are the parts of the divider you will cut away to make your tabs.
 In the picture above, the tab on the top is the first tab and the tab on the bottom is the second tab. You can see that they are alternating. If you were to make 3 tabs, divide the longer side into threes and repeat. If you were to make 4 tabs, divide the longer side into fours and repeat. Same for any number of tabs you'd like - just make sure you have enough folders for that many tabs!
Now that you have your four pieces - front, divider one, divider two, and back - it's time to round the corners. I used a corner rounder with a tighter radius as I didn't want the inserts to peak through the rounded corners.
 If you don't have a corner rounder, you can use something small like a dime to create your corners. I used the dime on the inside of the tabs since the corner rounder won't reach. Simply use your scissors and trim into a rounded shape after tracing the dime onto the divider.

 Once the corners are all rounded it is time to hole punch your inserts and your covers and dividers. Using a spare insert or another trimmed page as a guide, measure down about .5 inches on each shorter side. Make a line connecting these two measurements. Measure the center along one of the longer sides and mark it so that the measurement falls onto the long line you made. Then, along the same long side, measure up about 1.5 inches from the top and bottom. Make sure these measurements fall on the line you drew as well. Using your single hole punch, punch holes on each of the dots - where the measurements meet on the line you drew against one edge of the paper. Use this guide by centering it on one of your covers/dividers and punching holes. Use the same piece of the poly folder to punch all the poly folder pieces. Use the paper guide to line up and punch all the planner inserts. This will make sure everything is even. (If you've adjusted the size to fit your needs, mimic these types of measurements to evenly space your holes.)
I created a vertical weekly spread just for this post (yay) and you can find it here. These are designed to print on already trimmed, half letter pages (so trim your printer paper in half to create 8.5 x 5.5 inch pages to run through your printer). If you're looking for all the planner printables - click here. There's even a post on creating lined pages for your planner! As always, these printables are for personal use only - meaning you can't sell them in any form (digital or otherwise), disseminate them as your own, or otherwise claim that you created them. I make these out of the kindness of my heart! Please play nice - and do share on Instagram, I'd love to see you use them!
 Using the binder rings, hook all your planner pages together! The best part about this planner is you get all the flexibility of a ring bound planner (like a Filofax) but your get the range of motion of a spiral bound planner (like the Erin Condren)! I love this DIY! You can even create little notebooks for yourself, too. If you get tired of the inserts and find new ones.....change them up! These half letter size inserts also fit perfectly in A5 sized planners. They aren't exactly A5, but they are super close. You can also create a zillion covers/dividers...yes, a zillion...quite literally, if you have the time.
If you want to find the DIY for the journalling card used in the last photo, click here for a simple tutorial!
ps. The vertical inserts in this DIY totally fit Erin Condren designed stickers.....so you don't have to feel left out!!
I hope this DIY was fun and helpful for you!
xoxo, Moe
First, you'll need to decide the type of material you'll use for the cover and dividers. There are two options here for making the covers/dividers:
If you've found some stinking cute poly folders (those are the plastic feeling pocket folders, not the paper ones) then you're good to go. These will hold up much better than their counter part the file folder. While these are plastic coated heavy card stock, for the most part these can get dinged up. Feel free to laminate them at home (I use 5mil laminating sheets so my covers stay super durrable) or take them to a store like Office Max or Staples. If you're not too rough on your planner, you'll probably be fine but if it's coming in and out of a bag often, stick with the poly folders if you can't get file folders laminated.


Once you have everything trimmed down, choose the pieces that will be the dividers - for this project I chose to create two dividers to will give me three section. A great tool to use to make dividers is an envelope punch board by We R Memory Keepers (I plan to do a DIY post or video on this, I just haven't gotten to it!) but if you don't have that you can use something like a dime to create your rounded tabs or a corner rounder.
If it is helpful, use a post it note to mark divider 1, divider 2, and divider 3 so you know where you're to place the marks that will create your tabs.


Now that you have your four pieces - front, divider one, divider two, and back - it's time to round the corners. I used a corner rounder with a tighter radius as I didn't want the inserts to peak through the rounded corners.


I created a vertical weekly spread just for this post (yay) and you can find it here. These are designed to print on already trimmed, half letter pages (so trim your printer paper in half to create 8.5 x 5.5 inch pages to run through your printer). If you're looking for all the planner printables - click here. There's even a post on creating lined pages for your planner! As always, these printables are for personal use only - meaning you can't sell them in any form (digital or otherwise), disseminate them as your own, or otherwise claim that you created them. I make these out of the kindness of my heart! Please play nice - and do share on Instagram, I'd love to see you use them!

If you want to find the DIY for the journalling card used in the last photo, click here for a simple tutorial!
ps. The vertical inserts in this DIY totally fit Erin Condren designed stickers.....so you don't have to feel left out!!
I hope this DIY was fun and helpful for you!
xoxo, Moe
No comments:
Post a Comment
Hi there, thanks so much for taking the time to comment. I love &value each & every one! If you have a question, I will respond as soon as I can. Don't be afraid to shoot me an email! If you have a blog, I will pop on by :)