I'm not really a monogram person but ever since I did the custom planner cover DIY, I've been thinking of other ways to customize things. How much more personal can you get other than a monogram? Seriously? So while the first thing that came to mind was a custom planner cover (when will I get away from the planner DIYs?) You can monogram anything with this tutorial..well, almost anything. So here is another digital DIY using my favorite online power house - PicMonkey. I promise one day I will get away from the digital tutorials, but I'm just all about them right now! This free service is awesome! Here's how I did it:
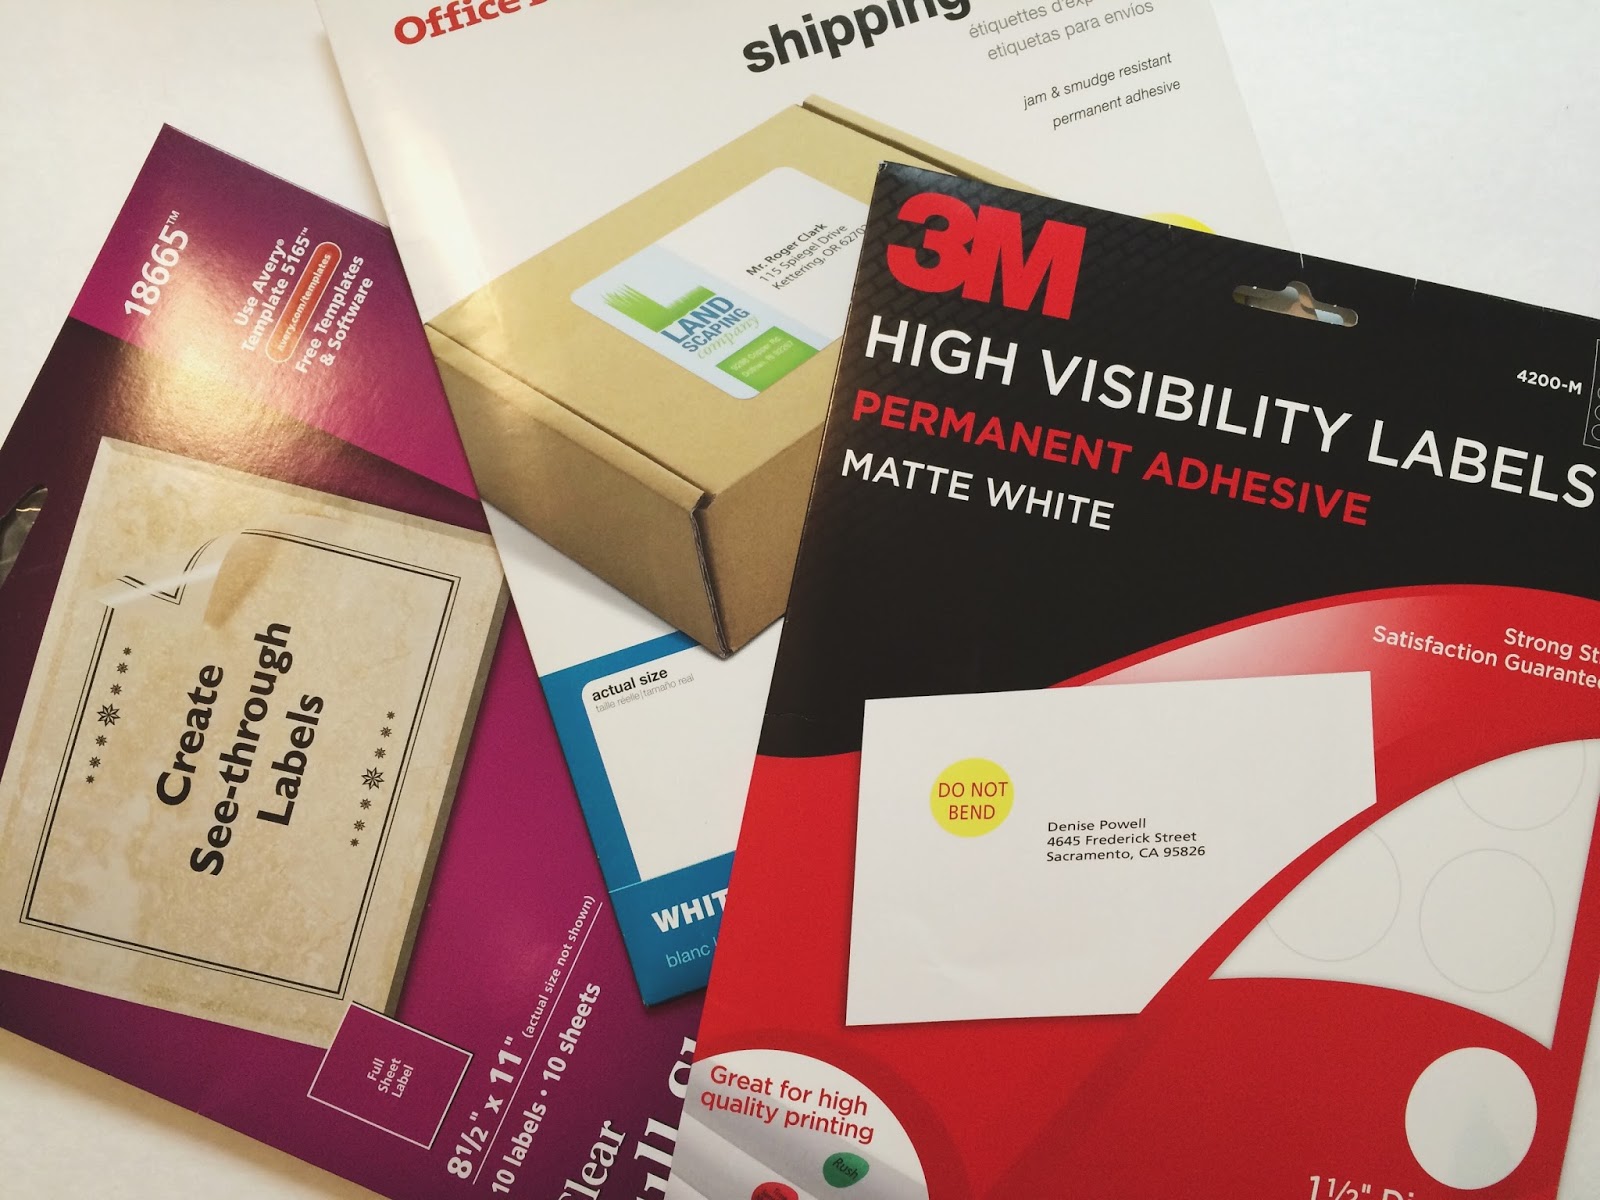
Supplies: circular 3M (or any brand) labels, full sheet adhesive labels, or full sheet, clear adhesive labels, word processor (I used word but Open Office or even Google docs will work well for this), PicMonkey.com online photo editor
First, research some monogram styles you like. I looked on Pinterest to find a style I liked and attempted to mimic it with PicMonkey. Now, PicMonkey is pretty powerful but it can be pretty limited. Sometimes you'll have to be super creative to recreate something fancy but I would say 8 times out of 10 there is a way you can do it. I chose a pretty simple style to mimic, so lets get started.
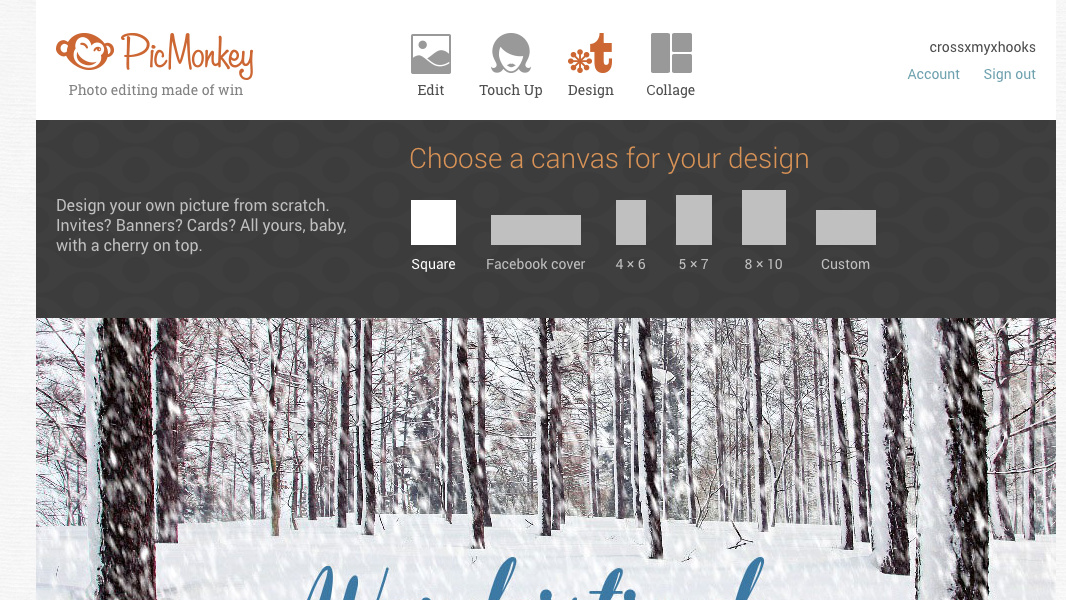
From the PicMonkey home page choose a square canvas. You don't have to make it an specific size because we'll resize it when we get to Word.
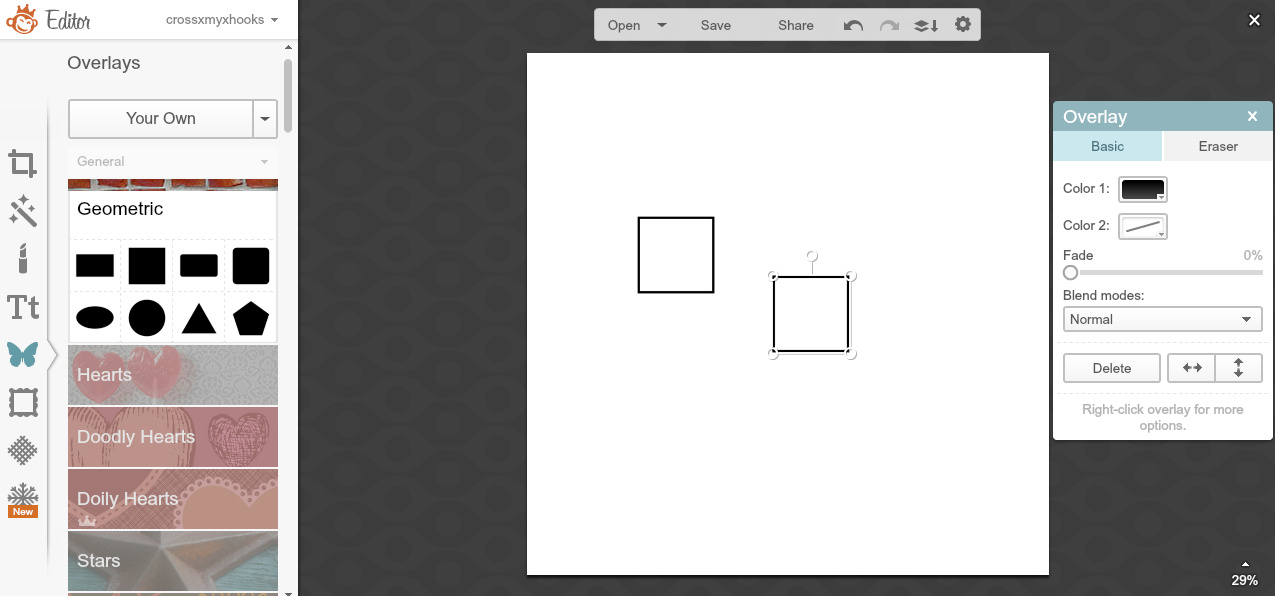
On that canvas, design to your hearts content! I started off by adding two squares then making the center transparent and the outside line black. You can change the color now if you like but I like to design in black & white first.
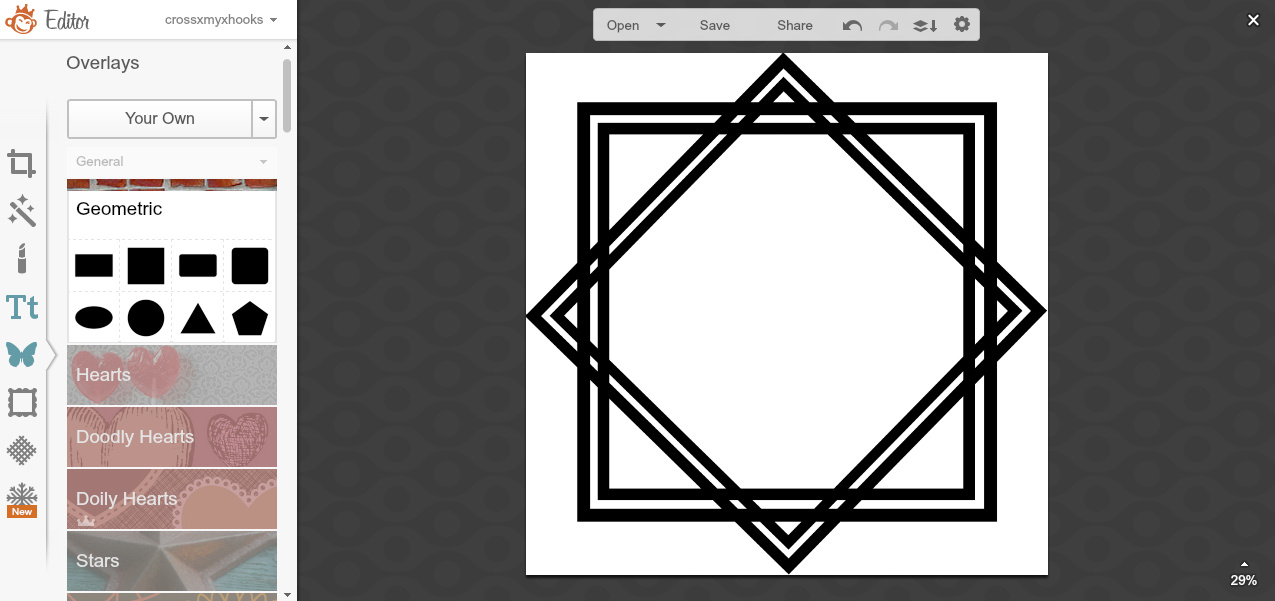
I resized my first two squares to take up a big part of the design space. Then I right clicked (or two-finger clicked on my Mac) to duplicate the squares. I rotated them to be a diamond shape. I resized all as needed to get the design above. Another tip to make this a watermark to use over photos is to change the background to transparent - under the top crop tool on the far left of the screen - then save your image as a .png file. You can learn more about creating a watermark with PicMonkey here.


Going for a bit of a modern monogram, I used the font Franchise which is a free font on PicMonkey. You can also use your own fonts or upgrade to Royale for $4.99/mo or $33/year for some more features. (Sign up here!) Once your satisfied with your design save it to your computer. If you think you might need to modify your design after you print, be sure to keep PicMonkey open so that you still have access to edit it.
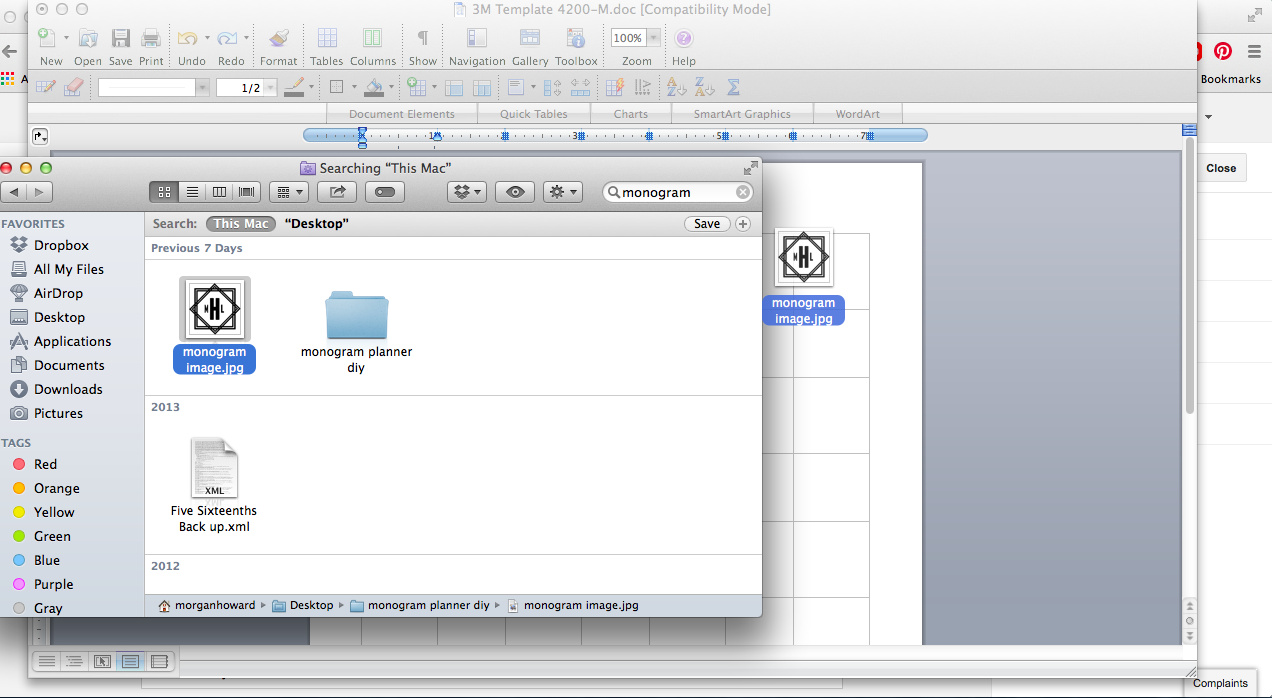 Next open your word processor, I am using office and the template here for the 3M circular adhesive labels I have. You can use any type of label sheets you may have or even full sheet adhesive labels in clear or white. If you print them on clear adhesive you won't have a white boarder so that is perfect for a notebook, laptop decal, or anything you don't really want to put a white sticker on. I dragged the monogram image I'd saved from the Finder to the word document. It automatically resized itself. Then I copied and pasted the image in the boxes I needed to.
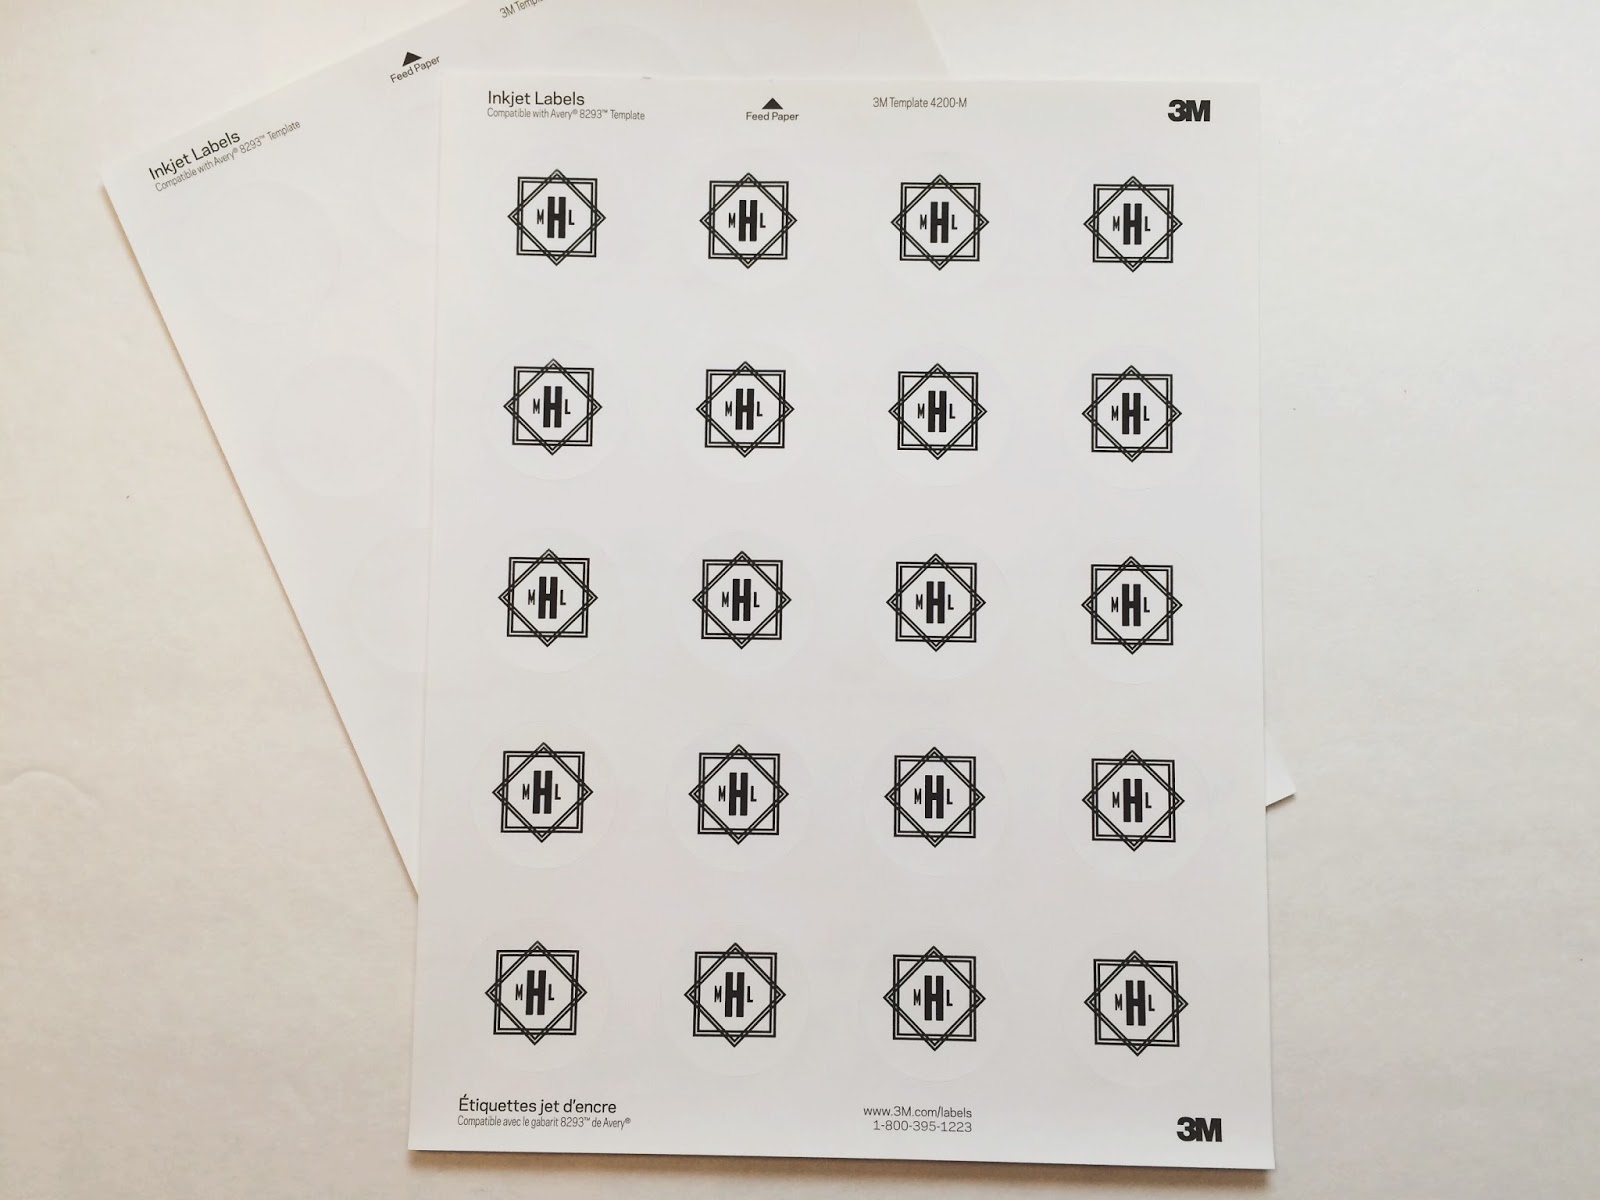 It took me a bit to figure out my label template so you can always print a test sheet before printing on your real label sheet to make sure things line up. I dragged my monogram from to the word document and the copy & pasted to put all the monograms in line.
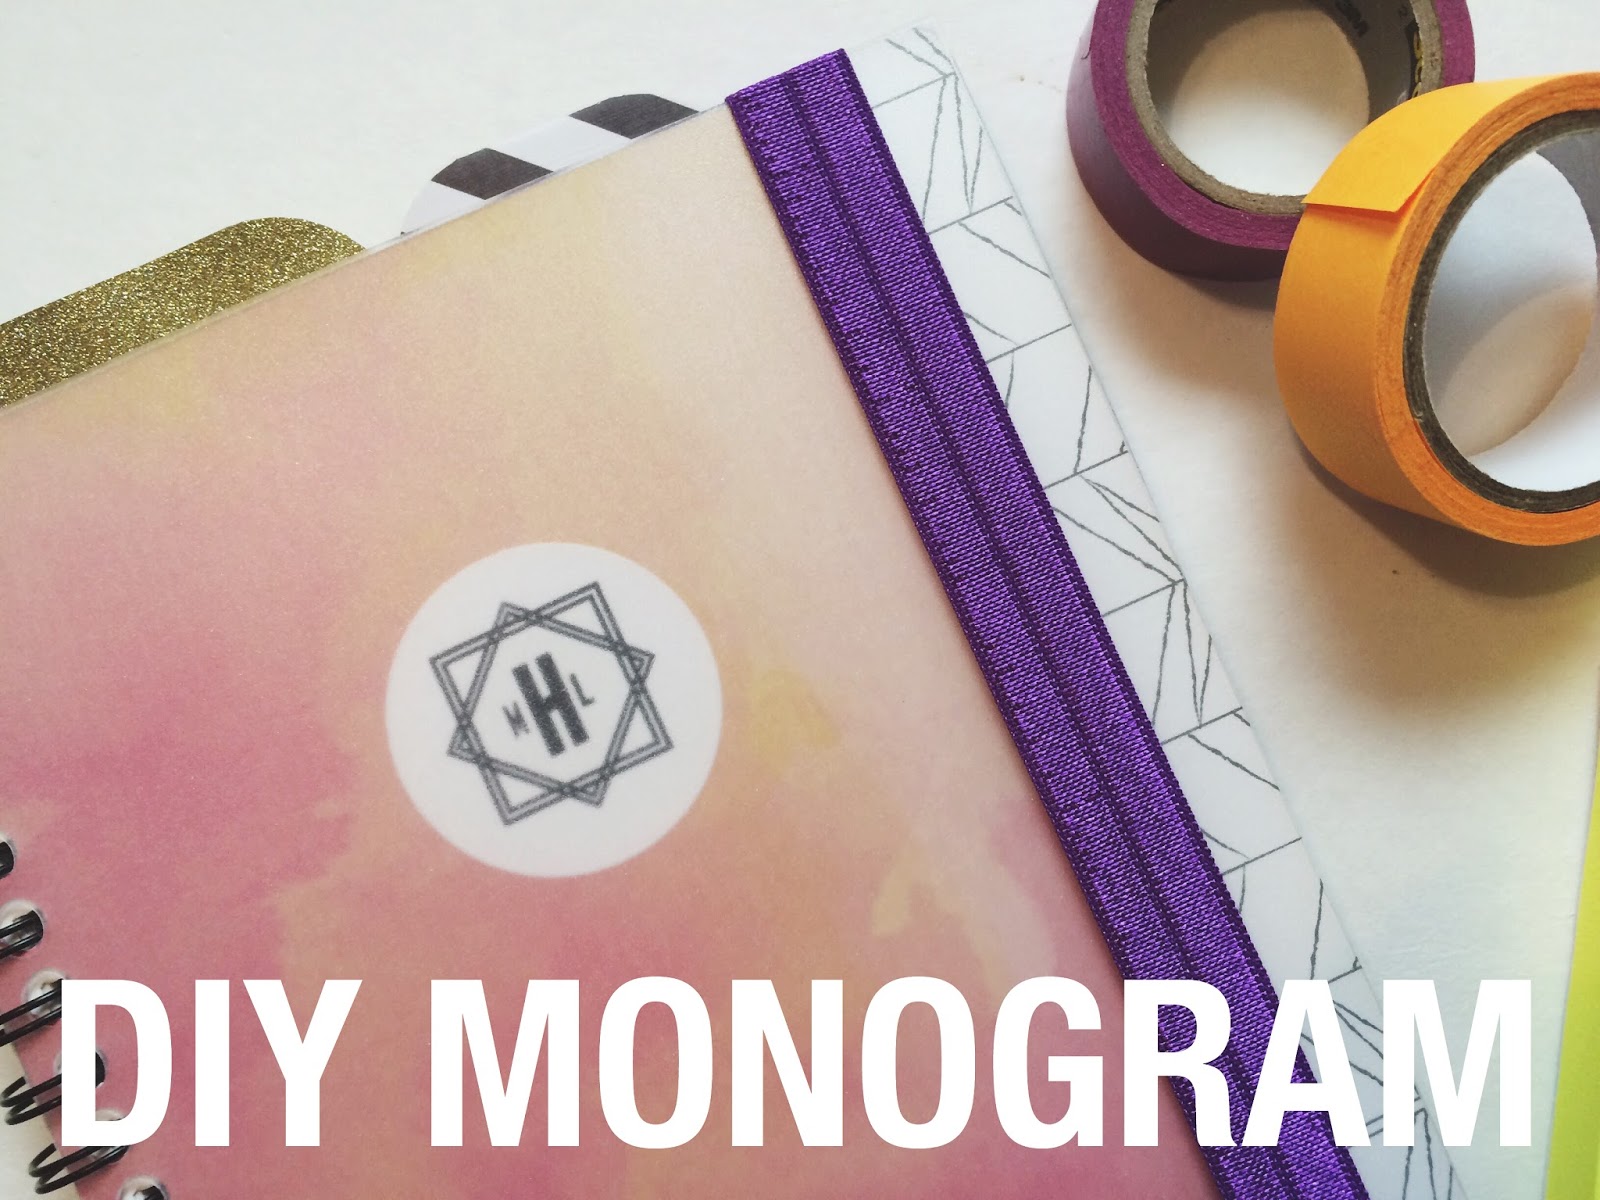
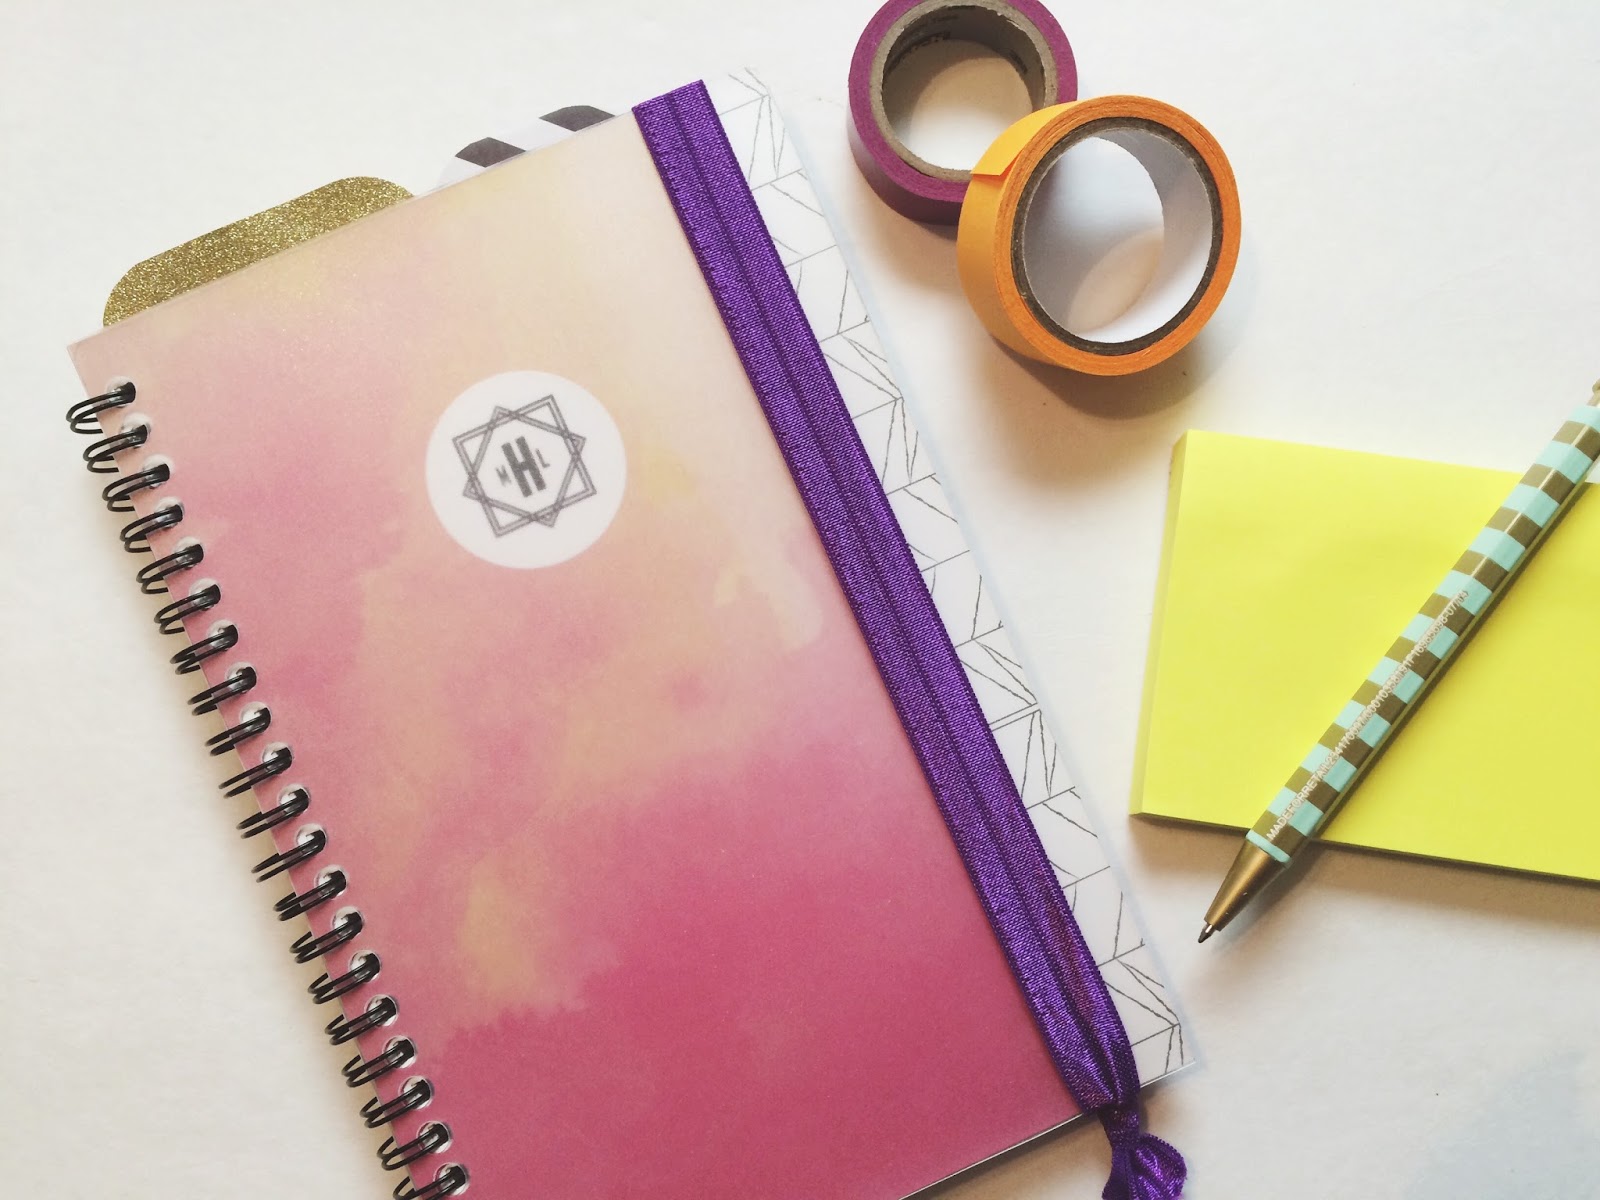 Then I printed and stuck them on everything. Creating your own monogram is a fun and really personalized way to say 'hey, that's mine!' And, like I mentioned above, it doesn't have to be for your planner!
No comments:
Post a Comment
Hi there, thanks so much for taking the time to comment. I love &value each & every one! If you have a question, I will respond as soon as I can. Don't be afraid to shoot me an email! If you have a blog, I will pop on by :)