This isn't a particularly challenging DIY - it's rather a beginner project. When I was in high school, I was a part of a little after school beading club as we called it where I learned some basic techniques for beading. Specifically I learned about how to use & cut a head pin and how to open a jump ring properly. This little tutorial features both of these techniques as they are key in making any jewelry you make durable & professional looking!
So first off, sorry for the quality of these photos...I feel like my camera & I are fighting. For the life of me I can not get a good photo. It's too dark, too blue, too something & I can't get it right. But anyway, here are the supplies you'll need:


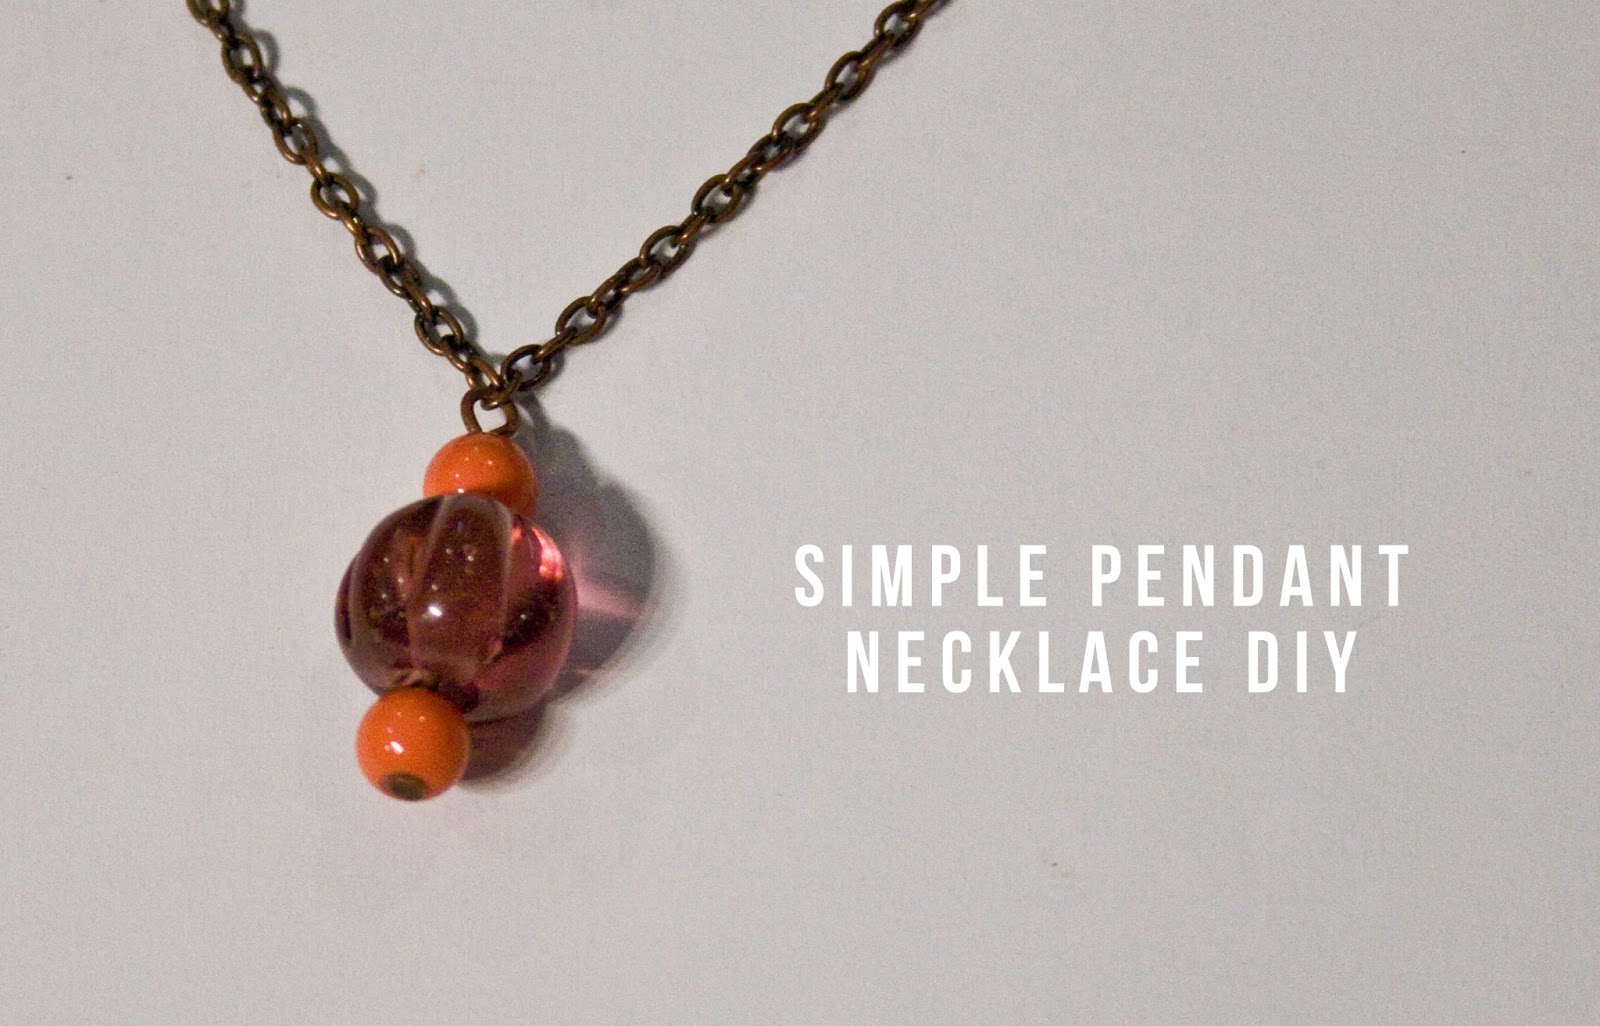
The bead I chose to be the focus of my little pendant was one I picked up over the weekend from an SCA event. We headed down to Tipton, IN for the Crown Tournament and there, scattered throughout the 4H center where the event was held, were beads for the populace to find. These were beads created after I found one hanging on the back of the bathroom stall, which was kind of weird. But I learned that this type of bead - a viking style bead from around 900 AD - is called a melon bead. First beads were made from clay & covered with a silica substance. Once it was discovered exactly what was happening with the silica on the beads, glass beads were made. I was told that purple beads during this time period were always translucent. It wasn't until later that an opaque purple was made. So to showcase this bead in a wearable piece of jewelry I decided to make a simple necklace!

First you'll need to gather your head pin & the three beads. There should be a center bead (like mine from the SCA event) and two smaller beads. The two smaller beads here match for symmetry, but you could choose whatever you like. Make sure the smaller bead on the bottom has a hole small enough to keep the beads on the head pin. If the bead has a hole that is too big, the head pin will slip right through.


Next, trim the rest of the head pin so you can create your loop. I've found that using my fingertip as a guide works for me. I hold the 90 degree angle of the pin about 1/3 of the way down my fingertip & trim right at the edge of my finger tip. This gives you enough wire to turn into a loop.

Now, using the needle nose pliers, roll the wire back towards the top bead. Place the edge of the wire right in the middle of the prongs of your pliers. Make sure the bead is dangling downward from your pliers & roll your pliers over hand towards the top of the bead. This creates a professional loop with a nice bend at the neck of the loop.

Measure your length of chain & trim it. To add your clasp, open your jump ring by holding the ring with the slit opening facing up between your forefinger & thumb. With your needle nose pliers grab the other half of the ring (next to the slit opening, mirroring the way you are holding the ring with your finger & thumb). Instead of pulling outward & stretching the ring your will pull the half of the ring you are holing with the pliers towards yourself. This will maintain the strength of the jump ring. Add your chain to one jump ring & close by holding the ring the same way as before & pushing the two halves back together. Try holding the ring in your pliers while you slip on the chain, then grab the half of the ring you were holding before & use your pliers to push backwards. Open your second jump ring the same way, add your chain & your clasp, then close it up.
To add the bead pendant you can open the loop you made in the same was as the jump ring & slide it onto a single ring of your chain or if the loop is big enough you can slide it onto your chain before adding your jump ring & clasp.

Now you have a simple beaded pendant that incorporates simple wire jewelry techniques to make your other jewelry products look crisp, durable, & professional. This is a great way to showcase a memorable bead like the one I found this weekend!
Thank you for putting up with the crappy photographs! Who knows when I'll get back on track with my camera!
xoxo, Moe
No comments:
Post a Comment
Hi there, thanks so much for taking the time to comment. I love &value each & every one! If you have a question, I will respond as soon as I can. Don't be afraid to shoot me an email! If you have a blog, I will pop on by :)