One of my go-to planner decor items are paperclips. I swear guys, I never used to be that girl with the stickers and the paperclips and the decoration........but I've become here. And I ain't even mad. There is nothing wrong with being that girl I just never thought I'd be her! There's also nothing wrong with minimal or no decor in your planner. It's all about what works for you. I still find my planner to be functional with the decor that I use - I find it fun to work in and fun to look at.
Like I said I do love paper clips as a fun decor item but when it comes to purchasing all the lovely ones on Etsy, I just can't pull the trigger! I'm much more happy to make some myself since I can have it immediately and I don't feel so bad about not liking the design after I'm done (that has happened before!)
For this DIY I was inspired by the fall scrapbooking elements I used to create planner clips. I haven't been able to find any die cuts that I've liked since, so I decided to use some stickers I had in my stash plus some scrapbook paper!


For this DIY I was inspired by the fall scrapbooking elements I used to create planner clips. I haven't been able to find any die cuts that I've liked since, so I decided to use some stickers I had in my stash plus some scrapbook paper!

supplies :: stickers, coordinating scrapbook paper, small/precision scissors, laminator, laminating pouches, paperclips, e6000
First, gather the scrapbook paper and desired stickers. Place the stickers around the piece of scrapbook paper leaving room to trim with precision scissors. Depending on how conservative you're being, fill the whole page or place the stickers in a way that the remaining scrapbook paper can still be used for another project.

Trim around the stickers with the precision scissors. I got my scissors in a kit at Joanne's so they aren't anything special. Trimming with smaller scissors gives you more control over the cuts you're making. Another tip is to move the item you are cutting around the blades of your scissors instead of moving the scissors. You'll get a smoother curved line this way (learned that trick from the old HGTV show The Carol DuVall Show)


Once the stickers and scrapbook paper are trimmed, place them in a laminating pouch allowing enough room around each sticker for a second round of trimming. I've used 3 mil laminating pouches. Run the pouch through the laminator a few times to ensure a good seal.

Using the precision scissors again, trim around the image leaving enough of the laminate around the perimeter of the image so that it doesn't peel apart.
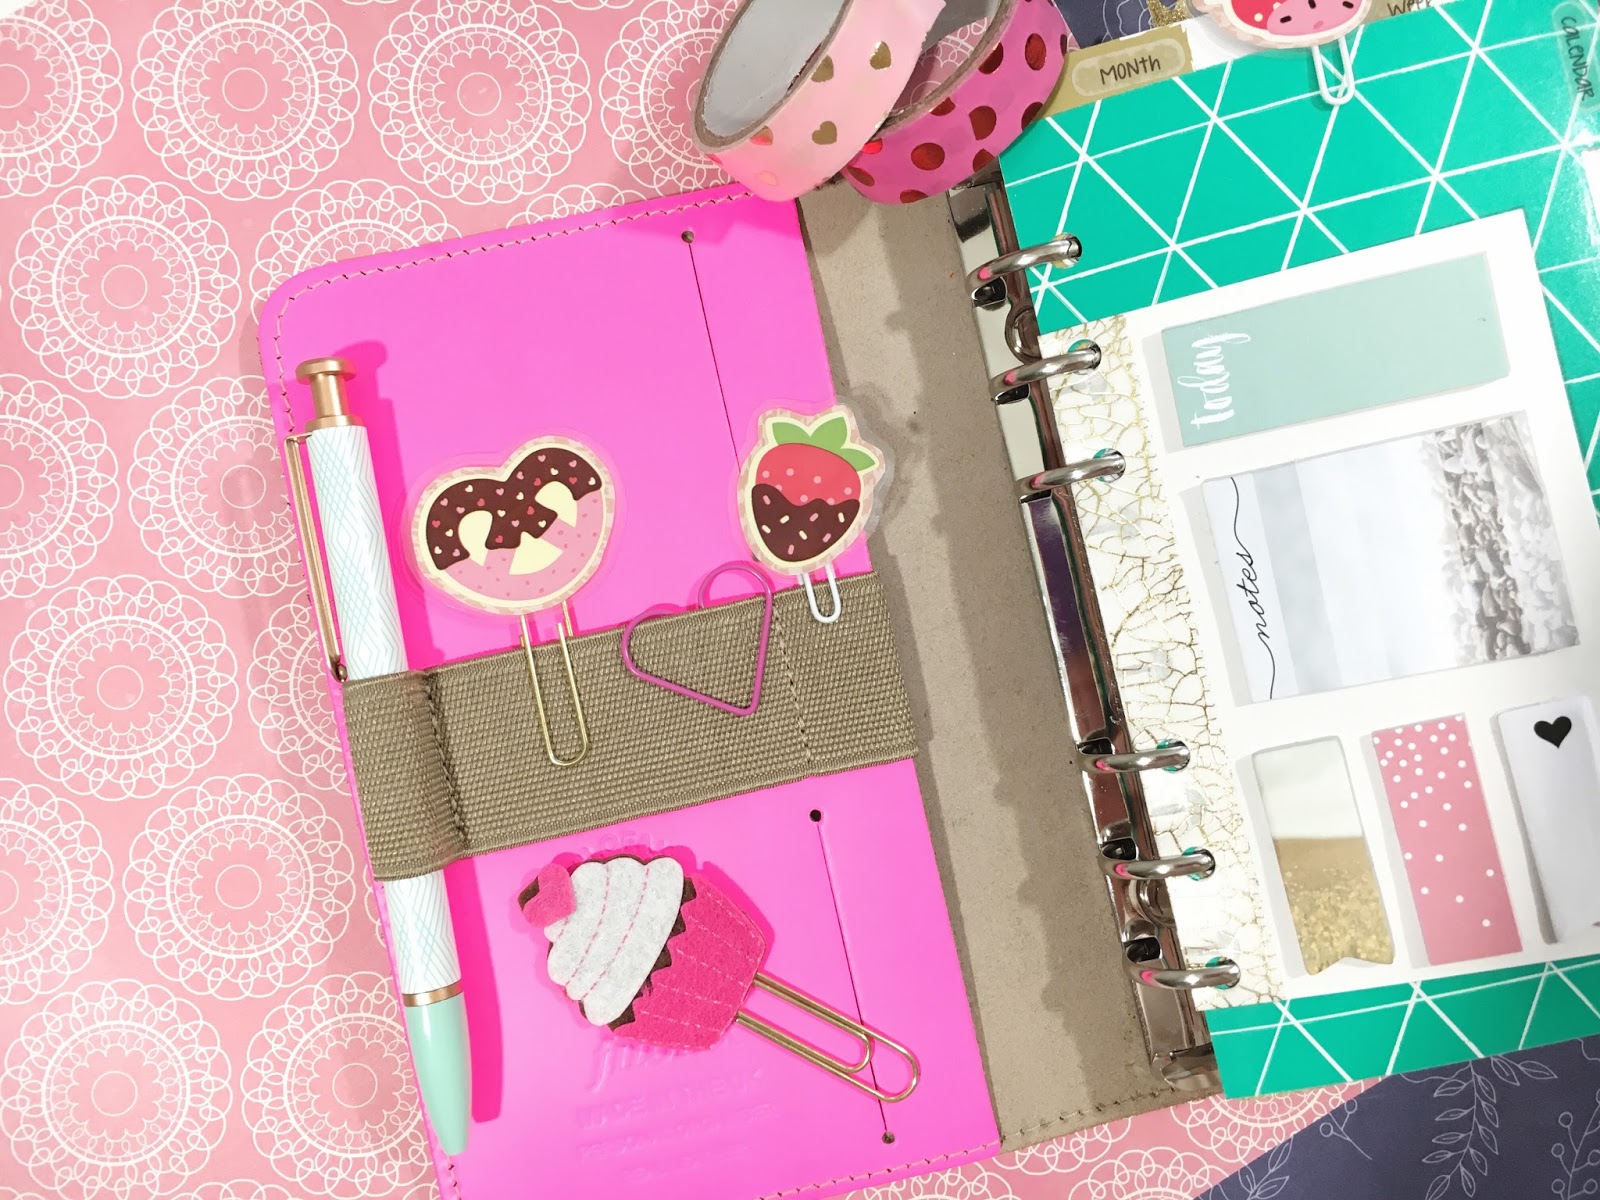
Flip each laminated sticker over so the back is facing up. Using the e6000, adhere the paperclip to the back with a drop of the glue. Be sure you have room on your desk or in another area to let the paperclips dry undisturbed. This is important so that the clip doesn't move or become detached from the laminated sticker. E6000 has a super strong bond and I personally haven't had any problems with the clips falling apart.
Of course the back isn't the prettiest thing in the world but I don't mind it!

Now you can create tons of decorative paperclips with any extra stickers you may have on hand! I can't wait to use up some of my sticker sets to create cute paperclips!!
xoxo, Moe
xoxo, Moe
No comments:
Post a Comment
Hi there, thanks so much for taking the time to comment. I love &value each & every one! If you have a question, I will respond as soon as I can. Don't be afraid to shoot me an email! If you have a blog, I will pop on by :)