Over the Christmas holiday I put together a little kit to take with me that included some planning essentials that I would really need to have when I sat down to plan my week. For the week of the Christmas holiday, I was home with my family. There really wasn't too much to plan, I just sort of filled in as the days went by with some stickers, label boxes, and washi.

this post contains affiliate links, please read my full disclosure here.

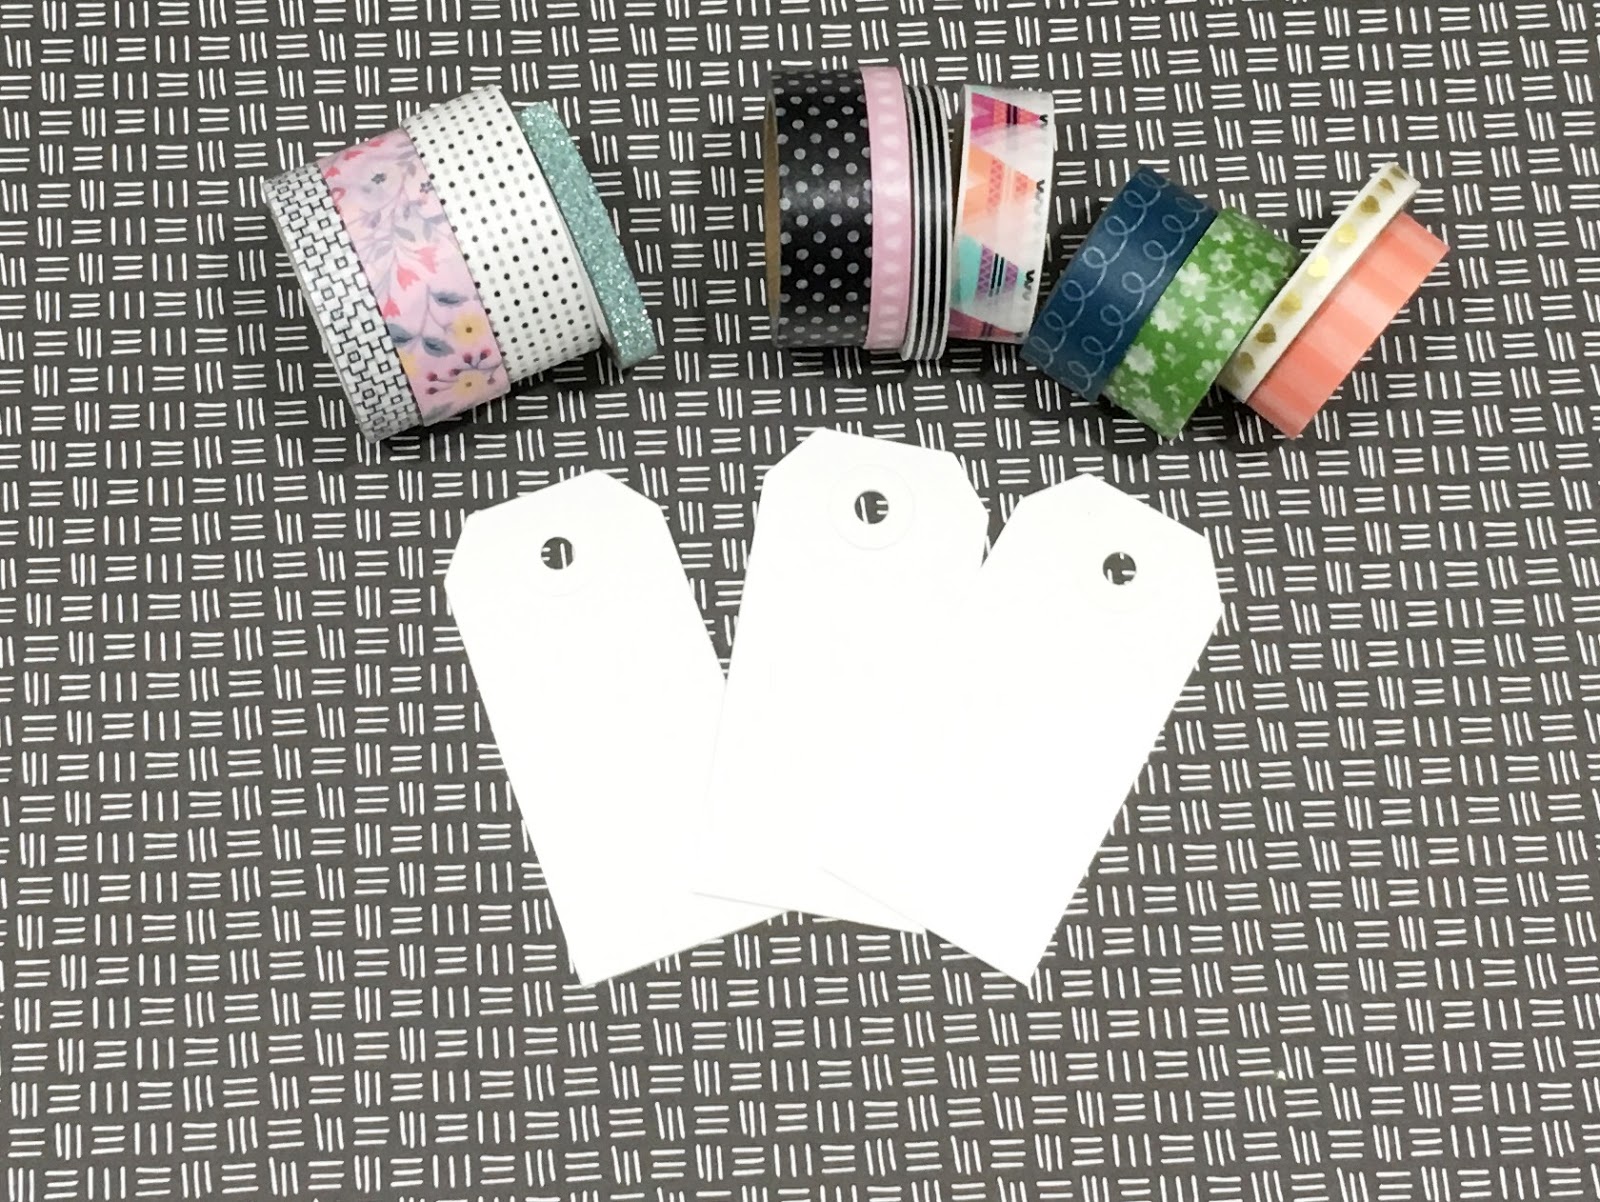
Supplies :: card stock tags, small, 3 mil laminating pouches (the 3x5 size is used here), laminator, paper trimmer/craft knife, scissors, washi tape, binder ring
I never really cared for those little, plastic embroidery thread bobbins that hold washi incredibly well. While totally functional, they weren't that pretty. And I didn't want to have this bulky ring of plastic bobbins and washi if I wanted to carry multiple designs. These little card stock tags are perfect for storing coordinating washi - and if you don't have a lot you need to carry with you as whole week's spread can easily fit on one tag (about 3-4 washis depending on the width of each).

Start by trimming the laminating pouches down so that only the bottom part of the tag will be covered by the pouch. This measurement may vary depending on the tag size used - I trimmed min pouches down to measure 2.25 inches from the sealed end of the pouch.
Place two tags into the pouch with space between them and around the outside. Allow the laminator to heat up, then run the pouches + tags through with the sealed edge of the pouch down. This may take some practice to ensure every thing loads straight Run the same pouch and tags through 2 or 3 times to ensure that the laminate is sealed well to the card stock. Repeat for as many tags as desired.

Using scissors, trim down the laminate right at the edge of each tag. Run each individual tag through the laminator a few times ensures that the laminate is adhered to the card stock making it less likely to peel off.
Once each of the laminated tags is trimmed to the end, begin to wrap the chosen washi around the laminated end. Keep it as straight as possible and be sure to maximize the real estate by placing the washi close to the laminated edges of the tag. Repeat the wrapping on all tags. I found that about 15 wraps is a good sample to use in my personal size, week on four page spread.

Now that all the laminated tags are covered with washi, corral them together with a binder ring. These were found back in the scrapbooking department of Hobby Lobby but I've also seen them in the dollar tree.

This washi storage is great for on the go planning (I hope to go to a planner meet up sometime soon!) or for giving samples. Personally, I think they are more aesthetically pleasing than little bobbins! They also look great in planner pockets - my Carpe Diem planner by Simple Stories is the only planner I have right now with pockets! The personal sized Filofax Original has very few pockets but I love them so!
How do you store on-the-go planner supplies? Do you plan weeks that include travel? What about holiday weeks?
xoxo, Moe
Brilliant! Thanks for the idea!
ReplyDeleteThis is a great idea. I use those rings to store my store/rewards cards (anything that's non-monetery) It removed a lot of bulk from my wallet so that I could combine it into my pocket planner.
ReplyDelete