Remember way back when I posted this video about making some stinking cute notes pages for your planner? Well, I'm back for another round! Halloween is coming up and for some reason I'm all about the Halloween planner supplies.....why? No idea, but I'm all over that mess. I recently saw a picture on a Facebook group of the Halloween notes pages popping up in the Target Dollar Spots and knew I needed it.

This post contains affiliate links, please see my full disclosure here.
Well, the nearest two Targets to me are 30 min away in either direction so I thought I'd get to crafting. I have a printer and PicMonkey....so I'm good to go. Here's how I did it.
Pretty much, you'll want to follow nearly the same tutorial as in this post. Open a blank canvas, crop it using the iPhone 5 crop option, unselect scale photo, and set your back ground color. I chose to keep a white canvas to preserve ink but do as you wish.


To create the space to write, overlay a rectangle sized about a half and inch smaller than the original canvas. Increase the fade setting until you can slightly see the design through the rectangle overlay. Once you're satisfied, save your file. Create as many as you'd like.

Then move into word and follow the end of the video tutorial here to align and print your Halloween themed notes pages! If you don't have Word you can try any word processor, just be sure to size the images so that they are 6.75 inches tall. This is the height of a personal sized page and the width will only give you a little bit of an overhang.
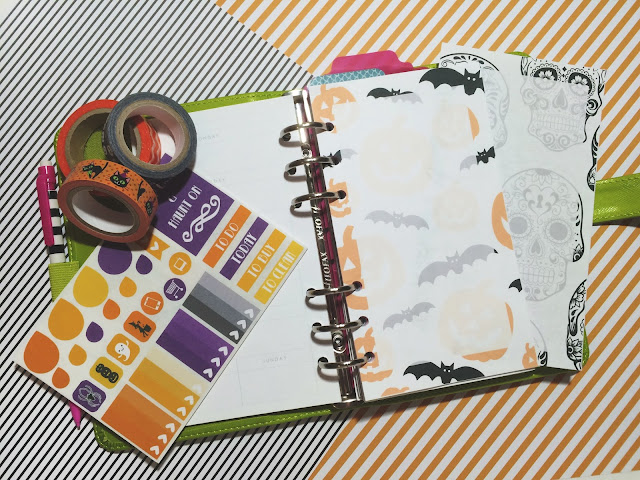 You can see here that leaving a good amount of space around the white box is helpful for punching the holes. Be sure to leave PicMonkey open while you're printing your pages so if you do need to change something you can. You can also just save these images as iPhone backgrounds!! How fun is that! Maybe even add a little Halloween saying? I think I'm going to do that now!
If you'd like to download the set created in this post, please click here. Remember that this set is for personal use only, please only link to this blog post when you share with you're friends. Do not sell this or claim it as your own, I work hard to provide the interwebz with free things! Just play nice and I will thank you for it!
View all my PicMonkey tutorials here! Oooooohhhhhh....I sooo haven't been keeping up with the journaling cards I really wanted to continue to make this year...whoooopppss!! But, if you're interested, there's a free set right here!
xoxo, Moe
No comments:
Post a Comment
Hi there, thanks so much for taking the time to comment. I love &value each & every one! If you have a question, I will respond as soon as I can. Don't be afraid to shoot me an email! If you have a blog, I will pop on by :)