Today is the first DIY of 2015! Hooray! Throw the confetti! I'm not done celebrating the new year yet...in fact, it feels like I didn't celebrate at all. My holidays last year were all sorts of messed up because for the first time in my 27 years alive I didn't celebrate Christmas at home with my family. I know it's a weird little thing to say but if I'd have known that 2013 would be the last Christmas I'd be able to spend with my family I would have cherished it more. In 2014 I was only able to get off of work the week of New Years so it was amazing just to go home to Virginia for a while but it was a bit more lack luster than years before. Christmas is one of my favorite holidays (I know everyone says that) but there's just something magical about waking up at home with your mom, dad, siblings like you did when you were little. We ended up going to Zach's parent's house for Christmas Eve and Christmas Day. Don't get me wrong it was fun to do something different and I'm looking forward to seeing what our life brings us as we celebrate holidays as a family of three now (Zach, me, & the dog!) but it was just hard to say good bye to the 26 years of sameness that I really did love. We'll see what 2015 brings in the holiday department.
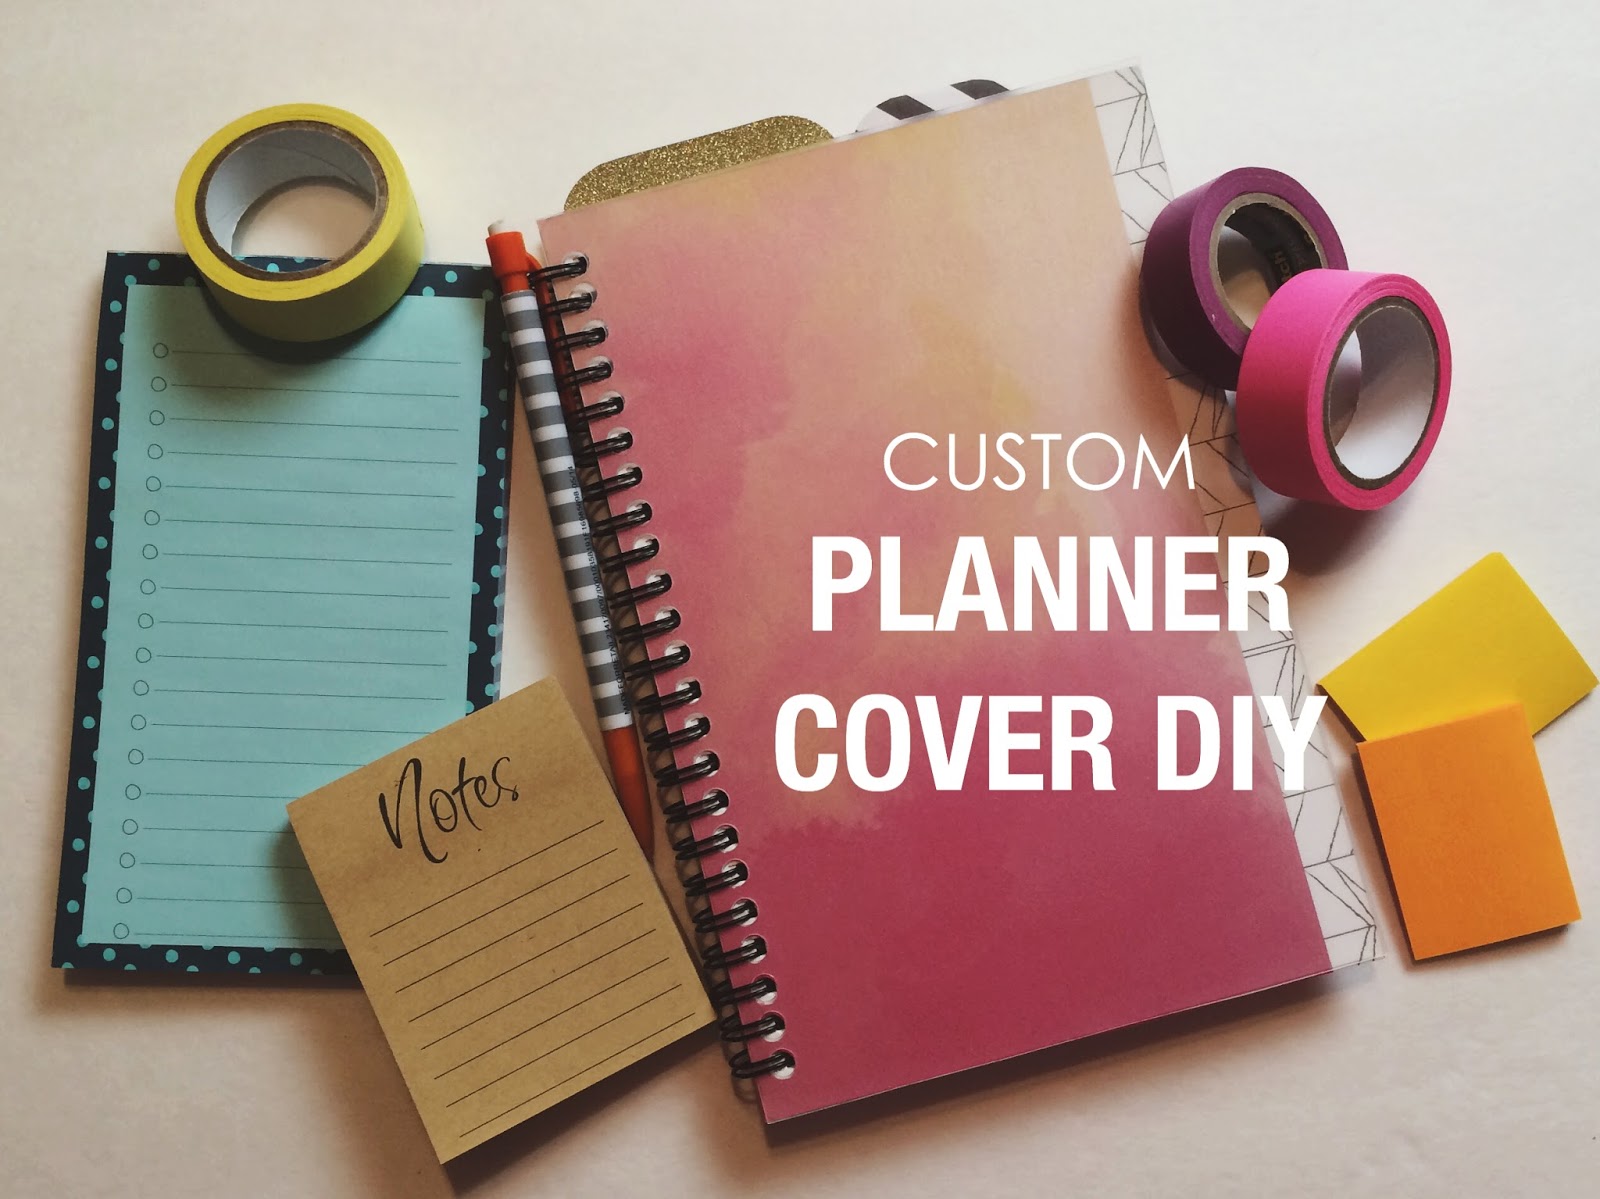
Any waaaay...let's get to the meat of this post - today I want to share with you a little planner DIY. I bought this spiral bound/coil bound/whatever-you-want-to-say bound planner at CVS the other day and wanted to use it as a DIY base for some DIYs this year. I am not a spiral bound planner person but I know that they are the easiest for on the go, for students, and just in general. There's simplicity in it and that's what I used to love about using them. The planner I bought had July 2014 - December 2015 which I think is great for this time of year because you can tear those unused pages and make your own inserts - which I plan on doing more DIYs for! Like I said this planner is going to get DIYed up! So today it's all about the custom planner covers. This is a super affordable DIY too!

Supplies: Ring bound planner (see requirements below), thin cutting mat from the Dollar Store (they come two to a pack and have fruit and veggies on the packaging), sharp scissors, pen, pencil, sheet of 12x12 scrapbook paper (two sided is best), standard single hole punch

So the style of ring bound planner you'll need is like the above photo - you can really tell the how the rings should look at the top of the coil in the photo. You don't want one with a continuous spiral, you want one that you can separate at the back. If you're familiar with the Cinch system...you want the coil to look like that.
First off this DIY is super affordable: If you don't already have some scrapbook paper you can get single sheets for less than $1 usually. If you don't have a single hole punch go to your craft store and see if they are on sale. If they aren't on sale, download the JoAnn's, Hobby Lobby, Michael's app and usually there is a 40% off coupon or maybe even a 50% off coupon a full priced item. Usually Hobby Lobby rotates their sale so if it's not on sale this week head back next week. And finally go to your Dollar Store and look in the kitchen section for these really thin cutting boards. I found mine on a shelf so you might have to really look. Don't just scan, go on ahead and dig!


Once you have the planner that fits the requirements above, flip it over to the back, open the back cover and gently pull the rings apart. Don't pull them too far, you don't want to distort them. You need just enough room to remove the back and front covers.

Next use one of the covers as a template to trace onto your scrapbook paper. Be sure to trace it twice! I used some scrapbook paper that had a design on the front and on the back. Additionally, at the top where the paper was joined into the pad there wasn't a perforation, just the coordinating pattern that was on the back. I used this edge for the front planner cover. Cut out your paper covers.

Once you have the two covers cut out lay the original cover over the cover you just cut out and trace the holes with a pencil. Don't punch them just yet.

Now using a pen, use the original planner cover as a template and trace it twice on the thin cutting board. Using your scissors, cut them out and trace the holes again.
Now punch. I punched the cutting board first then lined it up with the scrapbook paper to make sure everything matched since my hole punch was slightly bigger than the holes in the original planner. I found that a standard sized hole punch worked for the holes for my planner only after thinking that a smaller one would work. So I had to re-punch and that killed my hand!!! You can punch a scrap piece of paper to make sure you're hole will fit over the rings.

Once everything is all punched, align the cover and scrapbook paper like the above image - the pages should be as follows: lay the back scrapbook paper cover down right side up. On top of that lay the cutting board back cover right side up. On top of that lay the cutting board front cover right side down. And on top of that, lay the scrapbook front cover right side down. All of the holes should align to the right side. Now you can thread each of the open loops through each of the open holes starting with the page on the top. Be gentle and take it slow....don't rip your paper!


Once you have your covers on, gently close your rings up. I pressed over and then gently down to make sure each loop met the other side of the coil...you don't want your planner covers to slip off. Opening them slightly (just enough to get things on and off) is the best tip I can give for this.

And you're done! You will have an extra bit of the cutting board left so I made myself a removable bookmark. I used the longest, widest strip and trimmed it to about 1.5 inches wide. I lined up the old planner cover and left a bit at the top to create a tab. I traced the holes again and punched it then snipped the holes from the edge to make it removable. Using my corner rounder, I rounded the top tab and covered it in gold washi tape. You can now use this to hold your sticky notes, page flags, etc. The black and white tab at the top there is from this super easy DIY earlier in 2014.
Phew, that was a hard DIY. Make sure your punch is new or sharpened because you'll break your hand by the end! I kept having to punch through some aluminum foil to sharpen my punch after punching through that cutting mat. It's pretty thin - like the exact thickness of the original planner cover - so it's easy to cut and punch...but it wears your punch out fast.
What kind of planner do you use? Are you a spiral bound or a ring bound type of person?
xoxo, Moe
Fun idea! I'm working on putting together my first Filofax this year, and I've been so inspired by all the neat planner hacks out there. Hilariously, I made myself a bookmark that looks almost identical to yours, except I have silver glitter tape at the top and bottom. :)
ReplyDelete