Showing posts with label journaling cards. Show all posts

1.01.2019

2019 January Journaling Jump Start

Well, here we are again.  Another year over & a new on just begun.  Last year I did my own little journal prompt exercise to discover my word of the yearIt's not that other prompts & challenges out there were bad...it was just that I was bad at them.  Sometimes I need something that fits me instead of me trying to fit in.
this post contains affiliate links, please read my full disclosure here.

I will say, over the years there's been quite a few things I don't fit into and I've learned to blaze my own trail rather than try to follow along.  And so the January Journaling Jump Start was born!

Last year was my first year coming up with the prompts and this year I changed just a few of them to align more with what I'm looking to discover.  So here we go.


What is the January Journaling Jump Start?

This is a four week journaling prompt exercise to help you reflect on 2018, plan for 2019, research who you want to be, and outline your next action steps.  Each week has a theme - reflect, plan, research, outline - and 7 prompts to help you connect with each theme.  You can take just a few moments to jot down the answer or get creative in your journal to do a little bit of self care.
This month long activity will help you discover the perfect word to live by in 2019.  Your word should be personal & it should be something you can incorporate into your everyday life over the next year.  It's all about focusing on how you want to feel in the new year not necessarily a physical thing you want to gain.  It's about making space for a new you so that you can become the person you'd like to be.


How Can I Get Started?

First download the prompts in the link below.  You'll find a set of journaling cards featuring the prompts as well as a link for a planner template download.  There are a TON of ways to do this though - use your current journal, create a mini album, make a dedicated travelers notebook, start a listing journal, add it into your vision planner - just get to it!  
The best part is that you can be creative in the way that really connects with you!  And hey, if these prompts don't connect with you create your own challenge and share it with us in the Five Sixteenths | Live Creative group over on Facebook!


If you want to check out last year's journal prompts (they are very similar so you can totally use those journal cards too), click hereThe journal cards for this year's prompts work perfectly with the December Patreon Printable of the Month, too.  If you're down to join in on an ever growing library of printables, join the Printable of the Month Club for only $3 a month!  Click here to join.


Happy 2019 my friends!

What is your word for 2019?  Have you chosen a word for your year before?

xoxo, Moe

8.29.2016

Make it Monday // DIY Mini Journal using the Cinch

Guys - I'm participating in 30 Lists.  You may remember that I've tried this like two times in the past and failed horribly at it.  I've been working on my own listing journal and that has taught me a lot about this process - intention and priority are two of the words that journal has taught me - and I plan on finishing my 516 listing journal this coming weekend since it will be a 3 day weekend!
Mini Journal DIY with the Cinch
this post contains affiliate links, please read my full disclosure here.

But today's DIY is about creating a small journal using the Cinch tool.  This tool is one of my favorite high end craft tools and it gets very little use in all honestly.  So I thought I'd break it out for this little listing journal since I needed to whip one up in a hurry.  Let's get into it.

supplies :: Cinch tool, pliers, cinch 1" binding, at least 30 4x6 grid journal cards, 2 4x6 journal cards for cover, laminating sheets, laminator, scissors, assorted 3x4 decorative journal cards, assorted 6x6 paper pads, corner rounder, assorted washi tape, paper trimmer, library pockets (optional)
First, choose the 6x6 papers to use for this project.  I chose about 20 patterns to use from quite a few paper packs.  My inspiration for this journal came from two bright neon library pocket envelopes I had in my stash.  I'm pretty sure they came from the Dollar Tree in the teacher section at one time, but I'm not 100% sure.  The bright neon pink and electric green inspired the colors I chose from various paper packs.  The paper packs I used for this project are Amy Tangerine Sketchbook, Heidi Swapp Favorite Things, an American Crafts paper pad, and Pink Paislee Citrus Bliss.  Next, choose the coordinating 3x4 cards you'd like to use - the kits I used that went well with my color scheme were the Heidi Swapp Favorite Things and the Project Life Sunshine Edition packs.  
DIY Journal
Using the paper timmer, trim the 6x6 papers down to 4x6 size. Round the corners with the corner rounder.  This is one of my favorite punches because it has multiple options depending on the corner radius you need for a project.  The sharpest radius is the one that matches the Project Life radius the closest.
Project Life DIY
Because these paper pads aren't double sided, the washi tape will create a 'double sided' look to the journal pages.  Place the tape along the side of the 4x6 grid card (it is easier to make a straight line this way), align the two journal cards wrong sides together, fold the washi tape over on to the patterned paper.  Repeat for as many 4x6 patterned papers you have.  You don't have to have 30 of them, it is better if you have just slightly fewer.  20 - 25 patterned papers should be good.
Using your Cinch tool punch the pages in the alignment you'd like.  I use the info printed on the Cinch as guidelines (kinda like how pirates use rules....just as guidelines) for punching holes.  But I also just make it up as I go.  To repeat the spacing I did - pull out the first two knobs as well as 10 - 12.  Leave the guide pushed all the way in & punch all the 4x6 cards excluding the front covers.  Once the front covers are laminated, pull out the guide just a tad (one click) and punch the two covers.  To punch the 3x4 cards push in all knobs 1 - 7, and pull out all knobs 8-12.  Bring the guide back to its original position and punch all 3x4 cards.
Assemble the cards on the coil, back and front covers right sides together (back cover on the coil first) then add your inserts the way you'd like.  Use the back end of the Cinch to close the coil.  You can see detailed instructions in this post.
And now you're done!  I love this little guy - a great way to use up scraps and create a cohesive look.  I've found the way to create something I really like is to form it around an inspiration piece and come at the project with intention.  Some projects can be created all willy nilly but some projects need to be planned.  I really wanted this project to be super simple so the only other elements I'll add into this listing book are the scraps from this project, a black pen, and highlighters.  I do plan on stamping the list numbers - I'm not going by date because I know I won't finish it like that! - using some ink and stamps I have already.  If all the work is done, all I have to do is write.  And I wanted all elements to fit in a small pencil bag!

Do you do any journaling?  Have you tried any list challenges?

xoxo, Moe

2.29.2016

Make it Monday // How to Fake a Repeating Pattern in PicMonkey

Here we go again!! Another fun PicMonkey tutorial.  If you read last week's post about using my blog to teach you'll know that one of my favorite things to teach are PicMonkey tutorials.  I have many different softwares I can use to digitally design things but if ever I want to get it done - good and quick - I choose PicMonkey.  The online program is very easy to use and honestly I haven't ever edited a photo in the program because I use it as a design tool every time I open it!  Today I want to share with you how to fake a repeating pattern (think digital scrapbook papers) in PicMonkey.
this post contains affiliate links, please read my full disclosure here

There is no option in PicMonkey to fill a shape with a pattern.  You can use some of the predesigned patterns under the collage tool or upload your own digital papers to use in the collage feature but there is no way to create your own.  Most of the time I want to create a pattern on a small scale - like for journaling cards - and I've found a little hack to create this look!

Pattern One - Using a DingBat Font
First open a 4x6 canvas from the home page.  I chose to design with the canvas vertical, but feel free to rotate it horizontal if that works better for you.  A while ago I shared this tutorial on using dingbat fonts in PicMonkey.  Today we're going to do a similar thing - download a dingbat font that you like (I used WM St Paddy's from DaFont) and choose a letter to be the base of your pattern.
Add a text box and fill the box with the chosen letter.  Create a line of text that is slightly winder than the canvas.  Keep repeating this line of a single letter until a box of text is created that is slightly larger than the canvas.  Using the rotate tool (the little knob at the top of the text box) to rotate the text you've created will give an even more impressive look.  Situate the text box so that the entire canvas is filled with the pattern.
To add dimension to the pattern, add a text box with only that single letter and change the color.  Position a few of these text boxes over your pattern.  Be sure to space them out so that they are visually equal all over the page.
Once you are satisfied with the pattern you've created, change it up a bit to get the look you'd like.  I inserted a larger rectangle, changed the color, and used the right click menu to send the rectangle to the back.  this put the rectangle under the layers of text boxes.  Then change your text boxes to the colors you'd prefer.  Working from a color palette is best for this (I suggest finding one you love on ColourLovers.com) so you can create a cohesive look.
Use as is (4x6) or crop down to 3x4 and add some text to create a journaling card.

Pattern Two - Using an Existing Overlay
Start the same way as pattern one - open a 4x6 canvas from the homepage of PicMonkey.  From the Overlays tab (the tab shaped like a butterfly) chose an overlay.  Position the overlay on the canvas, and make any changes - change the color, rotation etc.
Right click the overlay and from that menu select Duplicate Overlay.  Begin to fill the canvas with duplicates of the overlay.  Be sure to hang some of the overlays off the side of the canvas.  This gives the illusion of a repeating pattern.
Duplicate the overlay as many times to fill the canvas.  Then duplicate the overlay again (or add a new overlay) and make a change to it - size, color, rotation, etc - and use that as a new element to the pattern.  Duplicate this new overlay and fill the canvas with this new overlay.  Make sure to have some of the overlays hang off the edge as well.
Save this image as is to use later or crop to 3x4 to create a smaller patterned journaling card.  Add text and another overlay to add interest.
And there you are!! Some great ways to create patterns for journaling cards.  You can also totally create a pattern over a photo too.  (Sort of like a watermark - so check out this tutorial here.)  Additionally if you'd like this set of 3 journaling cards I've created a PDF for you to download!  Just click here.
Remember that the free downloads offered on the blog are for Personal Use Only!  Do not sell these, claim them as your own, etc.  Please play nice and direct others to this blog post and not just to the direct download link.  If you'd like to pin them, Pin this blog post and not the direct download.  

Check out more PicMonkey tutorials here.

xoxo, Moe

2.01.2016

Make it Monday // Brush Font + Dingbat Font Journaling Card

I haven't made a journaling card post in a long, long time here on the blog.  The truth is I sort of gave up on my Project Life albums.  They are still in the back of my mind and I'd like to get back to them but (prepare your hearts) after we lost our dog Emmy it became really hard to look back on photos from when he was with us.  I still really, really, really want to go through and do something to document the years - and maybe I'll try to start fresh this year - but I'm not 100% sure yet.
this post contains affiliate links, please read my full disclosure here.

But today I did want to share with you a way to create a fun journaling card using a Brush font and a Dingbat font (you could easily translate this into an art print or planner dashboard as well!) all with in PicMonkey.  Did you see where this post was going?  Yay PicMonkey!
First off hand lettering & calligraphy is all the rage right now.  If you're like me and aren't able to create that beautiful brushed look, brush script fonts are the second best thing.  Secondly, when using a program like PicMonkey you're unable to import vector images so a dingbat font is the second best thing to a vector image.  Much like a vector, a font can be sized endlessly and still retain acceptable print quality.  If you've ever pulled an image from the web and then resized it only to find it pixelated or blurry you'll know what I mean about stretching something and it not retaining the quality.  Vector images are designed to do that - they can be stretched endlessly and never pixelate.  Today I wanted to share with you a cute pairing of fonts to create a set of fun journaling cards.

If you want to learn more about font balance, check out this post.

To start, you'll want to download & install some fonts to your computer - these are the two I will be using found on DaFont.com:


Be sure to research installing fonts for Mac or installing fonts for Windows to be able to use the downloaded fonts successfully.
Navigate over to PicMonkey and from the design tab select 4x6.  Crop the canvas to the size needed for the finished project - if you'd like to make a personal sized dashboard the iPhone 6s crop should work nicely, but today I'm going to crop to 3x4 (I like the smaller jounaling cards).
Next, from the side menu choose the text option.  A great thing about PicMonkey is that it allows you to use the fonts already installed on your computer.  Of course, if you'd like to use some of the brush style fonts PicMonkey offers, that is totally and option.  In fact if you sign up for the Royale feature you'll get access to even more fonts, overlays, etc.  Click here to enroll in the monthly plan for $4.99/mo or the yearly plan for $33/year.  Such a great deal for such a fun design machine!
From the text option, select 'Yours' and locate the two fonts you'll be using.  I just discovered that on Windows computers, Chrome has a hard time displaying some fonts.  So if your main browser is Chrome you might have to switch over to Firefox or IE to complete this project.  Click add text and start to type in your phrase in the Justin Road font.
I like to open the DaFont.com page I downloaded the Dingbat font from to see all of the icons available in the font.  From this page I know which letter to type to get the icon I want to use.  In this case the letter o is a coffee cup in the Hipster Icons font.  Add text, select Hipster Icons Font, and type the letter o so that the coffee cup displays on the screen.
It is now that playing with the scale will give you the overall aesthetic you're looking for.  I chose to keep my designs near the middle of the canvas.  Using this same set up - brush script phrase + dingbat icon - to create some more hilarious journaling card!

As always, if you don't want to create your own or if you're just really digging the journaling cards created in this post, you can download the set here.  Remember these are for personal use so please don't distribute them, claim them as your own, or sell them.  If you'd like to direct people to this awesome printable, please link back to the blog post.  And thanks for downloading!
it's hard to see in the picture but each card has a faint trim line around it to make trimming easier.

If you're looking for more free journaling cards, check them all out here.  Plus read all of my other PicMonkey tutorials here.

Have fun creating!

xoxo, Moe

10.08.2015

Celebrating 4 Years Together // I Only Have Heart Eyes for You

This year Zach & I celebrate our 4 year anniversary & 3 year anniversary of being in the house.  Last year, I shared in this post a huge pocket scrapbooking set.  This year I still wanted to share one with you...but it is a little bit smaller this year.  I used some of my own tutorials to make some journaling cards using overlay apps + PicMonkey.  I swear that my iPhone & my iPad are great creative resources.  There's soooo much you can do with these little machines in your pocket or in your bag and I love it!!
this post contains affiliate links, please read my full disclosure here

I love finding new apps to play around with.  There are so many creative ones out there.  My favorite are the apps created by creative bloggers because they create apps that they know other bloggers will love!
Here are some tutorials you may like:

You can download this set here.  But please these are only for personal use.  Don't sell or distribute these as your own.  If you'd like to download the app I used to make these, the A Beautiful Mess App, you can right here.

If you'd like to see all app reviews on the blog, click here.  You can also find all tutorials using Picmonkey, here.

6.01.2015

Make it Monday // DIY Home State Art in PicMonkey

You probably already know that I have a thing for states.  Like some people love monograms, I love our states.  (See posts here & here for proof.)  One of my favorite dingbat fonts is State Face (See my other favorites in this post!).  A pretty cool feature of PicMonkey that I love to use is adding the fonts I've downloaded to my computer into my designs.  Today I want to share how to make a fun little state print using PicMonkey.  You can adjust this print to make journaling cards, a post card, a background for your phone or your tablet, stickers for your planner, or just to hang on your wall when you're far from home.
this post contains affiliate links, please read my disclosure here

Supplies - PicMonkey.com, State Face font (free download), pattern from ColourLovers.com, printer, choice of paper (photo paper, card stock, etc) paper trimmer
First I browsed ColourLovers.com to find a pattern I liked.  This site is one of my favorite resources for free for personal use patterns.  There are so many colors, designs, and patterns to choose from.  I saved the largest resolution option and opened it in PicMonkey.  I decided to make a print 5x7 so I cropped the image down to that size.
Using the font option I added the State Face font to my canvas and decided to go with our current state, Indiana.  Just type out the alphabet until you find your sate shape, there is even the USA shape in the mix too.  Since there aren't any grid lines in PicMonkey, I eyeballed the center of the canvas and placed the state there.  I also used the fade option to change the opacity of the state I chose.
Of course you could be done here but I wanted to add a nice quote about home to my print.  I used another font from my computer but PicMonkey has a ton of free fonts.  But if you'd like to upgrade to Royale you get access to a bunch more fonts, effects, and overlays.  I subscribe yearly for $33/year.  There is a monthly subscription as well for $4.99/month.  Not to bad for an amazing photo editor and mini design machine!  If you're interested in signing up, please click here.

I usually print images through Picasa.  Picasa offers size options to print your images/photos so you don't have to make any sizing adjustmenst.

I hope this little DIY was inspiring for you.  I am going to put this as my home screen on my phone since Zach will be heading to Korea again soon.  We're also almost done with the house so Home has a whole different meaning too.  Even though I've been out of Virginia for nearly 4 years I still get homesick every now and then.  I think it would be neat to make a whole set of prints with where we came from and where we are now.

What quotes about home to you love?  Do you ever get homesick?

xoxo, Moe

ps. Find all my PicMonkey tutorials here and all the DIY's on the blog here.  If you'd like to have the iPhone background click here, for the 5x7 print click here, for the 3x4 journaling card click here.  All are .jpg images so right click and save the image to your desktop.

3.26.2015

April 2015 Journaling Cards

These by far have to be my favorite set of journaling cards.  They are travel themed & vintage inspired.  I was inspired a little bit by air mail and a little bit by vintage flower overlays.
(this post contains affiliate links, read my full disclosure here.)

With Zach gone for work I was really inspired by what travel can teach us.  We've done this long distance relationship thing before but I never thought we'd have to do it again, which hit me really hard.  I think, like we did before, we'll learn a lot more about each other.  It has been so crazy to look back on life and realize where we once were and where we've come.  I know with this little experience in our life together we'll discover the same thing in the years to come.  That is why I left a lot of room for journaling on these cards.
As always I created these journaling cards in PicMonkey.  This design tool never ceases to inspire me.  Each time I design something new I feel like I learn a new technique or a new style of doing something.  Their overlays are amazing and the fonts are pretty rad.  This month I used my own fonts which is a free option (here are my top fave dingbat fonts to use in PicMonkey) to create the compass design and the United States 4x6 card.  The fonts I used were Bergamot Ornaments and StateFace.  PicMonkey has tons of stuff for free but if you update to Royale $4.99/mo or $33/year you get sooooo much more!

***link is updated now!!***

If you'e like to download these to print, click here.  As always please play nice - don't disseminate these as your own, don't sell them, and please pin this post for others to see.

Anything new happening to you in April?

xoxo, Moe

ps. Here are more journaling cards for you!  I also just listed some pretty patchwork cards in my shop.  If you want some PicMonkey tutorials, click here.

3.09.2015

Make it Monday // DIY Patterned Pocket Scrapbooking Cards

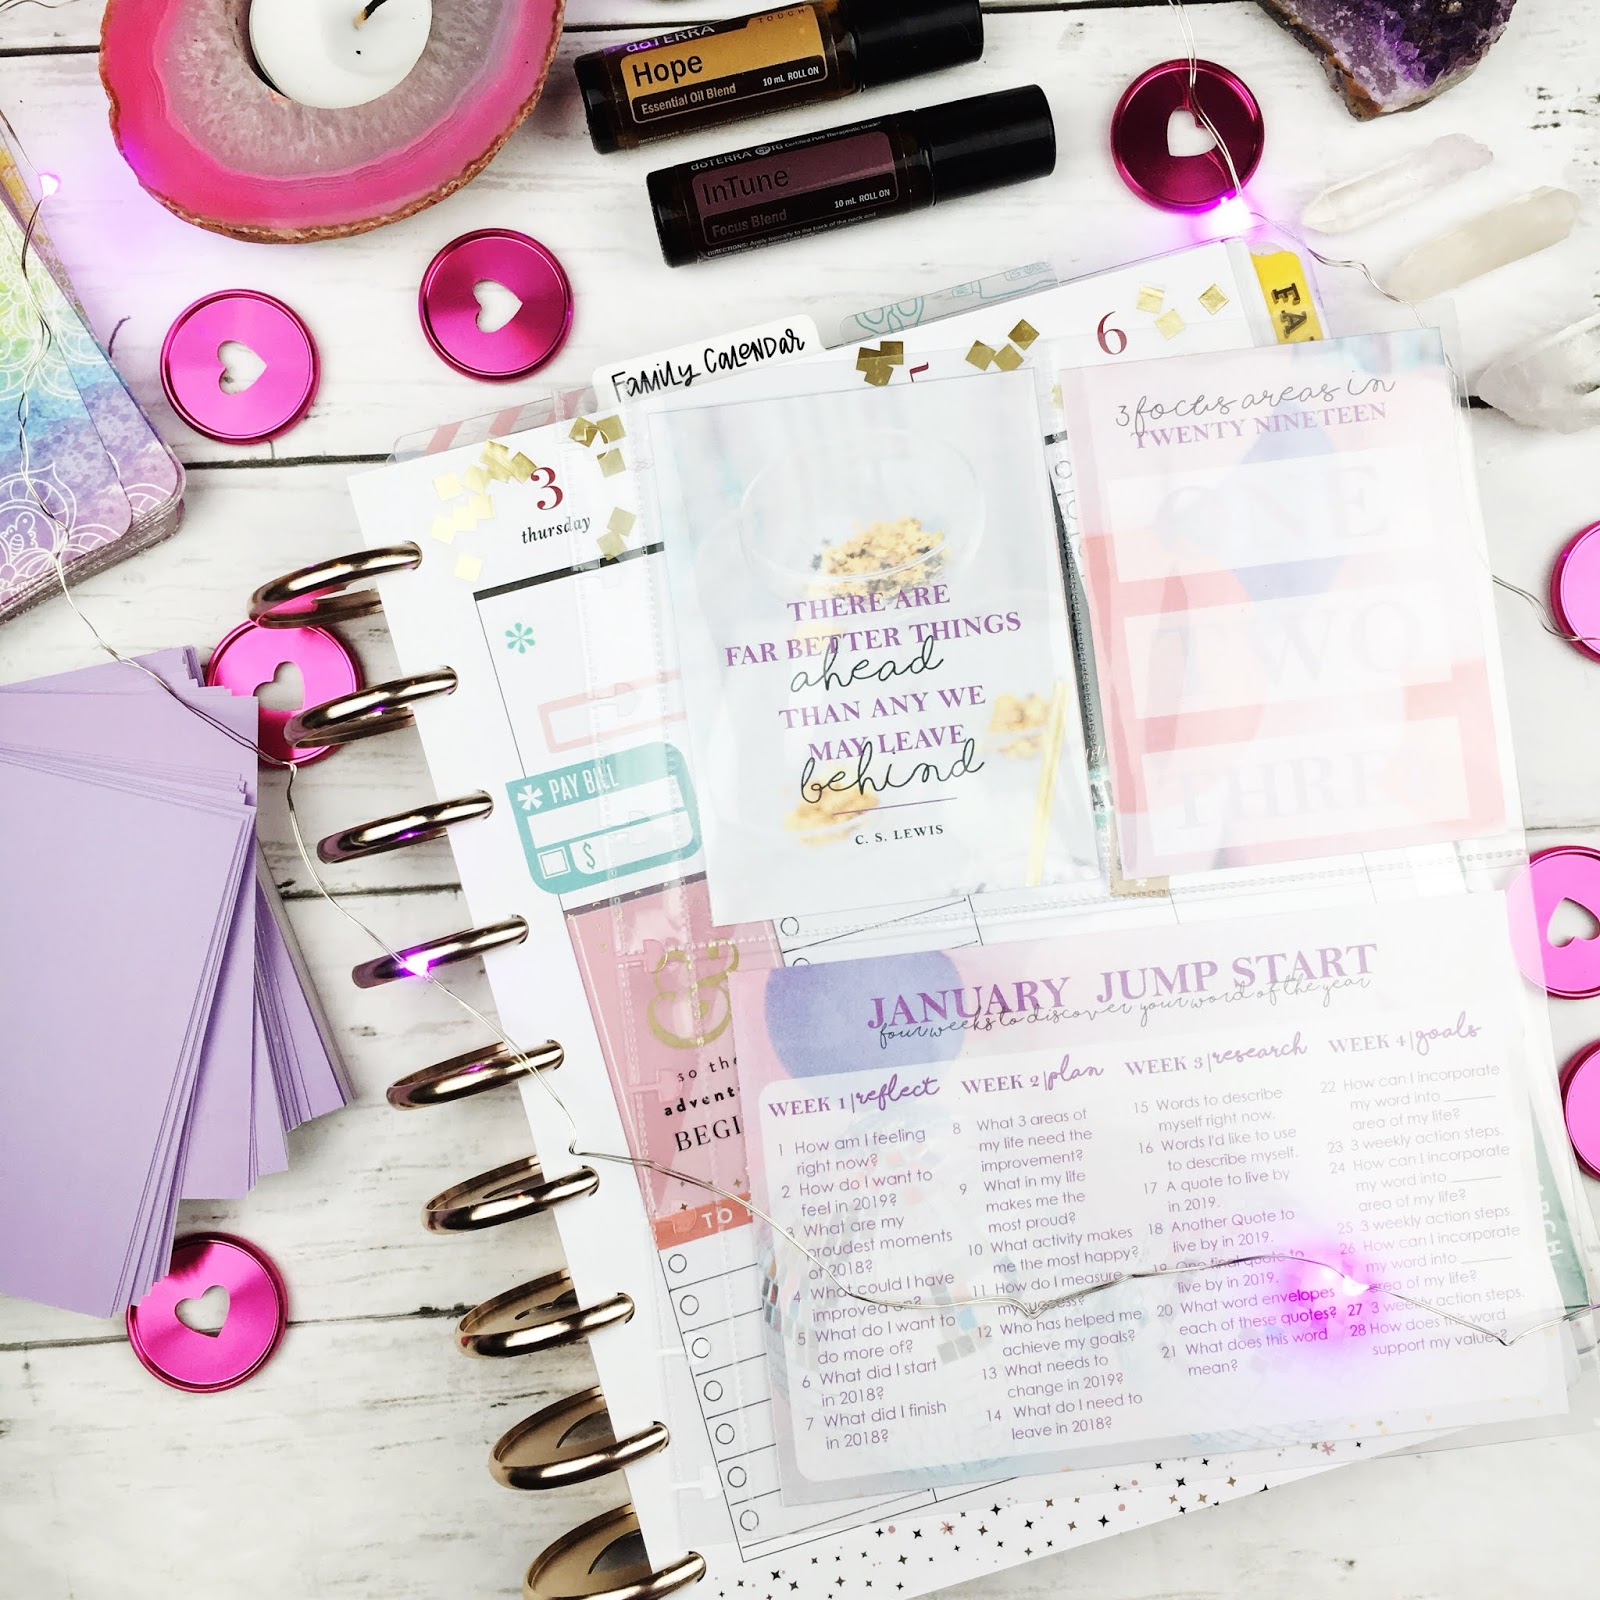
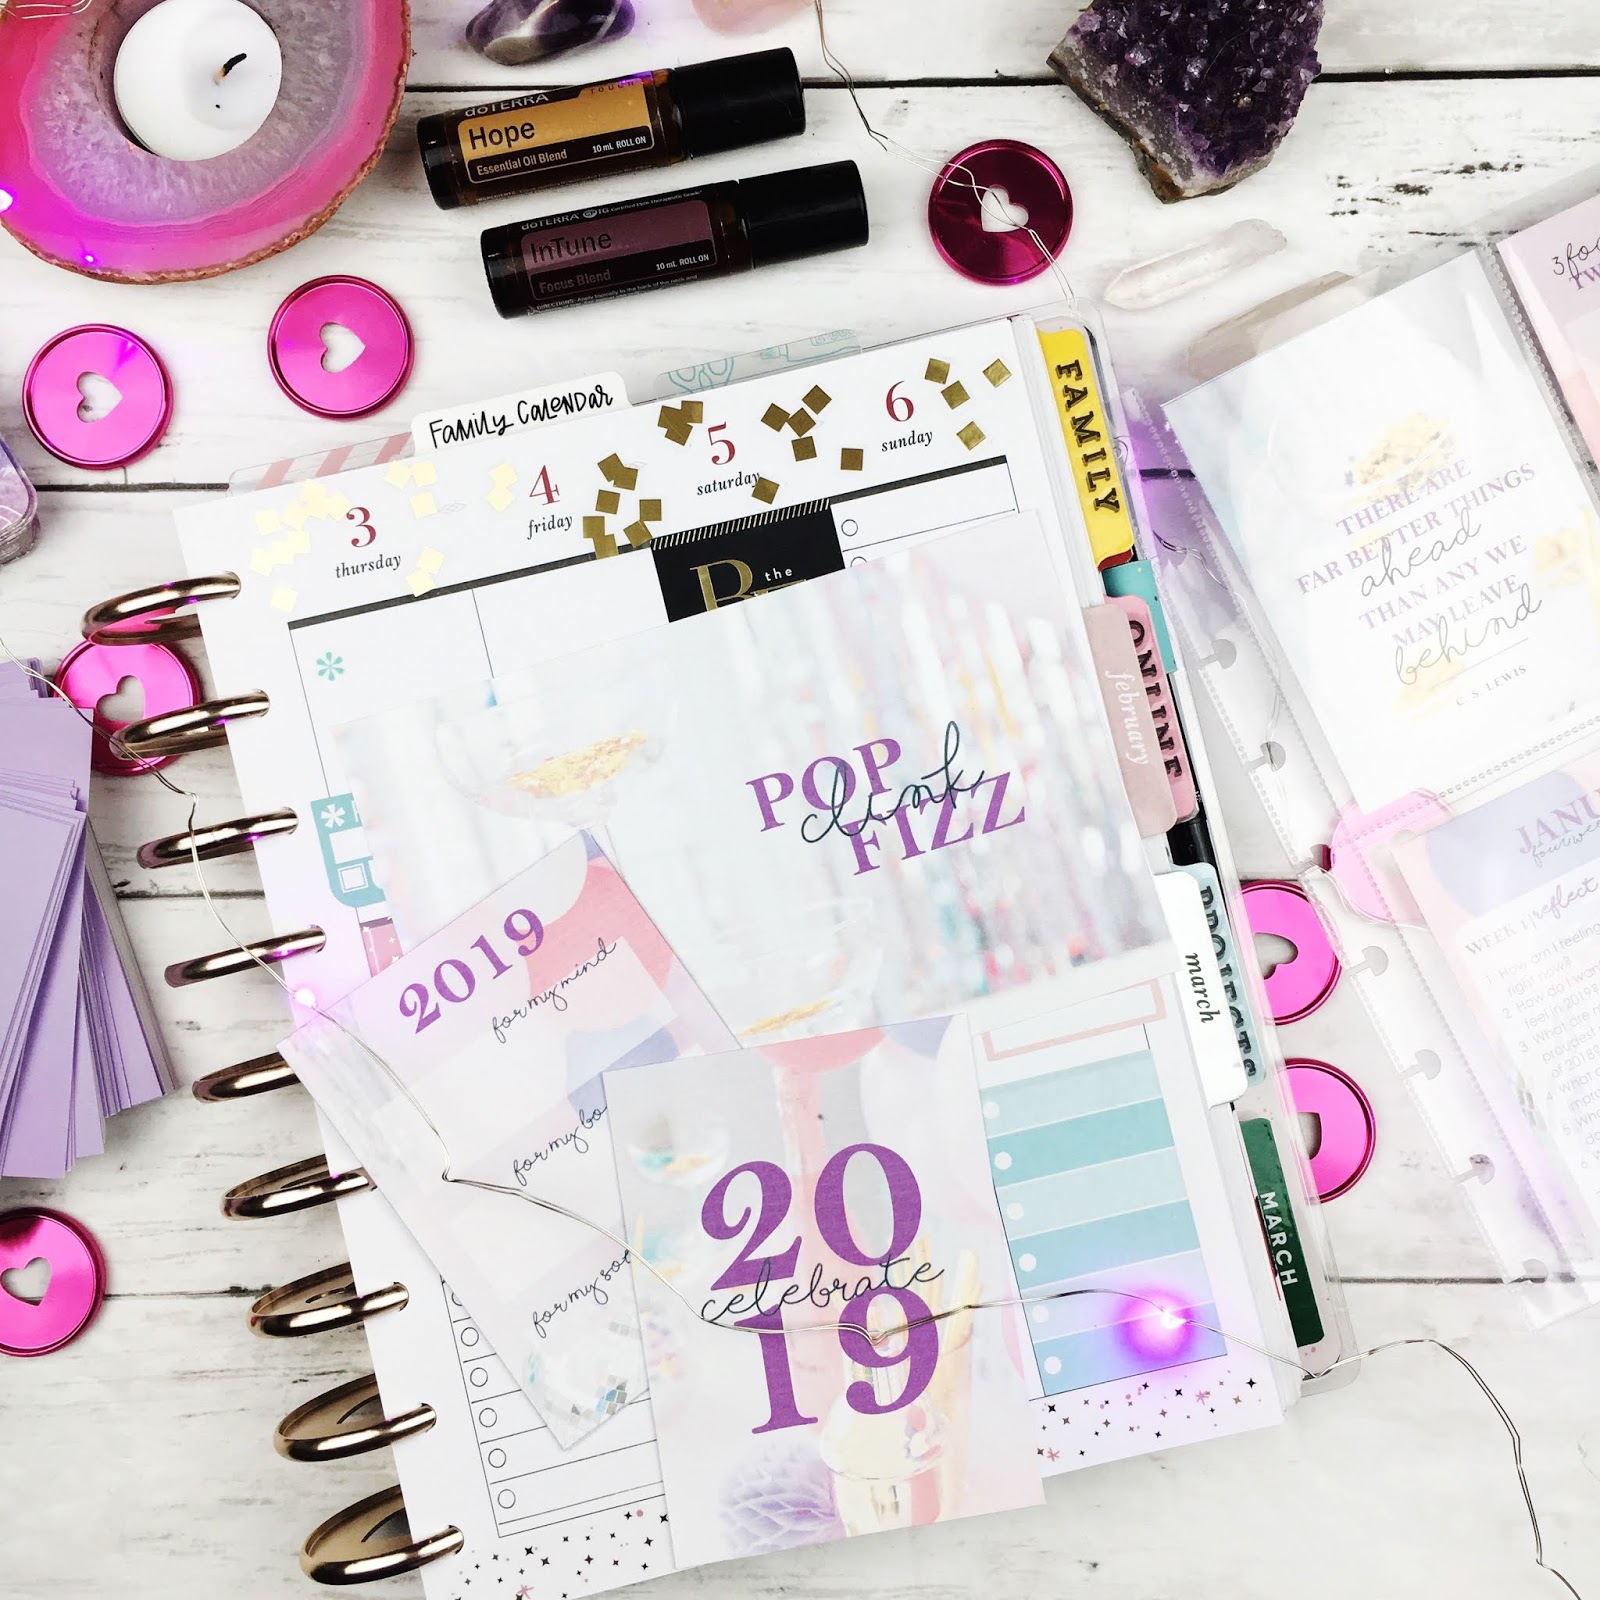
One of my favorite things to hoard are scrapbooking supplies - even before I started doing Project Life!  I've always been in love with scrapbooking supplies and one of my biggest problems was using them up.  I love the all the patterns and packs you can find, but I am always afraid that I will use the scrapbook paper in one layout and the immediately regret it.  I'm not good at committing I guess.  That's one thing I love about doing Project Life - you can change things easily as you make a layout.
This post contains affiliate links, please read my disclosure here.

But to solve the problem of my hoarding I've been making my own cards so I can print them again and again as I feel like I need them - that way I never run out!  In the sets I offer for free each month I like to include at least one or two fully patterned cards.  Today I wanted to share with you how to make different patterns using different online pattern generators a long with my all time favorite online mini design power house - PicMonkey!  (You can find some other DIY tutorials for making pocket cards on my blog here.)

Supplies - PicMonkey.com, printer, card stock, paper trimmer or craft knife and ruler, various pattern generators as mentioned below.

Create patterns with a pattern generator
First there are three pattern generators I want to mention - Tartan Maker, Stripe Generator, and BG Patterns.  Each of these creates a custom background based on the hex code corresponding to colors that you input.  I use ColourLovers to find palettes (or create palettes - tutorial here) and use those hex color codes in the patterns.  The hex code is the six digit combo of letters and numbers that correspond to colors.  ColourLovers gives you both the hex value and the RGB value of the colors in your palette.
Each website operates nearly the same, but for this demo I'm going to show you Tartan Maker.  There are many values you can play with - direction, yarn size, colors, etc.  Simply copy the hex code from ColourLovers and past it into the text field on Tartan Maker.  You can also use the color picker by clicking the solid color boxes next to the hex codes and picking a color you like.  Once you've input your values, click the make it over the preview.  You'll see a live preview of your pattern.
If you download this preview you're only getting a small tile, since we aren't in art school and no one will get mad at us, aaaannnnddd this method is totally acceptable for this project - we're going to take a screen shot.  Find the option to go full screen on the website and take a screen shot - If you're on a Mac Command+Shift+3 will take a screen shot and immediately save it to your computer.  If you're on a PC you'll use the Print Screen key and paste the image into a program like paint and save it.

Create and find patterns on ColourLovers
Another really cool place to find and create patterns is ColourLovers.  Using the search bar you can search for different patterns.  Use creative keywords - not just dots or stripes - because you never know what you might find.

Once you find a pattern you like, you can either download the 1600x1200 images under the share this pattern menu on the right hand side or you can color it yourself (by clicking color this pattern under the pattern image) with the hex codes of your color palette.
You can also use the create button to make your own pattern with different shapes.  These can get super complex or be super simple.  Make sure you change each shape to a different shade of gray so you can color each shape a different color when you save your pattern.  You can do this by clicking the square box of color under the layers menu on the left hand side.  The pattern maker is a fun tool to play around with.
Once you save your pattern design, color it with your hex codes, save it, and download the 1600x1200 image.  To create patterns and palettes you'll need to create an account.

Creating the patterned cards
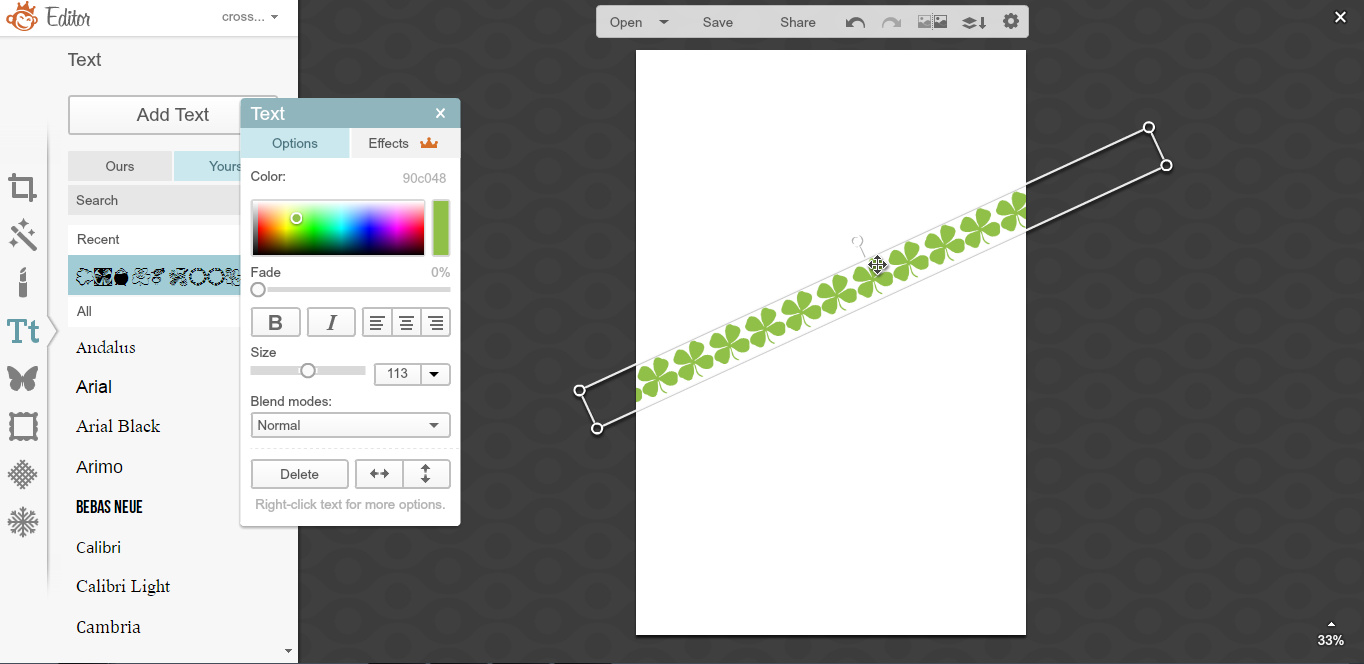
Since PicMonkey is my favorite site for easy designing, I'm using it again today!  To create the cards open your patterned images or screen shots in PicMonkey.  
Using the crop tool, crop to the size you'd like.  Personally, I think that the 4x6 cards are great as plain patterns but creating 3x4 cards with patterns and text is pretty cute too!  Once it is cropped, use the rotate tool if you need to.
I used some fonts and overlays from the Royale feature of PicMonkey but the free version has some amazing fonts as well.  This powerful mini design machine is only $4.99/mo or $33/year.  Love it!
For the blue Spring card I used a pattern from ColourLovers, same as the Remember This card. 
The plaid card was made with the Tartan Maker.

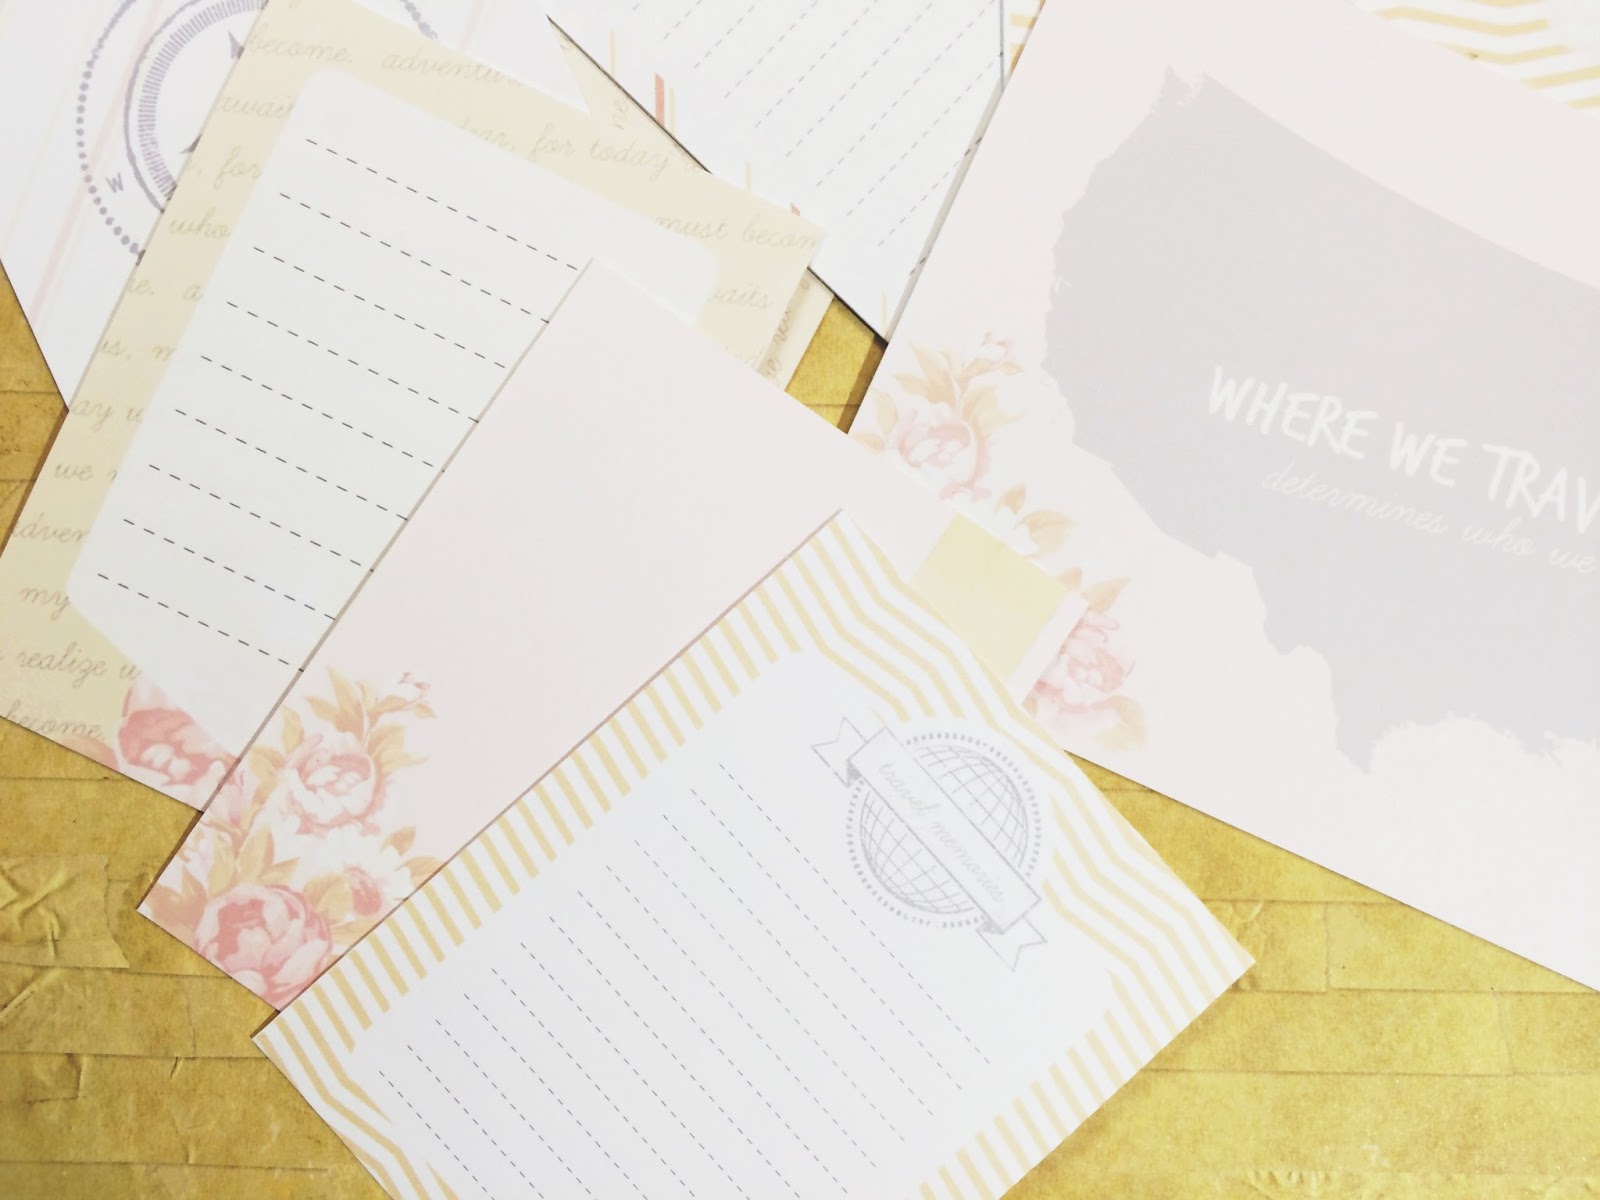
Repeat this step with all the patterns you could ever think to make!  Save your images as a .jpg and print them how you wish (I use Picasa).  Trim them and slip them in your scrapbook or even use them in the Project Life app!

How do you get creative with your favorite supplies?  Any other tips you have for Pocket Scrapbooking?

xoxo, Moe

find more PicMonkey tutorials here!

oh, ps - if you want the set of three I designed for this post, click here!

2.26.2015

Free Journal Cards March 2015

2015 sure is flying by because March is already here.  There is still snow on the ground and who really knows if we'll get more!?!?! Where is Spring?  Isn't the first day of Spring like March 20th?  I'm going to need that to hurry up and get here.  A lot went down the last few weeks in February so hopefully I'm back to catching up on the blog here, on the YouTube channel, and on my newly opened Etsy shop!  Any way, here are the cards for March.
I was really torn between doing the traditional St Patrick's Day theme or something more my style and I chose to go with the latter.  I wanted spring inspired cards!  Maybe it's my way of praying to the god of Spring that it comes swiftly!

If you want to download the PDF, click here.  Remember that these are free for personal use only.  Do not redistribute them, claim them as your own, or sell them.  Please only pin this post and not the PDF itself.  Thanks for playing nice!

xoxo, Moe