Showing posts with label freebie. Show all posts

5.15.2020

Free Sticker Friday // Planner Girl Memory Planning Sticker Kit

It has been a long, long while since I have offered a free printable sticker kit on the blog.  I mean...a loooonnnggg while!  I used to post a sticker sheet nearly every Friday because I loved making them so much.  The last Free Sticker Friday post is from by birthday in 2017!  I've been making stickers for myself and for Patreon for a while but I thought I'd share this guy over here just for you all.
this post contains affiliate links, please read my full disclosure here.

Way back in the way back, you may remember, I did the no-white-space EC style planning.  I had an Erin Condren planner & I had inserts that mimicked the EC layout.  I did both my regular, everyday planning and my memory planning in this EC style.  My everyday planning really took on the no-white-space look while my memory planning had a little more white space showing.  Check out how I set up a Memory Planning spread here (that was way back in 2016!).

Then I went into memory planning in my horizontal Happy PlannerThat was fun because I did like to journal and found the layout inspiring for memory keeping.  I fell off the memory keeping wagon for real in about 2018 right before our wedding.  This post goes over how to print your photos at hom for memory keeping.
After getting pregnant with Marcus I wasn't feeling planning of any sort so I totally stopped all of it!  Now that he's here I wish, wish, WISH I was feeling it because it would have been very nice to have a document of all the things that happened & that I was feeling before and after his birth.  But we can't really go back in time, so we just gotta start now.

Since being in Quarantine, I've gotten inspired by the ECLP planning style again. I've been watching a lot of my OG YouTube planner channels - think like Scribble Prints Co - and getting back into that style of planning.  Since I've kept my Happy Planner starting in January and I've been documenting Marcus with a ton of pictures on my google photo account, I've been able to do some memory planning or rewind spreads in my new memory planner.
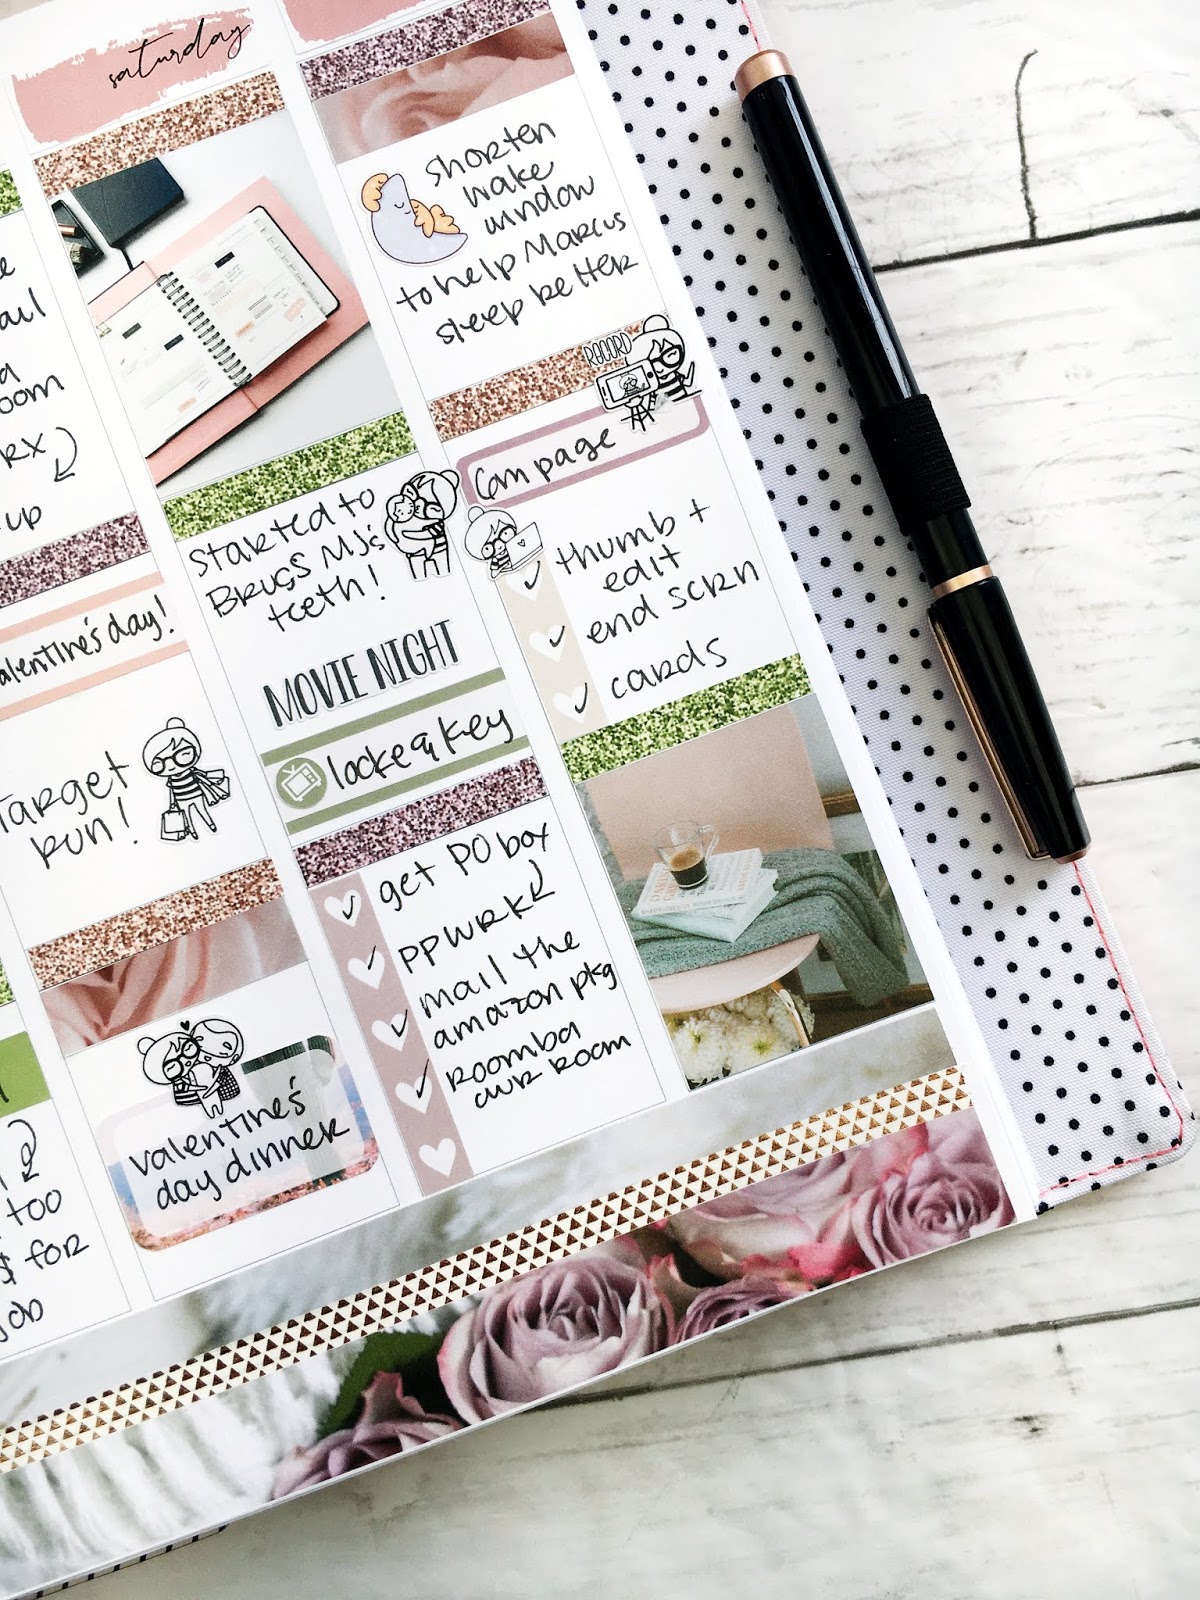
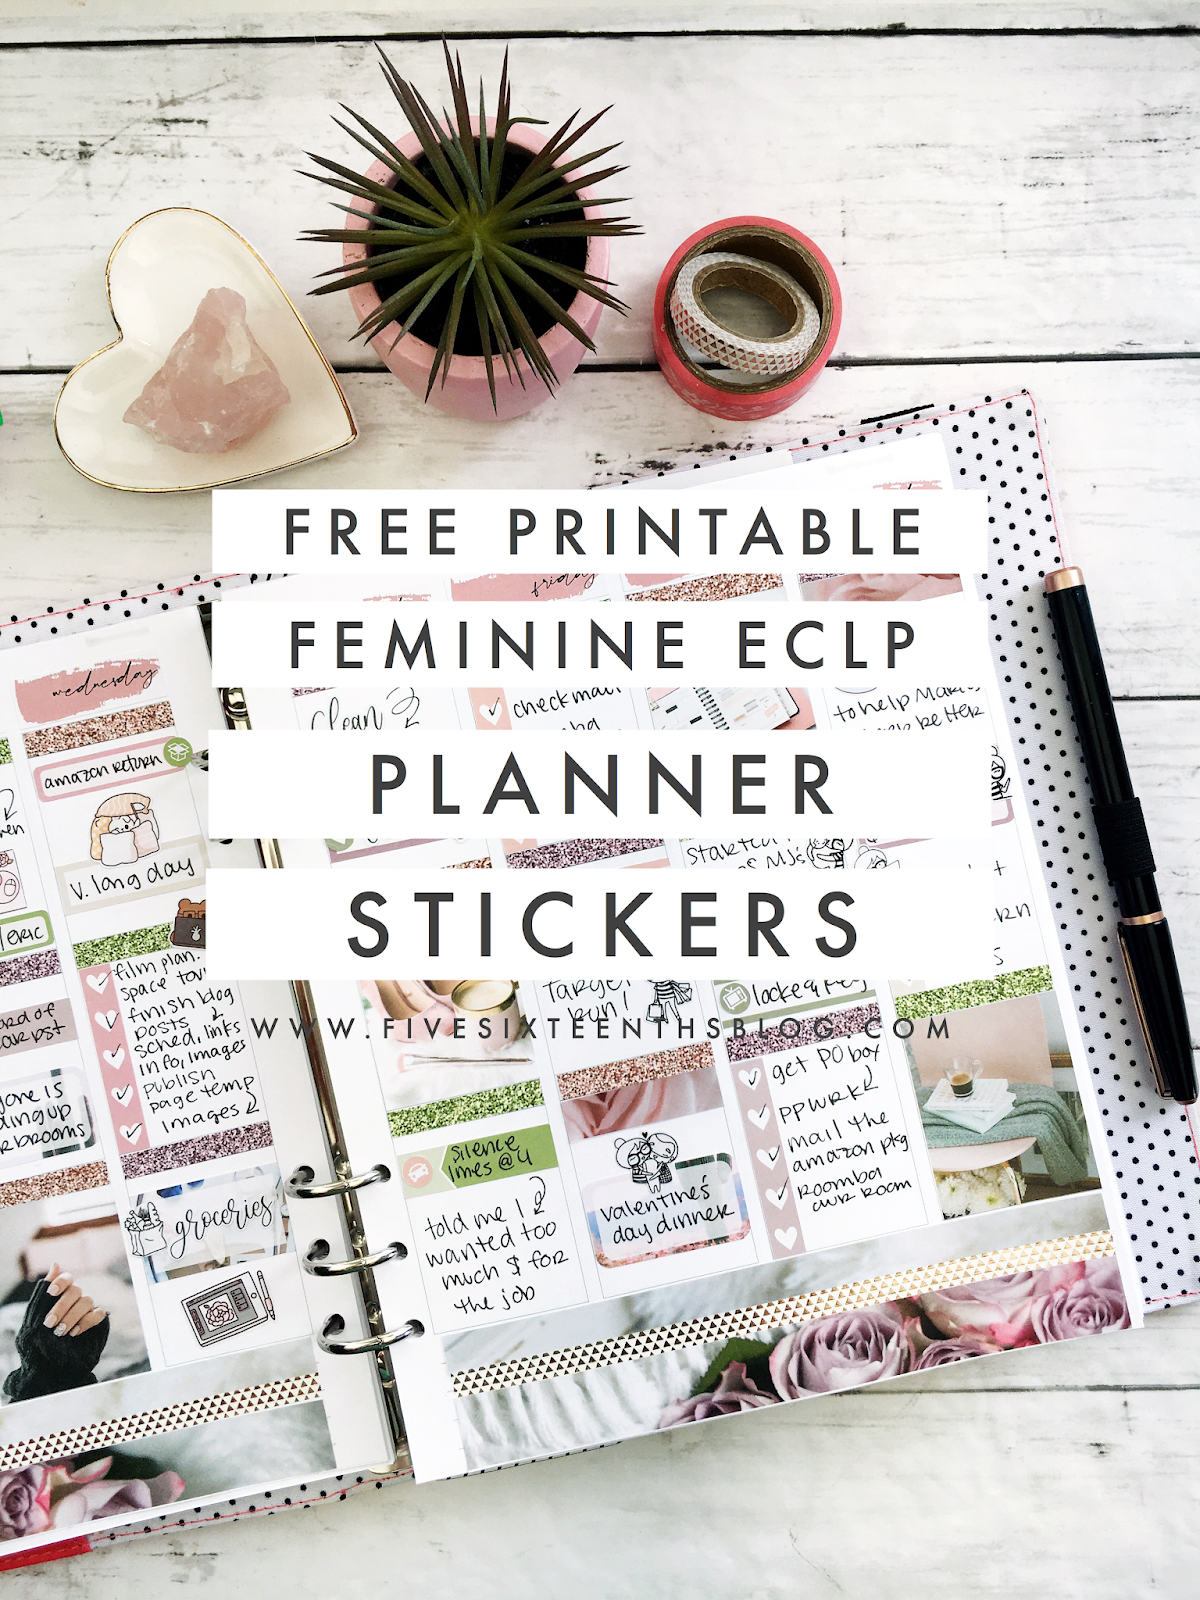
This kit is very pink & very feminine so I used it to memory plan Valentine's Day week of 2020.  (Check out my Happy Planner Plan With Me video for this week here.)  I think it has the perfect mix of checklists and functional boxes plus some little icons that you can just supplement a little bit with stickers you may have leftover from other kits or character stickers.

The stickers in this spread have come from the Papershire Facebook group & Print Petticoat Bandit.  I've made some script stickers myself (video tutorial coming soon!) and my own DIY glitter headers (check out the tutorial here!).  This kit comes with 7 glitter headers already but if you need more you can TOTALLY make some yourself, for free, to cut with your Cricut Explore or Cricut Maker!

DOWNLOAD THE PLANNER KIT HERE


Go ahead and download the kit above and let me know what you think! As always, these printables are for personal use only - do not sell or reproduce these guys.  You'll get a PDF to cut by hand, a PNG ready to cut with your Cricut Explore or Cricut Maker (size it to 6.75 in x 9.25 in in Design Space), and a Silhouette file to cut with your Portrait or Cameo.  
I'll also link above my favorite sticker papers to use.  I have two new favorites!  The weatherproof matte sticker paper from Online Labels is AMAZING.  I bought this a few years ago to make one sticker for Zach and then never used it.  I finally decided to bust it out again and it is perfect for super crisp, professional looking prints.  I also just found this Packzon sticker paper on Amazon too.  While not as durable as the weatherproof paper from Online Labels, it does give crisp prints and is much more affordable.  It is a bright, bright white just like the weatherproof paper too.  My OG favorite that is super affordable, kinda removable, and super thin is the Yens Full Sheet Labels on Amazon.  These aren't as crisp white as the other two but it doesn't look bad.  I've used this sticker paper for YEARS and it has only been recently that I've switched.  I like this paper because it is very thin and wont bulk up your planner.  The paper isn't marketed as removable but it comes up easily unlike the other two mentioned above.  The prints still come out acceptable...I was satisfied with the quality for years!  It takes inkject really well and delivers a fine print!  I recommend all three, and based on your needs, think there is a sticker paper in here for you!

I hope that you've been having a fun planner journey and if you're just starting out be sure to check all the previous planning blog posts here on the blog!

What have you circled back to in your planner journey?  What have you done from the very beginning?

xoxo, Moe
1.01.2019

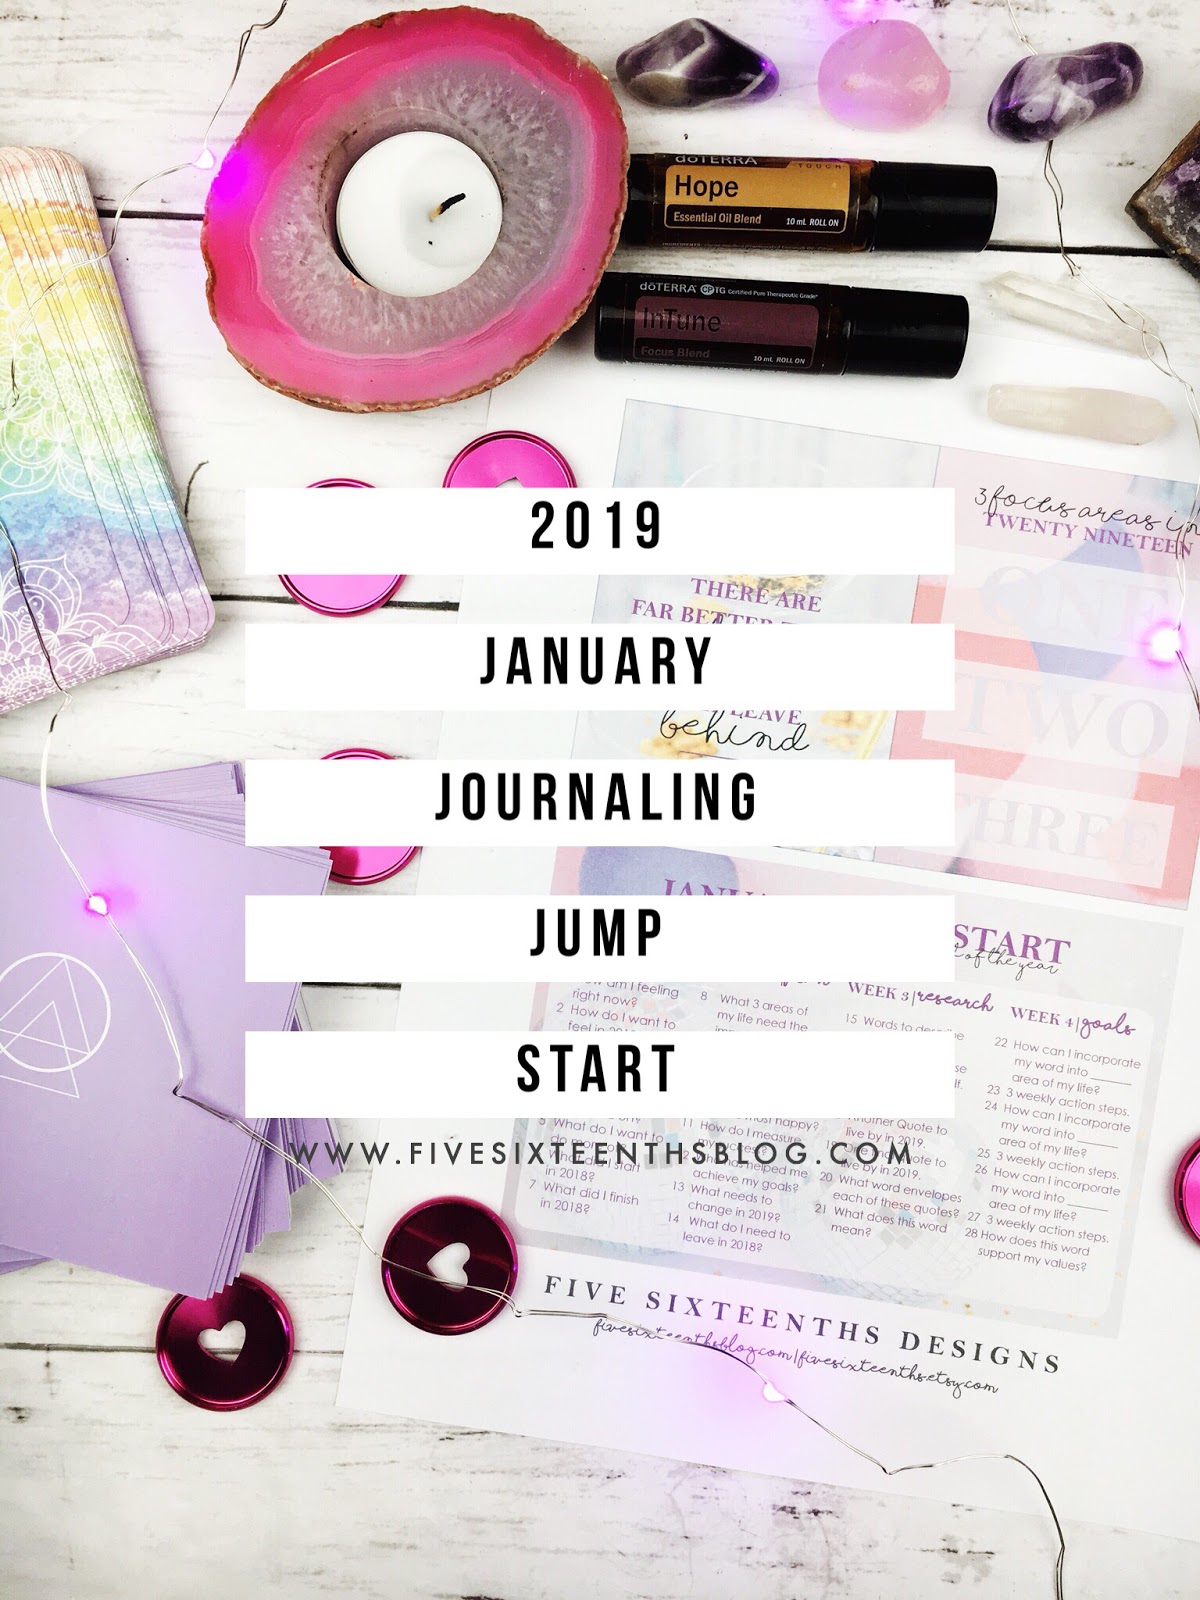
2019 January Journaling Jump Start

Well, here we are again.  Another year over & a new on just begun.  Last year I did my own little journal prompt exercise to discover my word of the yearIt's not that other prompts & challenges out there were bad...it was just that I was bad at them.  Sometimes I need something that fits me instead of me trying to fit in.
this post contains affiliate links, please read my full disclosure here.

I will say, over the years there's been quite a few things I don't fit into and I've learned to blaze my own trail rather than try to follow along.  And so the January Journaling Jump Start was born!

Last year was my first year coming up with the prompts and this year I changed just a few of them to align more with what I'm looking to discover.  So here we go.


What is the January Journaling Jump Start?

This is a four week journaling prompt exercise to help you reflect on 2018, plan for 2019, research who you want to be, and outline your next action steps.  Each week has a theme - reflect, plan, research, outline - and 7 prompts to help you connect with each theme.  You can take just a few moments to jot down the answer or get creative in your journal to do a little bit of self care.
This month long activity will help you discover the perfect word to live by in 2019.  Your word should be personal & it should be something you can incorporate into your everyday life over the next year.  It's all about focusing on how you want to feel in the new year not necessarily a physical thing you want to gain.  It's about making space for a new you so that you can become the person you'd like to be.


How Can I Get Started?

First download the prompts in the link below.  You'll find a set of journaling cards featuring the prompts as well as a link for a planner template download.  There are a TON of ways to do this though - use your current journal, create a mini album, make a dedicated travelers notebook, start a listing journal, add it into your vision planner - just get to it!  
The best part is that you can be creative in the way that really connects with you!  And hey, if these prompts don't connect with you create your own challenge and share it with us in the Five Sixteenths | Live Creative group over on Facebook!


If you want to check out last year's journal prompts (they are very similar so you can totally use those journal cards too), click hereThe journal cards for this year's prompts work perfectly with the December Patreon Printable of the Month, too.  If you're down to join in on an ever growing library of printables, join the Printable of the Month Club for only $3 a month!  Click here to join.


Happy 2019 my friends!

What is your word for 2019?  Have you chosen a word for your year before?

xoxo, Moe

12.01.2017

Freebie Friday // Printable Buffalo Plaid Mini Happy Planner Cover

Oh my goodness you guys...the holiday season is heeerrrreee! Who has their tree up?  Who has lights up?  Who is wearing holiday leggings?  I am only doing the last one because I am waiting for Zach to come home to start decking the halls!  However, as soon as set down my last piece of pumpkin pie I started to deck my planner!
this post contains affiliate links, please read my full disclosure here.

I have for you today a free printable Mini Happy Planner cover!  This guy is in a PNG format so you know what that means....it is ready to print then cut with your Cricut Explore!  Don't have a Cricut Explore yet? Better get to asking Santa! (Oh! There is a new Cricut Machine that does print & cut AND so much more.  It is the Cricut Maker!)  This cover is perfect for the current season.  I mean buffalo plaid is all the rage.
On the week of Thanksgiving, I posted in the Cricut Ready Stickers Group on Facebook how to make your own buffalo plaid prints using an oldie-but-a-goodie website/tool : a tartan maker.  I've been using this site for ages (I even mentioned it in this post!) and love to go back to it when I need simple tartan/plaid pattern.  So easy!  And you can import these patterns right into Cricut Design Space too.  Learn how to do that in this video over on the YouTube channel.

DOWNLOAD THE BUFFALO PLAID PLANNER COVER HERE

As with all the free downloads on the blog, these are free for personal use.  Do not sell the final product or the file.  Do not distribute in mass quantities, and do not claim any part of this as your own.  If you want to share or Pin this project, please pin the blog post and not the file itself.  I appreciate everyone playing nice!


When you download this guy, be sure to size it to be 7.5 inches tall.  Keep the proportions locked and the width should auto populate.  To fit this guy on my happy planner in my Recollections binder that I deconstructed I did have to trim a bit off of the right side.  Then I rounded the corners with my corner chomper.  So if you're using approved Happy Planner deluxe covers (the little binder style guys) you won't have to trim this.  Additionally, you can see this post for how I laminate & then cut the planner covers with the Cricut Explore.

Happy Holidays & Happy Planning!

9.11.2017

Make it Monday // 3 Autumn Mini Happy Planner Covers

It is so chilly up here that I just know snow is going to fall before I'm completely ready.  Everyone else I know is down south still wearing shorts and flip flops.  I've fully busted out the boots, hoodies, and fall candles!  So it is only fitting that I dress up my planner for Fall!!
this post contains affiliate links, please read my full disclosure here.
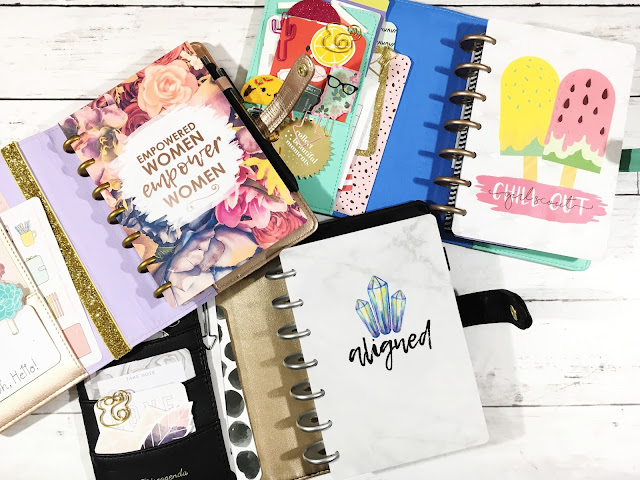
One of the things I wish MAMBI would do is release a ridiculous amount of deluxe covers for the Mini Happy Planner.  I've debated on painting a few of mine just to have the diversity I want.  I have yet to take the plunge into taking the rings out of a six ring binder.  I almost tried this weekend but I chickened out!  So now I'm just using the gold deluxe cover for fall and a brand new snap in cover!! Below are three covers for you to cut with your Cricut Explore, so enjoy!

supplies // printable covers, printer, regular printer paper, Cricut Explore, 5mil laminating pouches, Cricut mat

Circut has recently updated their print then cut area to be 6.75 inches by 9.25 inches.  This update also changed the registration marks so my previous way of laminating then cutting no longer works.  After a ton of trial and error trimming my laminating pouches I found that my Cricut was able to read the registration marks even if they work laminated!  Queue the celebration!
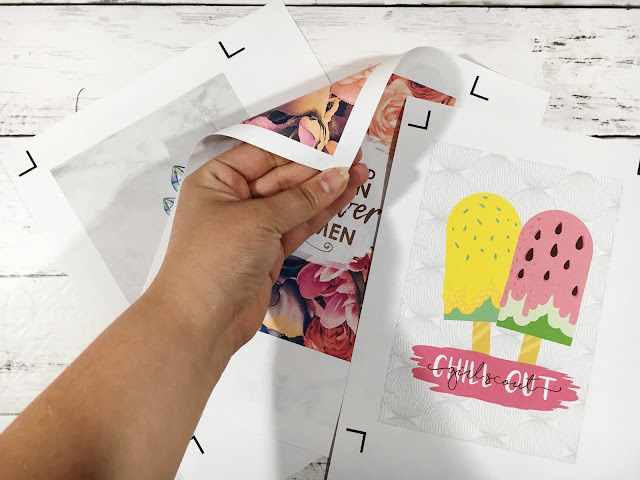
So, open the desired back image and print that on your regular printer paper.  What I tend to use is 28lb paper.  It is slightly thicker but not as thick as card stock and that really makes the cover stand up to wear and tear more.  Upload the desired cover image to a new canvas in Cricut Design space.  There is no clean up needed so just follow the steps and save as a print then cut image.  Add this new image to your canvas, size the height to be 7.5 inches.  If the proportions are locked then the width will auto adjust.  Select Make It in the upper right hand corner, then send your project to your printer.
You can now access your printer's advanced settings in order to set the print quality.  From the pop up after selecting Sent to Printer, click on Advanced Settings.  Now you can select the paper type, any saved print settings, etc.  Print the image on the reverse side of the page you just printed.
Place the printed page into a 5mil laminating sleeve and feed through your laminator.  I find that 5 mil over regular printer paper holds up enough through wear at tear and a regular laminator gets hot enough to create a good bond to the paper.  If you try to laminate card stock with a regular old laminator it won't get hot enough to form a strong bond and the lamination will start to peel back from the paper.  That's not good!
If you're mat is not sticky enough you may need to use some washi tape to hold it down.  Feed it into your Cricut Explore and choose the proper setting.  I use Poster Board + and cut the project three times.  Once it reads the marks & cuts once I press the Cricut button on the machine another time to cut it again.  Then, after that cut, I press the Cricut button a final time.  This only reads the registration marks once and you don't have to unload & reload the mat.  It is super helpful!

DOWNLOAD THE COVER IMAGES HERE!


If you find your machine won't read the marks, try to cut in complete darkness or as close to it as you can.  I cut these guys multiple times in this experiment and it worked all 5+ times.  So hopefully it works for you!
The corners of these covers are square but if you'd like them rounded just use a corner rounder.  Obviously its easier to make the file with square corners and trim if you'd like than to do it the other way around!
I hope you enjoy these covers and that you're enjoying the Fall weather if it's getting chilly where you are!!

Want even more Cricut Explore DIYs?  Click here!

xoxo, Moe

7.14.2017

Free Sticker Friday // I Love the 80's Mini Kit

When I was younger my sister, brother, & I used to watch Saved by the Bell nearly every morning during breakfast.  I mean Kelly Kapowski is still a style icon of mine and literally the reason I love LuLaRoe because of the amazing 80's inspired patterns.  I mean, I still tie my Carly dresses into knots...I'm so down with that.  I'm not sure if the 80's are making a comeback, but I'm bringing it back with my clothes and with this mini kit.  I was born in the late 80's and was only 3 when the decade was over.
Free Weekly Planner Stickers
I still have nostalgia for a lot of retro things - like give me an avacodo colored kitchen from the 70's any day of the week and I'll also take an 80's poofy prom dress please.  Being a person that loves a really good thrift store, retro holds a big piece of my heart.

DOWNLOAD I LOVE THE 80'S KIT HERE


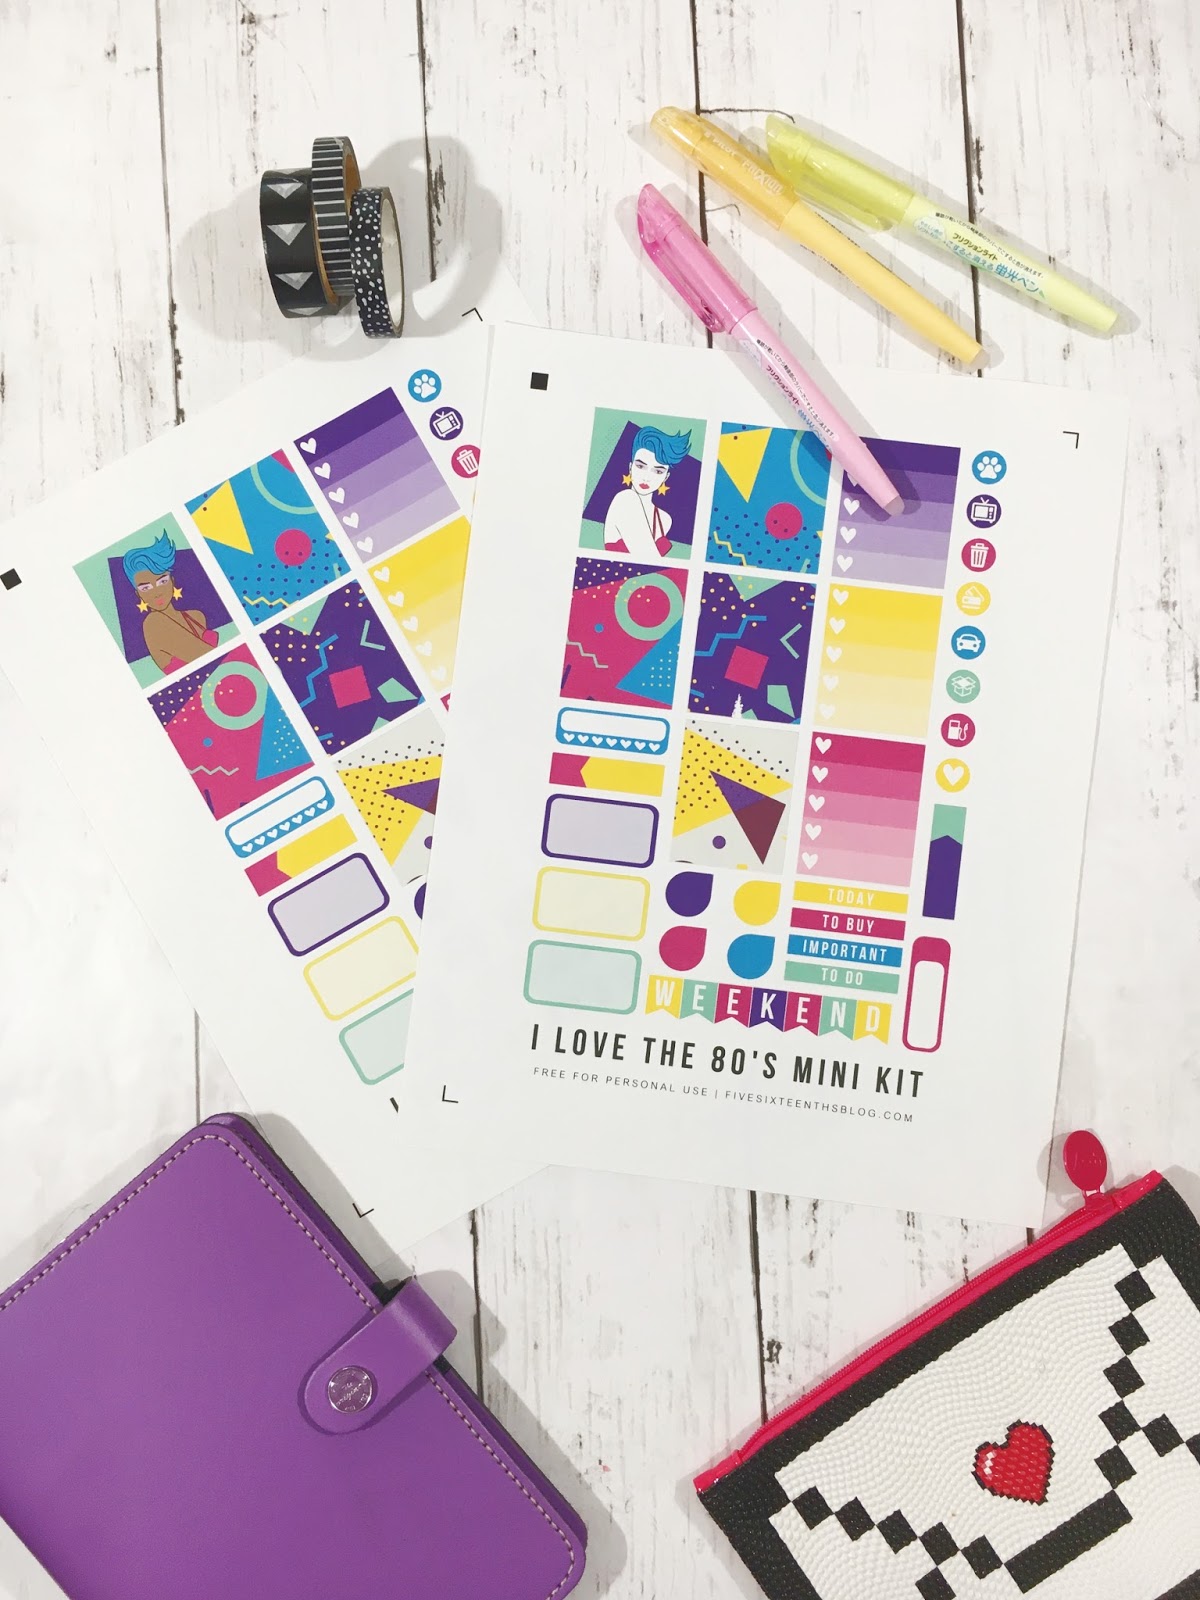
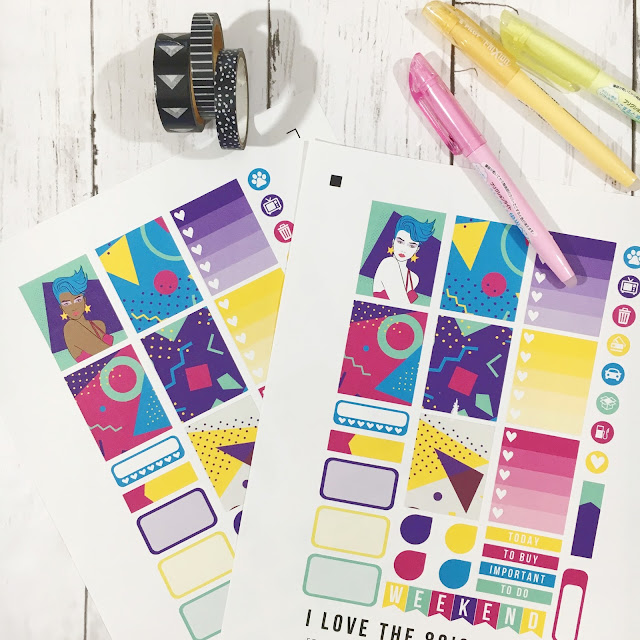
In this download you'll find PNG files to cut with your Cricut Explore, studio files to cut with your Silhouette Cameo or Portrait, as well as a PDF to cut by hand (though this tool is pretty neat).  There are also two skin tones to choose from - both 80's ladies have blue hair, pink shirt, and amazing purple eyeshadow.  Remember to size the files to 5.5 x 8 inches in Cricut Design Space.
Planner Stickers for Cricut Explore
Remember, all printable files on the blog are for personal use only.  Do not claim any part of the design as your own.  Do not sell the digital file or sell the printed product.  Do not print and distribute in mass quantities.  As always, thank you for playing nice.

If you're planning an 80's themed party or just want to throw it back a few decades, this kit is perfect.  I like to use these smaller kits in my Memory Planner since I combine a bunch of different kits, leftovers, and decorative stickers together.  But this is also perfect to use in something like the Mini Happy Planner.  Make sure you check out my YouTube channel for fun plan with me videos!

Shop Related Products on Amazon!

If you want a quick lesson on how to cut the stickers posted on the blog (and the Cricut Ready Planner Sticker Group) with your Cricut Explore, check out this video.  You can also learn to design your own stickers - check this playlist for tips!

Do you have a decade of style you love?  How do you throw it back?

xoxo, Moe

6.19.2017

Make it Monday // Mini Happy Planner Cover with Cricut Explore

Summer is nearly here!! Who's excited for the Summer solstice?  This girl is! I seriously can not wait to spend more mornings, days, & evenings on my porch.  Plus I can't wait for cool dips in the water & delicious summer time drinks.  (Lemonade is my favorite so you know I've got two of my favorite recipes here.)
DIY Mini Happy Planner Cover
this post contains affiliate links, please see my full disclosure here.

If you're a creative planner girl, I'm sure you love to style your planners for different seasons, holidays, and themes.  Styling my planner as my mood or as the seasons change is a relaxing an creative process for me.  Gathering up some of my die cuts, scrapbook paper, paper clips, and Project Life supplies and creating a cohesive vignette is a simple way to burn some creative energy!  Until now, I've only had the Mini Happy Planner covers that are already in existence.  But using InkScape and my Cricut Explore I've now got 3 summer themed planner covers - and I want to share them with you!

Shop Supplies on Amazon!


This is a print then cut project so you'll need to upload the cover of your choice to Cricut Design Space and size the height to 7.5 inches.  Select Go, and print the cover on to your chosen printer paper.  I use 32lb paper because it's a little bit sturdier but not as thick as cardstock.
Cricut Explore Mini Happy Planner Cover
Open the corresponding back file on your computer and print this image on the back of the cover page.  Be sure you're using the highest print quality for a vibrant print!  If you're unsure how to print back to front on your printer, you may want to do a google search for your specific printer.  For my printer, I place the printed page face up and the second image is printed on the reverse side.
Mini Happy Planner Cover DIY
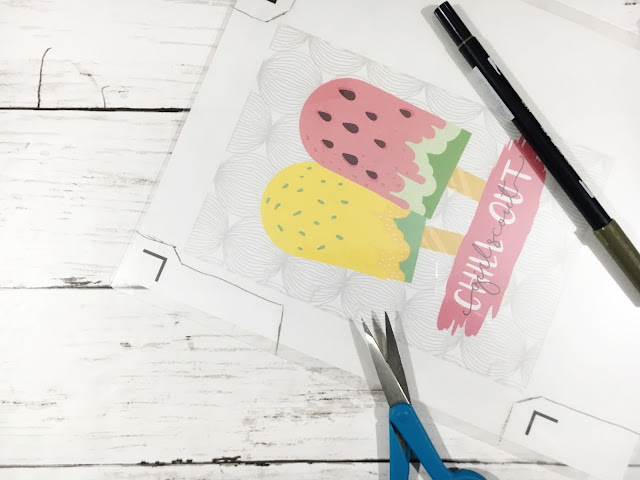
Next, laminate the printed page similarly to this tutorial, lining up and cutting out notches so that the registration marks aren't covered by the lamination.  I've found that cutting far, far, far from the registration marks gives the most success!
Mini Happy Planner Cricut Explore Project
Place the laminated page onto the Cricut mat.  Set the dial to Poster Board + then cut the project following the prompts on your computer screen.  You may find that one pass under this setting is not enough, simply press the flashing Cricut button again after the first cut is completed.  This will run the mat through the cutting process again to ensure the cover is completely cut from the page.  I've found that 3 passes is just right.  You can create a custom material setting - but I'm lazy!
DIY Dashboard with Cricut Explore
The best part about having the corresponding back pattern is that the cover looks great from both angles!  And you can use it as a dashboard for sticky notes or just look at how professional your creation is!

DOWNLOAD MINI HAPPY PLANNER COVER FILES HERE


Remember, all files downloaded from the blog are for personal use only.  Do not distribute the files or the finished product.  Do not claim any part of this file as your own.  Do not print and disseminate in mass quantities.  If you'd like to share this project with others, please link to or Pin this post.  As always, thank you for playing nice.
DIY Mini Happy Planner Cvoer
Now pop your cover onto your Mini Happy Planner!  I love the variety of Deluxe Covers for the Mini Happy Planners (there is a HOLOGRAPHIC! one for the classic size, did you know?!?!?!?!) and have found that the personal size Disc Agenda Covers from Love Doki fit the Mini Happy Planner perfectly!  My favorite is the constellations one!
Mini Happy Planner Cover Printable
When you make this project please, please tag me in your photos on Instagram.  You can also join my Cricut Ready Stickers group on Facebook for printable stickers and project shares!

Do you change your planner accessories seasonally?  What do you use to style your planners?

xoxo, Moe

6.14.2017

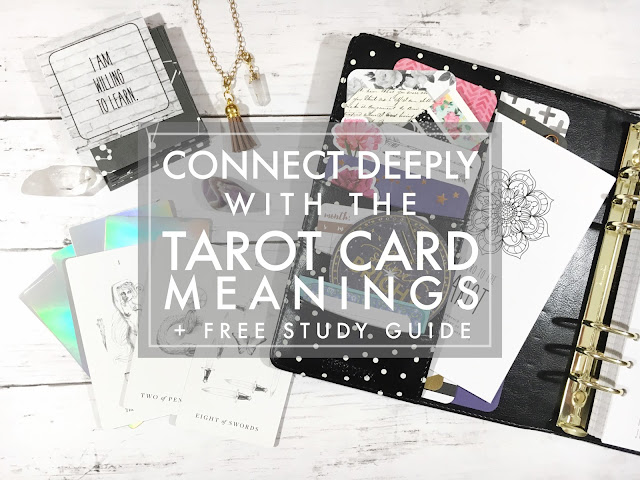
4 Tips for Deeply Connecting to the Tarot Cards Meanings

If you haven't noticed - either from the blog or from my Instagram - I've started to learn to read Tarot cards.  This has been a great journalling, mediation, and self improvement tool for me.  I highly recommend a little Tarot exploration if you're looking for some meaning in your life or you want to connect with your higher self.  In my quest for mindfulness this year, reading Tarot has helped me be more self aware and has helped me become more spiritual.
Free Tarot Study Guide
this post contains affiliate links, please read my full disclosure here.

Learning to read Tarot can be developed like any skill.  Study & practice is only part of the journey.  Equally as important is your personal relationship with the cards and the personal meanings that resonate with you.  There is a delicate balance between these two parts, and I don't think you can do one with out the other.  I've created a study guide, found at the end of this post, to break the deck down for you so that grasping the common meanings is easier.  But interacting with the Tarot will build that deep, intuitive connection.  Here are some tips for working with the cards in order to understand what they have to reveal:


Learn with a Pictorial Deck

I've found the best decks to learn with are decks where every card is illustrated in detail.  If you use a deck based off of the Tarot De Marseilles you'll find that only the Major Arcana cards are fully illustrated which might make it hard to connect with the meanings of the cards.  For example - the Sun has a grand illustration while the 4 of wands is simply four sticks.  The latter part of that example doesn't illustrate the celebration, harmony, and victory that the 4 of wands represents.  It is easier to see that interpretation when the card is fully illustrated.
Tarot Decks to learn with
There are three decks I love for the imagery - the Original Rider Waite deck, the Wild Unknown Tarot, and the After Tarot.  The other deck pictured here is the Luminous Spirit Tarot deck.  Since there are commonly assigned meanings to each card, each card is illustrated reflecting that meaning.  This is visual stimulation to help associate meanings and eventually you will be able to see the images in your minds eye.  This can help if you're reading with a different deck or a non-illustrated deck (or even playing cards!) as you can pull from your memory bank.  But the best part about these illustrations is that you can begin to create personal connections with the cards and have the images resonate with you in a personal way.


Do a Daily Pull + Journal, Journal, Journal

In order to gain this personal connection it is important to work with the Tarot daily (or as frequently as possible).  This is as simple as a daily card pull.  I've posted about my Mindful Morning Routine before - but each morning I set aside time for meditation & my daily pull for guidance.  Journalling is another key part to connect with the tarot cards.  So pulling a card a day and journaling the message your receive from the card will help you make that personal connection and form your own data bank of meanings.  The best way to develop a skill is to practice as often as possible!
This is where your little white books and other Tarot resources come into play - like the study guide in this post.  These resources are there to help you but you should eventually come to rely on your intuition and trust your own knowledge.  Journalling daily will give you a data bank of personal meanings.  You'll also grow through your studies, developing a deeper understanding of each card.  Pulling a 3 of Pentacles right now in your journey may have a different meaning when pulling it in 6 months.  Journalling will help with this process.  You'll have a record to look back on and reflect!

Weekly Readings

To gain a better understanding of how the cards work together it is important to work with more than one card.  You can do pairings of two cards or even bigger spreads if you like, but working with more than one card will help you create connections and see how the cards of the Tarot play together.  A weekly reading is a great way to build these connections between the cards and build a relationship with the cards.  I pull a theme card for the week, a card for the beginning, middle, & end of the week, then a card for the weekend, and a card for my lesson of the week.  Expecting these energies through your week will better prepare you for any challenges and then when you run into the anxiety of the 9 of Swords on Wednesday you can form a more personal connection to keep with you each time you draw this card in the future.  Make sure you're keeping your Tarot journal so you can reflect on the cards as you move through your studies!
Weekly Tarot Spread Luminous Spirit Tarot
Weekly readings can show you what themes are coming up for you most often.  You can also learn to relate your daily pulls with the cards of your weekly spreads.  How do the two energies play out?  What will their interactions be?  Journalling will help you build these connections.  Writing things down helps you remember information & creating meaningful connections will solidify what the cards reveal to you.

Interact with Like Minded People

If you don't have anyone local to connect with, Facebook groups are great for finding like minded people.  I find that there are tons of helpful tips, deck reviews, and card challenges.  One of my favorite posts in these groups is card pairings where the group is asked their interpretations of two cards together.  This is a great way to practice your skills but also resonate with new meanings.  You can find kindred spirits in these groups and encouragement in your journey.  There are also a ton of online Tarot Communities, but often they are locked behind paid memberships.  These can be great for more specific classes and to support an individual you respect, but you can find similar communites for free on places like Facebook. 

These groups will challenge your intuition with critical thinking, questions, and experiences.  You'll learn tips for when you're stuck and you'll be able to share your tips with others.

***

Learning the Tarot card meanings and developing a relationship with the cards takes times. This study guide breaks the deck down into easy to remember chunks so that you can begin to build your own associations.  You'll find the meaning of all the suits plus the meaning of the numbers in the deck.  Find keywords to associate with each card, learn to read the court cards with ease, and learn they key ways to interpret spreads.
Deeply Connect with the Tarot
This guide prints as a small 9 page booklet (print double sided using your printer's double sided print settings) & can be bound like this or with staples.  It is small enough to fit into your journal or notebook to keep the guide handy.  Sign up for the email list below then double check you email inbox - first email confirms subscription, second email (check your spam or promotions tab) will be your FREE ebook!

Lunar Newsletter

Subscribe Below for your FREE eBook!

* indicates required


Contents :

- What is the Tarot? : Brief history of the deck, game, and Tarot today
- Composition of the Tarot Deck : Overview of the Major Arcana, Minor Arcana, Pips & Court cards
- The Suits : Keywords and description of each of the 4 suits
- Major Arcana + Numerology : How to relate the Major Arcana to the Pip cards with numerology & keywords for the remaining Major Arcana
- Understanding the Pips : Keywords & description for each numbered card of each suit
- Understanding the Court Cards : Brief description of each Court card and how it relates to each suit
- Questions & Spreads : Questions to ask + easy 3 card beginner spread
- Tips for Reading Cards : Key points to remember in order to create a complete reading

Plus there is a full size (8.5 x 11 inch) PDF to print or read on your iPad or tablet.  I love using my iPad mini for ebooks & PDF courses like this.
Here's an example of the relationships you can create by focusing on this study guide : The suit of Wands represent dreams & manifestations, and the number four represents stability and often stagnation.  So you you can begin to associate the 4 of wands with achievement while working towards your dreams, but also the need to push forward.  Since the four is such a low number, we have more work to do and must push forward.  You can then relate the 4 to the 4 of Cups - the suit of Cups represents emotion and the 4 of Cups may represent a stagnation or an ignoring of new opportunities.  Both of these meanings are enhanced by the imagery on the cards.  This imagery allows you to dive deeper into the meanings to connect personally to each card.
Learn Tarot Easily
I hope this little study guide helps you to connect with the cards and see the cards not as an intimidating deck, but as pieces of a whole.  The deck is much easier to understand when you break it down and work with the pieces.

Shop Related Products on Amazon!


How do you study the cards?  How do you form connections?

ps - polkadot planner is a Carpe Diem planner, print your own positive affirmation cards here, learn to make a diffuser necklace here, find out some of my favorite essential oil + crystal pairings here.

Interested in more Tarot posts? Click here.

xoxo, Moe

6.09.2017

Free Sticker Friday // Floral Geometric Washi Tape

One thing I've really tried to get behind in the planner community is the bullet journal.  There is so much inspiration over on Instagram but I just can't seem to settle on the perfect layout.  I know the whole point is to be flexible....but I just can't do flexibility when it comes to planning.  When there are too many options I get overwhelmed!  I've tried a layout in a grid journal, in a lined journal, and now one these dot grid half letter size inserts.  I like the way this monthly layout looks.....but I don't know if I'll keep up with it.  Seems too much to layout all at once.  But maybe if I go ahead and do a month at a time I won't feel so overwhelmed.
this post contains affiliate links, please see my full disclosure here.
I found some clearance bullet journal supplies from Teresa Collins at my local Joanne so I thought I'd play around with a spread for the month.  It's a perfect way to use my planner stamps!  The script letter stamps were from Joanne's too - they have a new 'dollar bin' style area where things are $1-$4.  These stamps were $1.99 & I used the coupon I had on them!  I always think it's so funny to use a coupon on something that is super cheap to start with.  But hey, gotta save where you can!  (OH! And Joanne's is on Ebates - sign up here to save even more moolah when shopping online!)

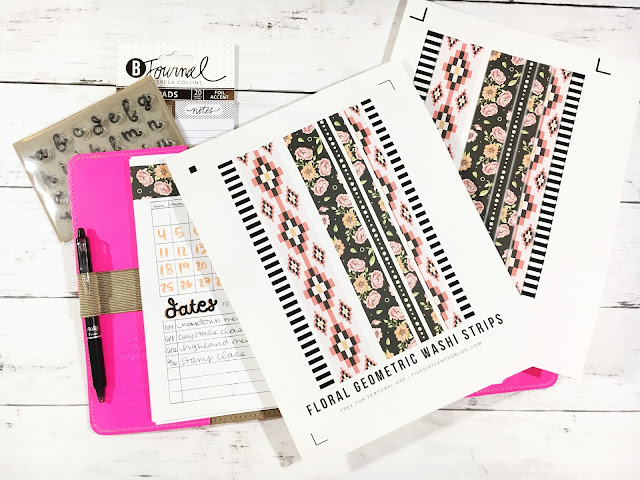
The point of today's post though is free, printable washi tape!! I love floral washi tape.  One of the best things about floral washi tape is how beautifully it can be paired with geometric prints.  In this printable set you get varying widths of washi strips at a length of 8 inches wide.  It should fit various places in various planners - but you can see it comes just shy of the height of a half letter size page.

 DOWNLOAD FLORAL GEOMETRCI WASHI TAPE HERE

Included in the download is a PDF to cut by hand (though this tool is pretty awesome), a PNG to cut with your Cricut Explore (be sure to size to 8 inches wide in Design Space) and a .Studio file to cut with your Silhouette Portrait or Cameo.  Remember that all files shared on the blog are for personal use only.  Do not claim any part of the design - printed or digital - as your own.  Do not sell the work - printed or digital - at all.  Do not print and distribute in mass quantities.  If you've like to share or Pin this freebie, please link to or Pin the post and not the file.  As always, thank you for playing nice. 
The best part about washi strips is that you don't have to buy a whole dang roll!  Just print when you need it and use it how you like.  I like to use these like I would regular washi - tear it off and use it to hold in pieces of paper.

I hope you're having a great week - can you believe that we're already in June? Like...where has the time gone???  Happy Summer everyone!

Shop Related Products on Amazon!

ps. If you're looking for even more free stickers, check back every Friday - or click here.  And if you haven't joined the Cricut Ready Stickers Facebook group...what the heck are you waiting for?!?!

Have you tried the bullet journal trend?  How to you bullet journal?

xoxo, Moe

6.02.2017

Free Sticker Friday // Tropical Getaway Mini Kit

This past weekend officially ushered in Summer, right?  We had barbeques, we remembered those who served, and we jumped in a body of water to kick of the warm weather!  Up here in Indiana warm weather is a big deal to me.  It is always cold up here.  You've got Fall, then Winter, then more Winter, then when it hits March you have Winter, then when it hits April you have rain, then you hit May and its still cold.  Finally, at the end of May we reach the warm radiating sunshine.
Free Cricut Explore Planner Stickers
this post contains affiliate links, please read my full disclosure here.
Today I have for you this tropical getaway kit.  I love these patterns - found them on FreePik by the way - and I can't wait for full blown beach time, picnics, and sunshine.  I have given up on my memory planning so far this year but this would work perfect for your vacation week.  There are also some Vacation Countdown Stickers on the blog here.

DOWNLOAD TROPICAL GETAWAY MINI KIT HERE


In this download there are three files - a PNG to cut with your Cricut Explore, a PDF to cut by hand (though I hear this tool works great), and a studio file to cut with your Silhouette Cameo or Portrait.  If you use the Cricut Explore be sure to size this kit to be 5.5 x 8 inches.  You can watch a video here on how to cut the PNG printables from the Cricut Ready Facebook Group but it is pretty much the same for these guys.
Free Printable Planner stickers
Remember, all printables on the blog are for personal use only.  Please don't claim the digital or printable image as your own.  Do not sell the digital or printed versions of this file.  Do not print and disseminate in mass quantities.  If you'd like to share this with friends, please share or Pin this post and not the file itself.  You can find more Cricut Ready Sticker here.

I don't have another vacation planned for this summer, earlier this year we went to Florida so we are all vacationed out for right now.  I am excited to go to the beach, go to my in-law's, and just enjoy the warm weather from my porch. 

Shop Related Products on Amazon!

OH! If you want to make your own planner stencil as pictured in the images above, check out the DIY on my channel here.

How will you be enjoying the warm weather?  Any fun vacations planned?

xoxo, Moe

5.26.2017

Free Sticker Friday // Essential Oil Bottle Stickers

Raise your hand if you're into essential oils. I know I am now into essential oils like its going out of style.  When I started working towards Mindful as my word of the year something I really wanted to incorporate into my routine was meditation.  Meditation involves a lot of things but I read that one way to help with focus is to use essential oils to tune yourself in.  Different smells have different associations and they can have certain effects on your mood.  Even if you believe this is all mumbo jumbo, but you like nice smelling things it is worth talking with one of your friends (you know you have them) that sells essential oils.  They are knowledgeable and if all you come out of it with is some nice smelling air....I think you've one.
this post contains affiliate links, please read my full disclosure here.
So I've been using my essential oils like everyday!  Blends after blends after blends!  I currently have a wholesale account with Doterra and each month I have a recurring order that I need to remember.  So far I haven't ended up with the same things twice & that is because at the last second I remember to switch it up!  These bottles are perfect for marking blends, orders, or even oils that worked for you in a certain mood.  I see a little tracker at the bottom of your weekly page marking which oils used and which moods you were in...hmmmmmm.
Included in this download is a PNG file to cut with your Cricut Explore, Silhouette file to cut with your Silhouette Portrait or Cameo, as well as a PDF to cut by hand (though I hear this tool is really nice too).  Remember to size the PNG to 5.5 x 8 inches in Cricut Design Space!


As with all printables here on the blog, these guys are for personal use only.  Do not claim any part of this work as your own.  Do not disseminate in mass quantities, do not print and distribute these files.  Do not sell the digital or printed version at all. Thank you for playing nice!
I do hope that you enjoy working with essential oils.  You can find some of my favorite blends in this post and even learn to make your own diffuser necklace!  I hope you're having a wonderful and relaxing week...cheers to the weekend!

xoxo, Moe
Shop Related Products on Amazon!

5.12.2017

Free Sticker Friday // Spring Time Marble Mini Kit

The marble & agate pattern is all the rage right now.  I've found these mesmerizing patterns in home decor and planner stickers.  The organic shapes and swirling lines really suck you in!  In soft pastels, these patterns are perfect for spring - so I threw together a mini kit for you planner!  I love these small kits for my memory planner and for my mini happy planner.  (Check out my Plan with Me videos here!)
Spring has finally spring and even though it is still chilly up here in Indiana....at least it's not snowing!  The grass is growing and the flowers are starting to peek through.  I just can't wait until I can wear flip flops, honestly.  This kit is getting me into the mood with it's soft pastels & groovy patterns.  I think the set goes perfectly with the new Heidi Swapp Magnolia Jane Decorative tape & the Petals + Blooms tape from Hobby Lobby.  So gorgeous!

(ps. did you know you can get cash back from Hobby Lobby through Ebates?  I didn't either!  Sign up for Ebates here.)

DOWNLOAD SPRING TIME MARBLE STICKER HERE


Included in this download is a PNG file for your Cricut Explore, a PDF to cut by hand (though I hear good things about this tool), and a .Studio file to cut with your Silhouette.  And guys if you're not in my Cricut Ready Stickers Group on Facebook you may want to join.  There are a ton of helpful members in there sharing tips + tricks for your Cricut Explore.  Plus a member shared recently that Design Space 3 had a soft launch and when it goes live for everyone the print size will be bigger!  I'll continue to offer stickers in the 5.5x8 inch size for Cricut until this happens - so sit tight, a bigger print area is coming!! Thank the sticker cutting gods!
These files are for personal use only.  Do not share the file itself - if you'd like to link to or Pin these stickers, please link to or Pin the main body of the post.  Do not print & distribute these stickers in mass quantities, do not sell the design or final product.  As always, thank you for playing nice!

Shop Related Products on Amazon!

I hope you're enjoying spring where you are.  Happy planning!

xoxo, Moe