Showing posts with label nail polish. Show all posts

5.23.2016

Make it Monday // DIY Glitzy Stiletto Manicure

There are few things I love more than having an awesome manicure - my #planneraddiction is probably one, and so is coffee.  If I had a million dollars my nails would be on point every day (no pun intended).  I've been drawing a lot of inspiration from Jefree Star ever since I started following him on Snapchat recently.  I've always had a thing for those stiletto nails and even started wearing my nails in a really severe almond shape.  I've been wearing some press on/glue on nails from the drug store for probably about a year now.  Last week my manicure was a set of French tip nails from Kiss and I couldn't recommend those enough!  This week I thought I'd try something new - a little bit of bling and little bit of a stiletto.
 
(this post contains affiliate links, please see my full disclosure here)

I've done this mini stiletto nail before (not sure if I'd ever showed it on any social media) but these nails make for the perfect base.  And the best part is they are super affordable from your local drug store.  I suggest checking out CVS and using your Extra Bucks for some awesome discounts.  They are called Active Oval, but they are more almond to me.  And that shape is perfect for filing into a tiny, mini stiletto point.  I could not function if I had a full stiletto nail - I would not be able to type at all - so the little mini point is cute and interesting.  This shape, I think, is great for long fingers - especially if you want to emphasize the length.  It might be weird but I love how alien they kind of look!!

So anyway, I got together some supplies and I'm going to show you how I did it

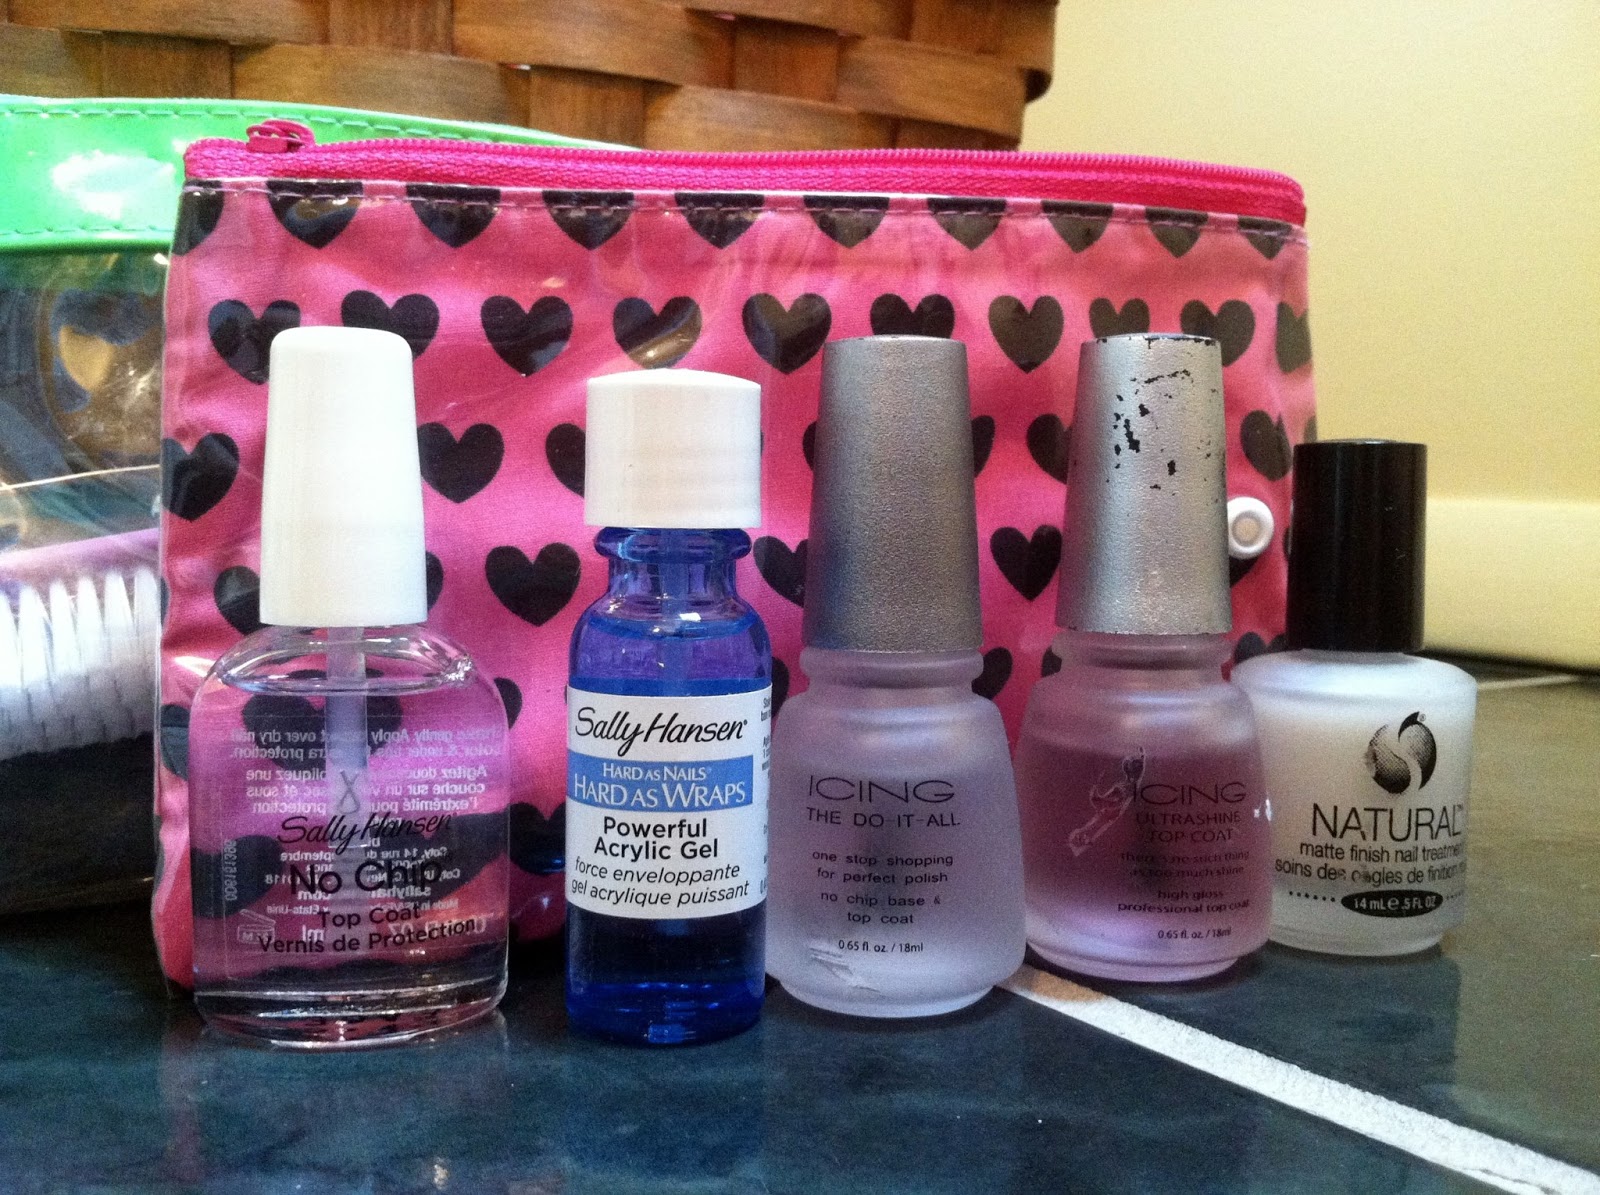
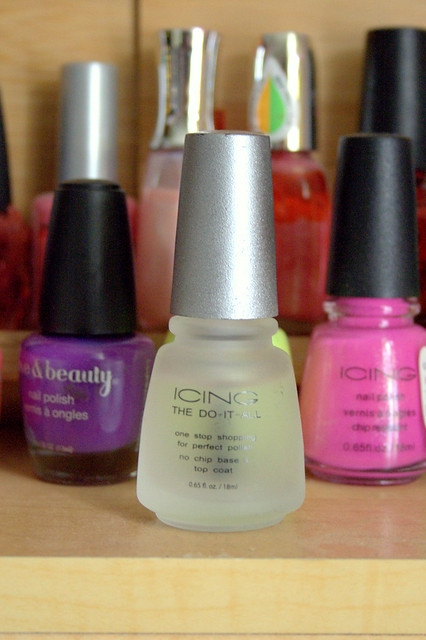
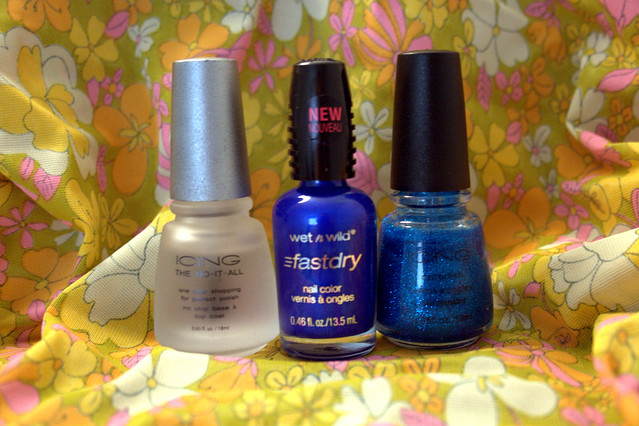
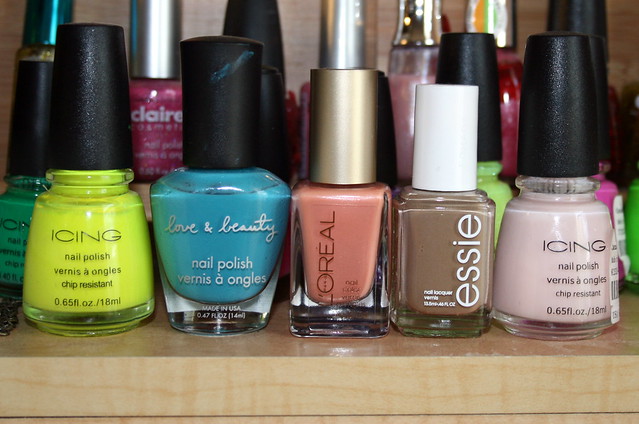
Supplies // oval or almond shaped glue on nails (I prefer these from Kiss , nail glue (if not included in your kit), base coat, top coat, coordinating colors of your choice - polish, glitter, rhinestones (I used craft glitter and craft rhinestones from the craft store), file, quick dry spray
 
Begin by picking out the nails to best suit your fingers.  There is a trick to this - you don't want them too wide and you don't want them too narrow.  Once you find a nail that fits your finger, find the size smaller and see how that looks.  If the first one looks better choose that one - but I often see others with glue on nails like these where the nail is way too wide for their finger.  The more natural the nail looks the better.  You may find you have to file down around the edges to make the nail fit your nail bed better.  Take the time to do this step!  This is especially necessary if you find you've run out of the nail size that fits a certain finger best.  This step will ensure that you have the best fitting and most natural looking nails glued one.

If you're a pro at applying glue on nails, go ahead and do your normal routine.  I use a file to scuff up my natural nail a bit so the glue will adhere better.  Lay all the nails out in the order they will be applied and begin to apply them one by one.  I start with my thumbnail on my left hand - I apply glue to the back of the nail then place the nail on to the nail bed starting at the cuticl and sort of rocking it down.  For me, this give the best adhesion.  Continue until all nails are on your little fingers.
 
Begin to shape the nail into a mini point with the file.  Follow the natural angle of each side of your finger to create a nice point.  Shape all the nails into a mini stiletto.  Do not file too much at once but alternate the filing from side to side to get an even point.

Paint your base coat.  Choose the nails that will be covered with glitter, paint every nail except for the ones covered with glitter in the polish color of your choice.  Choose the nails that will remain rhinestone free, paint the top coat on all nails that will remain rhinestone free.

Glitter Nails
Make sure you have a place to make a mess with the glitter!  Paint the top coat, one nail at a time, on the nails that will have glitter.  Pour the glitter over the nail, tap off the excess.  Use the remaining glitter to repeate the process on each glitter nail.
 
If you find you may need to add more glitter, pain the top coat again, pour the glitter again, etc.  If the glitter gets everywhere - which it probably will - use a paint brush to dust off the glitter around your cuticle.  One you are satisfied, paint the final top coat over the nails.

Rhinestone Nails
This one may be a little tricky.  Squeeze out a little bit of glue onto your plate, using the toothpick dip it into the glue then pick up a rhinestone with the glue end of the toothpick and place it on the nail.  Fill the whole nail or do a strip down the middle - it is up to you.  Repeat with however many nails and whatever design you prefer.
 
Once everything is done, if you haven't already, go a ahead a spray the quick dry spray onto your nails.

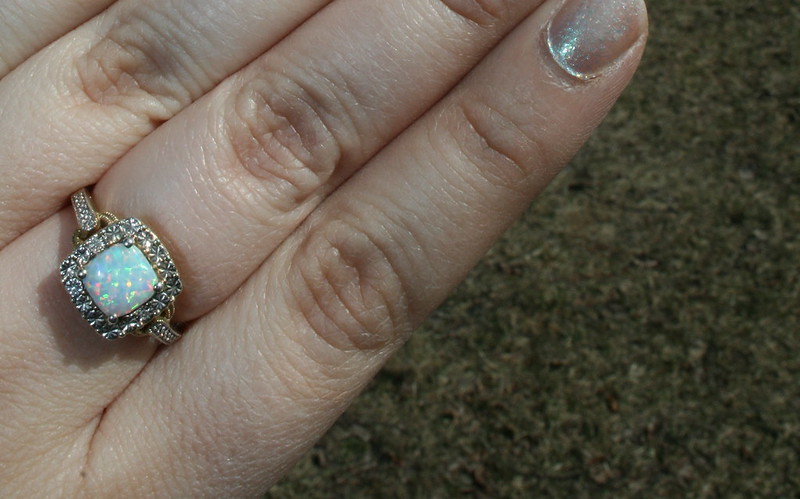
Now you have a crazy glitzy mini stiletto manicure!  It might be crazy but it's definately worth it!

What is the craziest manicure you've ever had?  Do you find it super fun to play with your nails?

xoxo, Moe

5.21.2014

Wednesday Decor // Nail Polish Collection & Storage

Hooray for another peak into our home!  I think I'm giving you these peaks right now knowing that in a few months we may be doing renovations on the upstairs.  Hopefully we'll be adding another bedroom with a walk in closet & a cool little laundry room expansion type of deal.  I know I said a while ago I was going to do a little laundry room make over - well I sorta did it then I put off the rest.  If it's going to change I didn't want to spend time & money on it to have to redo it later!
A while ago I posted the above photos on Instagram (follow me @fivesixteenths!) and today I wanted to share with you what I actually did with all my polishes!  I first posted about my nail polish display/collection here way back in January of 2012!  Since then I've moved & changed it a little bit.....and now I changed it a little bit again.  This post today is going to be a bit similar to this post I did previously about the perfect manicure kit in the sense that I still store my nail polish in baskets.  But I've stepped up my game a little bit & made it a bit fancy.  Peek below to see!
If you don't like seeing bathrooms - avert your eyes, especially because there's a toilet brush in there!  But I store my nail polish collection in the bottom of these three baskets in a skinny 3-section bookshelf.  This little shelf is from Target, it's about $14 and you can find these all over the place especially around move in time for college.  If you're curious - feminine products are in the middle shelf & extra TP is in the top shelf.  Just keeping it real here.  These baskets are from Target & currently on Clearance in the store as well - I can't find them online so I hope they are still in store!  I bought the bottom two full price then found the 3rd one on clearance later.
I love these baskets because the style came in different sizes & this smaller tray.  (This could totally be DIYed with a smaller tray/basket & two leather straps attached.)  This tray stacks neatly on the top of the basket and it still fits in the shelf.
In the tray I keep all the things I would need to do a manicure so I can fill the tray & take it with me.  It acts as a carry all & catch all and as a hard surface, if I need one, when I do my nails.  I wish I could link for you this little pink tray (behind the pink & black heart pouch) that is awesome for setting between your legs & using as a little table to paint your nails on....but sadly it was a gift ages ago & I can't find one.  It't pretty cool because it fans out & holds three polishes....just in case you're painting your nails on the couch or in bed.  In the pink & black hear pouch is also something I can't link because Icing discontinued their Base & Top Coat that I looooove.  I have like 5 back up bottles!  In that pouch are some of those Icing top coats & various other drug store top coats.  I like to keep those separate so I don't lose them in my polish collection.  Then I have some of my favorite polishes, nail clippers, files, lotion, & my nail brush.  I can pick all this up & take it to where I plan on doing my manicure then wrangle it all back together to put away.
Then in the big basket I store all my polishes, extra files, my nail file/drill thing (scary!), a tub to soak my hand, and nail polish remover.  As you can see from the images at the top of the post I threw out a lot of my old polishes.  I haven't bought a new one in a loooooong time!  But most of my collection is from Claire's & Icing's because I love the formula.  There's some Zoya & Nailtini from Ipsy bags, some Sally Hansen, Revlon, & L'Oreal.

It all fits so nicely in this little set up that I'm super satisfied!  Hopefully you can find these at Target now but if not, the tray is very DIY-able.

How do you store your nail polish?

xoxo, Moe

Connect on Twitter // Follow on Pinterest

12.19.2013

Current Nail Care Routine + Current Holiday Manicure

A long time ago, like two summers ago, I was super into nail polish.  I also was taking the Nail Tech class at the career college I worked for - so I got a little bit of nail knowledge there too.  Currently it's like the arctic tundra up here - meaning there is snow everywhere & it's super cold.  My skin can not handle it!  Namely my hands are dry and chapped all the time.  Skin just flakes off & it's gross.  So I thought I'd put together a little Nail Care Kit that I can keep in my night stand or grab & travel with.  I will be heading down south to visit my family in the next week (yay Christmas!) so I definitely need a little kit to travel with.  So here's what I'm loving to keep my hands soft & nails beautified this winter:
I put this little kit together, like I said, so it's easy to grab & run with.  Normally I keep it in my night stand (a new addition from the what's in my nightstand post here) so I can remember to do moisturize & take care of my hands before bed.  Before this I kept a random bottle of lotion but that seemed not to be enough, adding the cuticle oil has really helped with hangnails & the tender skin around my cuticles.  I feel like that gets super dry as well.  This little kit has everything I need for quick moisture & maintenance all wrapped up in an old Ipsy make up bag - I knew those things would come in handy for something!
The first product here is the Tocca Cleopatra Grapefruit + Cucumber Hand Cream.  This stuff smells divine!  I'm really loving the cucumber scent right now, it's never been a favorite before but I'm suddenly all about it.  I got this in a Birchbox one month & instanly fell in love.  It's hydrating & non-greasy.  I love that it absorbs very easily & I can open doorknobs after putting it on.  Cuticle oil has suddenly fallen back into something I use regularly as well since my skin is dry & flakey.  I also work with paper all day long - touching it every two seconds - so that dries out my finger tips.  I don't if the two are neccessarily related, but I think they are.  So cuticle oil has saved my tender skin from the pain of hangnails.  I feel like the deep moisture of the cuticle oil is amazing.  The current one in my kit is something I got as a part of another nail kit a while (like a long while) ago - it is Swisa Beauty Sensation Dead Sea Cuticle Treatment.
Another lotion in my little kit is something Zach grabbed for me from a hotel he stayed in.  In fact every time he comes upon these TempleSpa packs he snags them.  They also have a calming fabric mist that smells so relaxing - I love to spray it on the bedding when I can't sleep.  So heavenly & relaxing.  This lotion is the TempleSpa Peace Be Still Calming Face & Body Balm.  There isn't a scent description on the tube anywhere  & honestly I can't pin point it, but the smell is so relaxing.  It's a deeper scent & I love it before going to bed.  I've never used it on my face though, I'm scared I will break out!  Then of course for any maintenance that may need to be done I have a small nail clipper & a small box of TweezerMan nail files that I also got in a Birchbox one month.

After all my hard work to get my hands & cuticles refreshed and moisturized it's time for a holiday manicure.  Of course I turned to a classic red & a bit of glitter.
I used my favorite base & top coat from Icing - the Do It All Topcoat - that sadly they are discontinuing.  Honestly, I don't know if you'll even be able to find it.  I picked up the last two on clearance last time I was in an Icing.  So sad.  I then used the Nicka K polish I received in Ipsy bag this month.  I topped my ring finger off with a bit of a glitter polish from Sally Hansen I received, complimentary, in the Violet Vox Box from Influenster.  I like this Triple Shine polish mainly because even thought the glitter is in a blue tinted base it really comes off as pure silver glitter.  Great for sparkly holiday-ness just around the corner!

What are your nail care must haves? How do you battle the cold weather?

xoxo, Moe

Connect on Twitter // Follow on Pinterest

11.26.2013

Trend Tuesday // Poppin' Bottles - Bubbly Holiday Manicures

In this past Ipsy bag & Birchbox I got two nail colors inspired by - how do I put this nicely - cocktail hour?  And I have to say I'm smitten.  I'm so loving the two colors I got this month - Nailtini's Caviar Cocktail & Color Club's Top Shelf.  Wonderfully shinny, metallic colors that are perfect for winter & any holiday celebrating you need to do.  Here are some bubbly & party inspired nail polishes I'd love to toast to:
poppin' nail polish bottles

one - Spoiled's I Don't Drink Cheap Wine // two - Wet n' Wild Fergie Collection in New Years Kiss // three - OPI in Mimosas for Mr. & Mrs.  // four - Wet n' Wild Mega Last in Break the Ice // five - Color Club in Top Shelf // six - Essie Holiday Collection in Hors D'Oeuvres // seven  - Nailtini in Caviar Cocktail

I love these silvery, sparkly manicures in the winter time.  I can't get enough!  All of these polishes would be wonderful for Thanksgiving or any sort of Holiday celebrating you might be doing.  My favorite colors for the winter are creams & whites along with the metallics.  It just looks so cozy!  The names of polishes just kill me sometimes.  I love turning over nail polishes to discover the names!  

xoxo, Moe

Connect on Twitter // Follow on Pinterest // Peep me at Hello Cotton

7.02.2013

Trend Tuesday // My 5 Favorite Nail Polishes for Summer

I can not believe we are into July already! Are you kidding me?!?!?!?!?  I just can't handle it!  Recently I've been reaching for the same bright colors in both my nail colors & my clothes.  Surprise Surprise...they are my blog colors.  When I gathered these polishes together, I nearly died.  I totally didn't mean to do this! I actually just sat down & picked out the ones on the top of my basket that I've used the most!
I do want to say, before I go into the colors, that the best (best, best, best!) top coat E V E R is the Do It All Top Coat from Icing.  Now that their website is shoppable you can totally pick it up right now.  It is seriously the best, ever. Period. No question!
The first color I want to mention is the L'Oreal nail color in Versailles Romance.  This is a great peachy-pink nude color and perfect for a subtle look.  It is a great color if you're not too keene on bright & bold.  This is actually a part of the L'Oreal Spring Collection but I bought mine a year or so ago.  They must have re -released it!
The next is a bright, bright Barbie pink color in Jackie Oh! by Studio M.  Studio M is a Meijer brand & the new colors for the summer are all bright & neon.  I totally dig this color & it dries to a more matte finish which is pretty cool.  I love the bright pop this has.  It just makes me think of fun beach days.
This peachy orange is one from Icing last year.  I love Icing nail polishes because they truly are chip resistant.  The brush for the polish is rather thick as well.  Their nail polishes are just all around great!  This one is in Peach Sangria but I don't think you will be able to find it since it was out last summer.  But two similar colors are Wet n Wild Wild Shine Polish in Blazed & Wet n Wild Megalast Polish in Club Havana.  Great peachy orange colors.
This next one is one of my faves!  It changes color in the sun!  This one is Gypsy by Ruby Wing.  When you're inside or not in the sun, the polish is the perfect shade of minty teal.  So perfect.  But then in the sun it turns to a gorgeous apple green.  The two colors are just the perfect shades.  I've been looking for just the right shade of mint & this hits the spot.  The fact that the apple green color is nice too is such a bonus!
Finally, this is an unexpected color for Summer: a blue gray.  I was torn between including a black and a gray but I went with the grey because it's a bit softer.  I've been loving these unexpected colors for summer...just keeps you ahead of the trends, you know.  You're a bit bolder & do what you want!  This one is L'Oreal as well in Greycian Goddess.  I think I got this either last fall or the fall before so you might not be able to find these in stores either! But I did find them on Amazon.
So there you have it, my 5 most reached for polishes this summer!  I'm loving having a different color on my nails every week.  Icing's Do It All Top Coat really helps me pull of a manicure for an entire week & I highly recommend it!

xoxo,
Moe

Connect on Twitter // Follow on Pinterest // Peep me at Hello Cotton

4.08.2013

Make it Monday // Create an Awesome Manicure Kit

It's been a long while since I've painted my nails.  I go through phases where I get really into something & then just forget about it.  Since the move I've just not had a reason to paint my nails but now that I get up & get ready in the morning I feel like it's time to start picking up the nail polish again to give my fingers a good look too.  My nail polish collection grew a lot over the last year & every time there was a pretty color or a sale I snatched it up.  I want to share with you how to create an awesome manicure kit that's more than just pretty polish.
Depending on the size of your collection may depend upon the size of the container you store your tools in.  I have an entire basket (as pictured) dedicated to my manicure kit & it lives in a three tiered shelf in the bathroom.  I've had this basket (along with another matching one) for ages & it's really falling apart!  I see a new basket in the near future!  I am also a fan of little plastic zipper travel baggies to separate things into.  I use them when I travel, in my purse (see this DIY blog kit post!), in the bathroom drawers, etc to keep things corraled together.
These little baggies are perfect to keep tools together & top coats grouped so you're not digging around waisting precious manicure time!  I've got a green bag of tools: clippers, cuticle pusher, files (my glass file broke but I still use it!), hand lotion, cuticle oil, & a nail brush.  I've found that if I keep a small travel size of lotion in my kit I don't have to go searching for it when I want to paint my nails.  It's also not anything frilly - just plain moisture!  Since the winter does a wonder on your hands lotion & cuticle oil are important.  I have a nail brush for just plain cleaning & for scrubbing off all the nail polish I get on my skin.  I wait until the nail polish is dry then run over each nail with a soapy brush to clean up the edges.  I don't do the whole q-tip & polish remover thing!
The pink heart bag hold all the top coats.  This is awesome because you don't have to dig around your polishes to find your top coat.  If they are all in the same place you'll be much happier :)

Top coats left to right: Sally Hansen No Chip Top Coat, Sally Hansen Acrylic Gell, Icing No Chip Base & Top Coat, Icing High Shine Top Coat, Naturals Matte Finish Top Coat.

Of course you'll need nail polish remover & cotton balls.  I always just get the cheapest, non-acetone polish remover so it's nearly always the generic store brand - in this case Meijer.  I also have a really awesome pink tray that folds out to sit on your lap if you're painting your nails in bed, on the couch, or sitting in the bathroom.  It was a stocking stuffer ages ago & for the life of me I can't find one to share with you!  I tried all sorts of search terms but it might be something you may be able to find at like Bed, Bath, & Beyond or in the stocking stuffers section of a store near the holidays.  Seriously, it's awesome!  It has three shaped sections to hold the polish & has two wings that fold out across your lap.
There you go, some key ingredients for an awesome manicure kit.  Keeping all the little bits organized makes the manicure kit the most awesome.  No more digging around for tools, now you just have to decide on colors!  I grab & go sit in bed, at the table, or in front of the TV.  I don't have to lug my whole collection around, just the key parts.

What's in your manicure kit? Is it pretty basic or are you like me & have gone all out?

xoxo, Moe

Connect on Twitter // Follow on Pinterest // Peep me at Hello Cotton

7.10.2012

Trend Tuesday // Fruit as Manicure Inspiration

I haven't been keeping up with my manicures lately but I should be.  I've let my nail polish chip & just go uncared for.  But since it's Summer I guess I should be picking it up again, right?  What better inspiration that from my favorite Summer fruits!

I could eat watermelon, strawberries, & grapefruit all year long but it isn't until the summer that I realize I love these fruits so much.  I think love grapefruit comes from Summers spent at my grammas eating the fruit for breakfast.  Watermelon comes from the fact that it is at every Summer picnic.  And strawberries, well strawberries are just good!  So I thought I'd assemble some lovely colors for manicure inspiration:
Watermelon Nails

grapefuit

strawberry


Can you say yum?  There are plenty of fun tutorials to use to make your Summer manicures super awesome.  I'd love to try this one with the watermelon colors or something like this with the strawberry ones!  And for good measure, how about a moon manicure with the grapefruit colors?  I love moon manicures.  Thats what I should do, break out the stickers!

What have you been keeping on your nails this summer?


Connect on Twitter // Follow on Pinterest // Peep me at Hello Cotton

4.13.2012

Fan Fridays // Back to Normal

Happy Friday all.  I went to pick up my lovely boyfriend from the airport last night & am glad to say he is in good shape.  He flew off for an interview in Michigan over the past week & I was very sad.  But I am glad to have him home safely & off to more interviews in VA.

This week has been mad at the office.  Trying to get things straight from the move, turn on the phones & internet, find all the folders for students, etc, etc.  On the blog front, I've also been organizing sponsor stuff for this month & the month of May.  I've updated my sponsor page here to include a new feature spot.  The feature spot will include a solo intro post with interview, option to guest post, & inclusion in the new Five Sixteenths Newsletter.  If you are interested in any sponsor spot, please shoot me an email!

Fan Friday today doesn't really have a theme as I've been inspired by a bazillion things this week.

This awesome monoprint fabric pillow with DIY from Design Mom.  I love the look of monoprints.  Sometimes I feel like it's an extra step, why not just paint (!?!?!), but the look is so much more unique.  When you paint (at least when I paint) I focus on the perfection of it all...if it's a monoprint it looks more worn & unique! I have to try this!

This totally super awesome ring display DIY from Tea Rose Home.  I've been dying to make something like this & keep finding awesome inspiration.  It's so lovely I have to make one.

Elycia's stinking cute hair cut right now.  I want to take this pic to my hair dresser & hope it looks good on me.  I am also in love with the collaborative vlogs with Elycia & Chantilly (of My Girl Thursday)

This super rad girl with super rad style in a super rad cardigan.  She blogs about absolutely amazing fashion & affordable finds on ebay.  I love those posts.  Makes my day every time.

This weeks manicure featuring a mint green by Sally Hansen & a lemon neon yellow from Icing.  I've been trying to be more experimental with my nail polish but sometimes it just comes out like crap.  For example, that half moon manicure worked once for me :( now all I get is a smooshed mess! What the heck!


Edit to add some awesome links:
Check out these blurry photos as featured by Flutter Happy
The Seven Deadly Sins of Instagram by What Emily Did Next

What has been inspiring you this week? Anything special?


4.06.2012

Fan Fridays // Don't Go Topless

On your nails I mean! Don't let your manicure go topless!

As you may know, my fave accessories stores are Claire's & Icing.  In fact, I will hardly buy any accessory from any where else.  I just love their aesthetic & their prices.  Usually, a quick stop includes buying way to many nail polishes (as they are always buy one, get one 50% off).  Then a quick look around the sale section, for sale jewelry, what-nots, & clearance polishes.

Not only do they have vibrant & awesome colors (especially their neon ones for this neon spring trend) but their top coat is amazing.  Seriously, their nail polish is no chip!  Even the top coat is no chip!

Their clear polish is both a base & a top coat.  It runs about $4.50 a bottle, cheaper than the good stuff and really doesn't chip.  Have I said it doesn't chip yet?

The best part is that it will make any polish no chip.  Because it creates such a good seal around the colored polish, you can use it even with cheap brands.  I type all day at work so I hated that sometimes my nails would chip right after painting them.  Its been better since I cut my nails short both for pottery & because it seems to be the trend.

Lately I've been prying up carpet, tack strips, & little staples along with hammering, painting, and plain old moving crap around in the new office.  Here's a sneak peak into what's been going down:
See that manicure? That manicure lasted all day.  From ripping up tack strips to moving things around I had near perfect nails the whole day. (I ripped up 3 rooms of that tack strip + the big hallway..don't mess with me!)  I was excited! This is the best test of all of these polishes.  This demolition was on Wednesday,  & it's Friday now....I still have on this manicure with only a little chipping on the free edge of my nail.  So this stuff is awesome!  Here's what I used:

Icing's Do-It-All Top Coat, Wet n Wild's fastdry in Saved by the Blue, & Icing's Electric Saphire glitter

I applied a thin base coat, making sure that I covered the nail evenly.  Then I started in with the fastdry.  The color is super great (perfect for my Something Blue accessory from this post) & vibrant.  It is a true royal blue.  The only downside to this polish seems to be the quick dry property.  Applying too thin of a coat left the tips of my nail with no polish.  So being heavy handed isn't a bad thing with this polish.   It did dry fast too, even with a bit of a gloppy mess I did on my right hand. My left hand was better.  Since I am all about glitter, I put the Electric Saphire next, which is also no chip. I finished it off with a nice coat of the Icing Top Coat making sure to seal up the edges with a swipe of polish near the tip of my finger.  This is an extra little barrier.

I am totally satisfied with this manicure & these products.  The Icing Top Coat makes me completely confident in whatever polish I wear under it.  When I saw this Wet n Wild display, I was a bit skeptical because I remembered my mother's WnW collection of pinks & reds that always seemed to chip.  I have to mention though, that the WnW polish looked like it may hold up on it's own...so don't just take my word as gospel.  I got mine at Walgreens for I think about $1.99 but other WnW products were on sale for .69 cents.  Are you kidding!! I picked up like 3 other colors!

So, I am just saying that Icing's Top Coat is something I swear by.  In fact I gave my own bottle to Zach's mother after recommending the L'Oreal color Versailles Romance as a good neutral pink nail color.  I am going to need to pick another bottle up!

If you work with your hands & are looking for an affordable top coat that comes in a huge bottle, stop by Icing & pick up their no chip top coat.  Also, style Sodalite Blue this spring with Wet n Wild's Saved by the Blue.  And don't go topless!


ps.  I wanted you to know that I did this post out of my own volition.  I love to find products & recommend them.  So as per this morning's post, I just wanted to let you know that no one asked me to do this...I just wanted to share with you some awesomeness.


3.29.2012

Pinterest Color Palette // This Week

I decided to mess around with the Pinterest color palette tutorial I did a while ago & see what my colors were for this past week.  I see I did still stick with some neon colors like that green-citron color.


It's pretty fun to do this once in a while to see what colors I am digging.  Usually I come up with something unexpected.  When I first did the tutorial, I could see that I tended to like the same color schemes either when pinning or actually creating my color palettes.  The same themes sort of jumped out at me.

I think I'll continue to do this (or try to continue this) over the next few weeks to see what happens.

Edit: I was looking through my nail polish colors & found that I have nearly this exact same palette!


ps.  April's newsletter is almost finished.  Don't forget to subscribe for some super awesomeness!

Have you tried the tutorial? Did you notice a color pattern?

3.26.2012

Make it Monday // Opal Manicure

My sister's birthday is in October giving her Opal as a birthstone.  I've always be jealous since mine is a blue stone for December.  You may remember a Christmas post from last year where I asked Santa for assorted rings.  I ended up getting a lovely opal ring ring from Zach for Christmas.  Ever since then I've been obsessed with mimicking the opal stone in a manicure.

I was inspired by this something I found a while ago (around Christmas time) where there was glitter under red nail polish.  It was pretty cool for the holidays but I was instantly reminded of an opal stone!


I've had one attempt before that didn't turn out too well.  It wasn't opal-y enough.  The glitter nail polish I used was silver & holographic where as this polish has opalescent glitter.  To give it a 3 dimensional look, I put a few coats of an opalescent polish in between glitter coats.  This type of manicure works best with a translucent polish.

I love the glitter in the Essie polish.  It isn't round like in other glitter polishes.  The glitter is actually like flecks.  It makes the manicure mimic the actual opal stone. It is gorgeous!


To create this look I used Mint Dream by Pure Ice & Essie's Shine of the Times.  I hadn't ever bought an Essie nail polish before.  I was in fact just introduced to the brand.  This nail polish is really nice!  I do have one that is a nude shade (I forget the name) & I really like the coverage of the polish.  I guess that's the right way to put it? It's not cheap looking & it looks nice!

This Pure Ice brand though, in Mint Dream, I did not like.  I couldn't find the polish I wanted to use for this when I went to do the manicure.  The one I wanted to use was the Sally Hansen brand that I'd used before on the failed manicure.  This opalescent color by Pure Ice just looked a bit cheap.  It just didn't apply the way I would have liked it.  This however looked like a better opal option.  The translucent-ness was perfect for this manicure though.

Any way, this manicure was the first part of my Michigan trip:


Mint Dream & Shine of the Times, plus my favorite no chip top coat/base coat combo from Icing by Claire's made a great opal manicure.  To create the perfect opal stone effect, I did a layer of Shine of the Times between the Mint Dream.  This layering mimics the stone by giving it a multidimensional appearance. 

The process is: base coat-Mint Dream-Shine of the times-Mint Dream-Shine of the Times-Top Coat
(make sure the layers dry!)

I took it off & swapped it for a super neon green in the middle of the week, but I will definitely go back to this another day.  It would be perfect for a wedding if you were the bride or bridesmaid!

Have you done anything experimental with nail polish? I think it's a pretty creative medium!