Showing posts with label pinterest. Show all posts

2.22.2018

Boost Your Blog // Create Pinable Blog Images with Your iPhone

I've said it before and I'll say it again - my iPhone is a key part of my blogging arsenal.  I use it to take & edit photos, I use it to organize blog files, I use it to share blog posts, and I use it to create cover images for those blog posts.  There is a lot of power packed into this tiny thing and I am all about harnessing it.  Blogging doesn't have to be a chore and, honestly, it shouldn't be.  Creating a space that is supportive & expressive is right at your fingertips.
this post contains affiliate links, please read my full disclosure here.
I've been blogging for over 10 years and Pinterest came into the game for me right around the time I decided to take my blog to the next level.  But it wasn't until recently I started to optimize my blog posts with the vertical images best suited for Pinterest.  As website traffic grows increasingly from mobile users, vertical media is being prioritized over the square or horizontal format.  Not only are we consuming media in a vertical format, but the tiled style of your Pinterest feed allows for vertical pins to rule.  The more real estate an image takes up the easier it is for us to see on our small, mobile screens.

Since we're already on our phones all the time, we can take our blogging tools on the go.  I can't tell you how helpful it is to have an handy computer in my pocket to work on blog tasks - especially with my 9-5 job.  I can edit videos, photos, and blog posts quickly and on the go!  But let's get started with the step by step on creating Pinterest friendly images straight on your iPhone:

First, Start with the Perfect Canvas

Create a your photo library

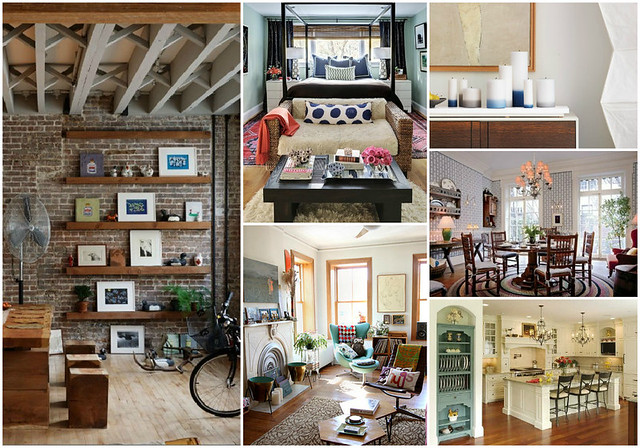
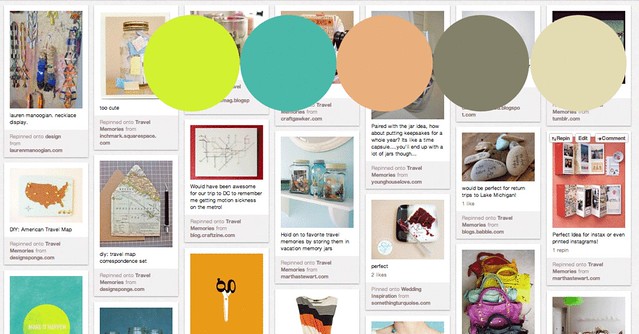
I often use my own blog photos to create the pinable cover photo for each blog post.  But sometimes I don't have a photo specific to a blog post.  This post is actually a good example of that!  If I don't have a photo, I'll pull from my own library of styled photos or from an online, royalty free stock photo site.  Unsplash is a great resource as it allows you to create a library as you browse their site and I use it quite often.

Plenty of bloggers use stock photos, so don't feel like you're cheating!  Here are some tips to make sure you're choosing the best stock photo for your post.  You can also find some free styled photos here on the blog.

Image size is important

The best aspect ratio for a pinable image is 2:3.  This means you're image is longer than it is wide.  You don't have to be terribly precise if you're cropping a photo, but many photo apps offer a ratio scale so you can crop your image perfectly.  Vertical images straight from your camera roll fit this 2:3 ratio perfectly.  When you're taking your blog photos, or searching for the perfect stock photo, consider where your text will fall on this image.  Sometimes you can use any 'ol image you take but sometimes you'll want to take a specifically framed image so that your text will balance nicely on the image.

If you want to step up your iPhoneography game, I've got a ton of posts with photo tips here.  Make sure your lighting is even and when in doubt, just make it black & white!

Adjust, Edit, & Include your Watermark

Subtle edits to create cohesiveness

If you're using a stock photo you'll want it to fit in with your current editing style.  Since you're starting with an image that fits the post and fits in well with your blog, you'll want to make sure the over all aesthetic of your blog is matched with any edits you normally do to photos.  Subtle edits work the best - these edits correct & balance with out creating an overly filtered effect.

I have two apps to recommend for these types of consistent edits - A Color Story & AfterLight The perk of both of these apps, and why I recommend them, is that you can save your edits as presets to use over and over again!  Talk about consistency!

A Color Story is my all time favorite app to use and I honestly use it on the daily.  The free Essentials filter pack is all you really need for subtle natural edits plus you can batch edit (which saves a butt ton of time) & you can see how your photo would look on your Instagram grid.  All of these features are part of the free version of the app!  Say what?!?!

Add branded text & watermarks

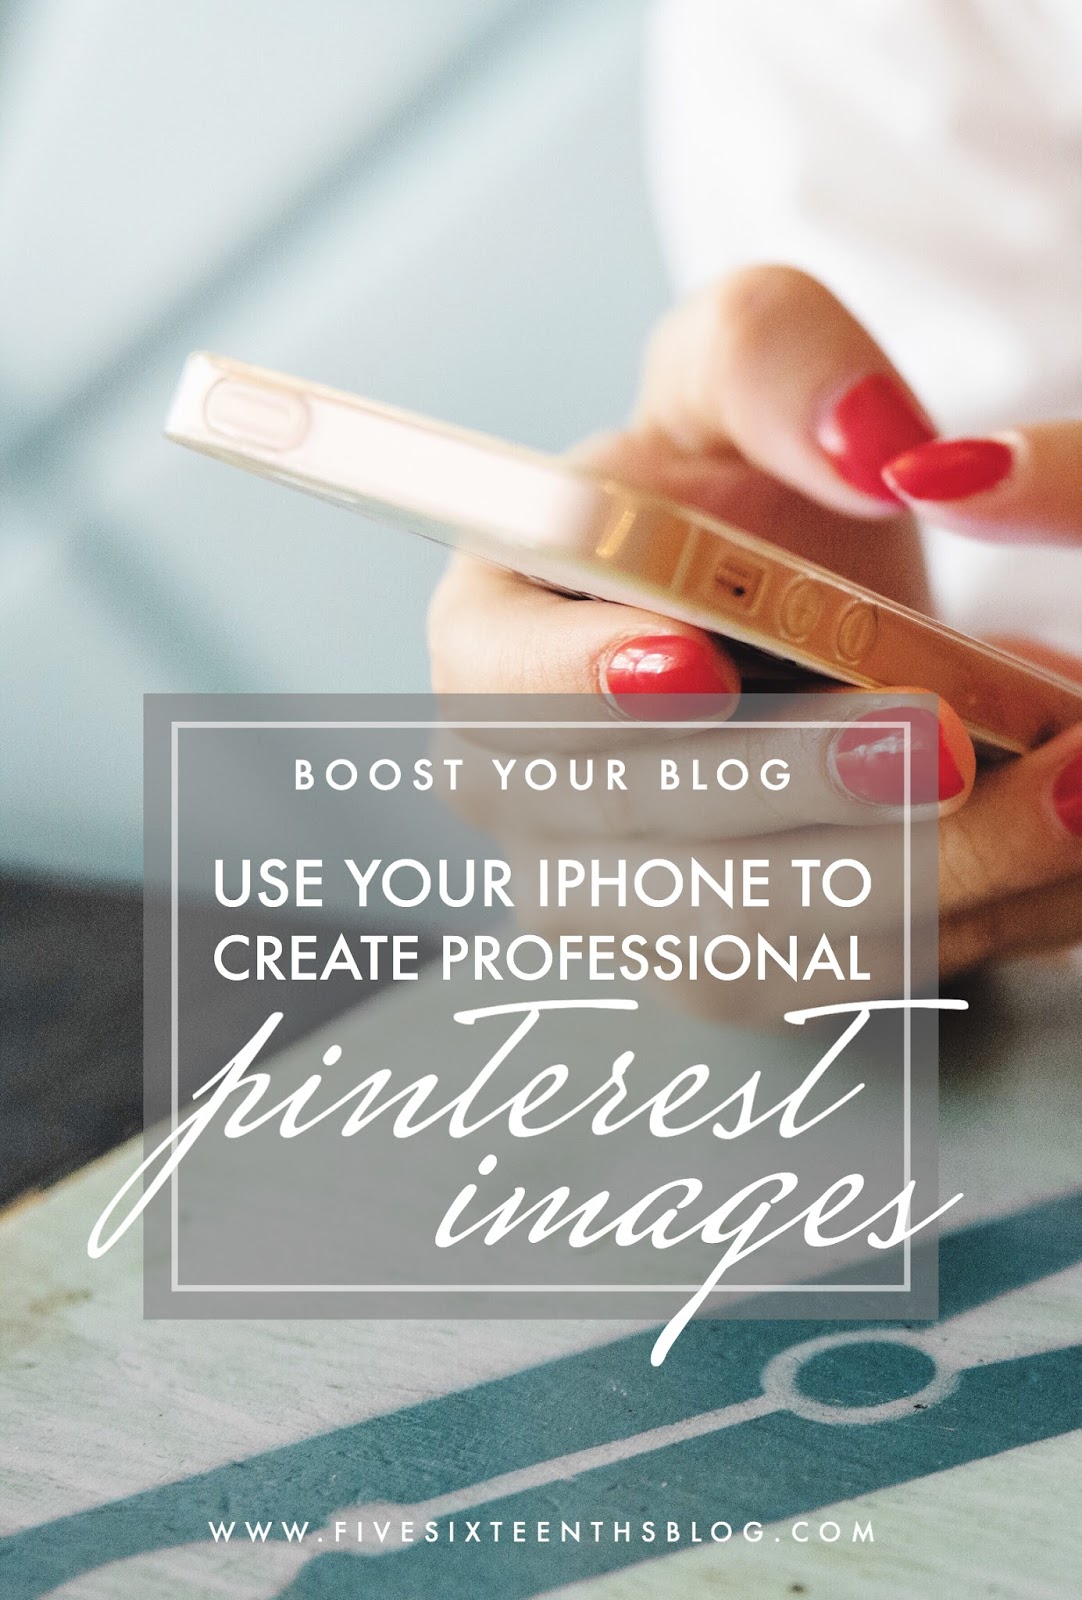
The key part of a pinable image is the text that draws in the reader.  Add the blog post title or other related key words to your pinable image as well as the web address for your blog + the watermark if you have one.  It is important to watermark photos with at least your web address because pins lose their links all the time.  Others also try to hijack images to claim as their own so your watermark deters this behavior.

My favorite app for this is Phonto.  It is super simple to use, you can save text as presets, and you can upload your own fonts.  So it is perfect for your branding!  Another app that is newer on the scene but seems amazing already is A Design Kit.  This app comes from the creators of the A Color Story app so they can work seamlessly together.  I don't believe you can save any presets, the there are quite a few text options available.  I also just reviewed an app called PhotoMarks that works amazing to add branded text!

Finally, organize your files

Push images through to your other devices

I've used my iPad for blogging before so my photo library is shared between my devices.  And if you use a Mac, it would be even easier to grab your files from the cloud.  I use Google Drive to push my files & photos between my devices.  I find it is the easiest and gives me the most storage to work with.  Once the photo is uploaded from my phone I can rename it in Google Drive and upload it to my blog post.

I will also have the images available to post to various social feeds, no matter what device I'm on.  Previously I would need to email myself the images so I could download them to my computer.  If I needed to edit or change something, it became a huge hassle!  This type of cloud sharing would be great for teams or blogging partners to collaborate.  Or even if you are a part of a group of bloggers that work closely together on content.


It is seriously that simple to create amazing, pinable blog images right on you iPhone.  I've been thinking of upgrading my phone to an 8 plus for the bigger screen since I do so much blog work on it!  These little guys pack a huge punch when it comes to convenience, creativity, and quality!


If you've got some older blog posts that need some TLC or you just wanna take the time to make sure you're starting out on the right foot, I've got a FREE ebook for you!  This guide to revamp your blog is an easy to follow 10 page book filled with 5 simple tips to get your blog working for you.  Plus you'll be on the 516 newsletter list!

I hope this post inspired you to start making your Pinterest images in the palm of your hand.  Sometimes I think we put a lot of pressure on ourselves when we blog to have the best software, the best camera, the best gadgets when really there are amazing ways to get things done simply & easily.  I want to share all of that with you!  So check out more of the Boost Your Blog series here and get to blogging!

How do you create pinable images for your blog?  How do you save time & work efficiently?
xoxo, Moe

1.10.2013

What a Rip Off! 3 Simple Ways To Know if You're Copying Another Artist

It used to not bug me when I saw original artwork pinned to Pinterest boards named DIY or I Can Totally Do That or the like.  The reason it didn't bother me is because when I pinned these things on to my DIY board (I'll admit it, I did) I wasn't intending on flat out copying the original creator.  Often the pin was there to remind me that I liked that style, or it was there as a part of a group of things I'd pinned that were inspiring, or IT WAS AN ACTUAL DIY POST.  I didn't pin them there to turn around & say look what I made, it looks EXACTLY LIKE THE THING I PINNED HERE TOTALLY MADE BY ANOTHER ARTIST.

I've been seeing a lot of these Pinned It, Made It blog features around.  I love when people tell me that a tutorial worked or that they failed miserably at it.  I despise it when people say here's an artist's work I totally ripped off because that's just not nice.  I whole heartedly agree that it's fine to be inspired by others work & to create your own take on it but if you're finished product looks like something way too similar you need to reevaluate sweetheart.

So I've put together 3 ways you can know - a check list if you will - if you're flat our ripping off an artist

IS THIS AN ACUTAL DIY OR ARE YOU MAKING SOMETHING WITH OUT INSTRUCTIONS?
If the thing you are making requires you to come up with your own thought make sure it's your own thought.  There's no worry in coming up with something that looks nearly the same to get the idea down........but then go further, be original & make it your own.  If you're the one coming up with the instructions then you get to be as creative as you wish.  We can learn by copying, but that's not your original idea & you shouldn't take credit for DIYing something that someone already made & didn't tell you how to make.

IS THIS AN EXERCISE TO HELP YOU LEARN OR ARE YOU CREATING SOMETHING FOR PROFIT?
This may be a bit tricky.  In art school we often copied other works to get the hang of working with a new technique.  It could have been exploring new styles by making something similar to an artist's work existing work or learning a friends trusted technique.  If you're learning & want to share your process go ahead and tell us how you learned to do something or how you are learning to do something.  Say you really want to do more with your watercolor paintings so you begin to mimic the style of another artist you love.  Sharing with us that you learn by experimenting & showing us an example of something you were trying to replicate means your going farther than copying & that you're actually being creative with another technique.  Now if you flat out copy the paintings & begin selling them as your own, we've got a problem. This is what I mean when I say exercise vs. profit.  And, personally, I consider it for profit if you're posting your work just so others can see you made something exactly like someone else's work....you're promoting yourself & not the artist & not your growth as an artist.....you're not promoting your honesty I guess is what I'm getting at.  It's like your turning around & promoting your work over the original.

YOU ASK YOURSELF: DOES THIS LOOK EXACTLY LIKE THE IMAGE FROM PINTERST/ETSY/SOME OTHER WEBSITE? 
If you even consider asking yourself this or the answer is yes then you're ripping them off.  Even if the colors are different, proportions have changed, etc....if it still looks nearly exactly the same, you're ripping someone off.  Second part of this question: If the answer is yes, should I go around telling everyone that I ripped off this person & that I DIY'd something that the artist will not get credit for nor receive compensation for coming up with the design? The answer to that, personally, is no.  If you're going to rip someone off, please do it in secret.  For Pete's sake, don't copy in the first place but don't put you're credibility on the line by bragging about your copying

There is a difference between inspiration & copying.  If you're inspired by something you've created something with your own take, added originality to it, & it doesn't look exactly the same as (or like a composite of) original works.  If you're copying something, you've created an end product that is eerily similar to one that already exists & may even cause others to recognize it as being similar to someone else's work.

It has just been frustrating me lately that others have been taking the credit for creating something awesome when they themselves did not come up with the design.  These things that have bugged me have the eerily similar (if not just flat out exactly the same) property.  Please, just don't copy!

This is why I have a love-hate relationship with Pinterest.  It is great to gather ideas & use responsibly....but there are others out there, probably meaning well, who don't understand that copying undervalues the original work.  I'd love to know how you feel about this & if it's something that bugs you too!  

Have you encountered this Pinned it, Made it phenomenon?  How did it rub you?  Were you offended?

If you'd like to read more on this sort of topic, here's are a few articles that cover it:

disclaimer: I, myself, have made soooooo many things it's hard to keep track.  However, if I have ever outright copied someone/something before & mentioned it, it was before I gained an understanding of the offensive nature of copying original works.  Becoming more & more involved in a creative field as an artist & less as just a crafter has made me  better understand the difference between inspiration & stealing and the importance of quality of character, honesty, & success.  So though I am confident I've never flat out stolen an idea, I fear I may have created something with the eerily similar property I discussed above.


Connect on Twitter // Follow on Pinterest // Peep me at Hello Cotton

6.06.2012

Dorm Dec Wednesday // Using Pinterest to Plan your Home Decor

Well hello there!  Can you believe that it's June 6th already?  I totally can't.  That means Zach & I need to put a serious focus on figuring out what we both like as we think about moving into our own place.  I pretty much lived at Zach's house while we were dating, but since it wasn't really my house there were only a select few things over there.  Both of us have extreme different tastes in decor but since we both care so much about each other, we've embarked on making sure we both agree or both know what each other likes.  No one wants to come home from work to find something they just can't stand, so we've been using Pinterest to help us out.

I mentioned last week that we've agreed on a few things & I wanted to share with you how we've been using Pinterest to discuss our design styles.  Building a unique home that reflects our individual styles is very important to both of us.  While this can cause some tension, this technique has helped us out a lot.  If you don't have a man/partner who's interested in Pinterest, this may not work :(
one two three four five six


Sign Up
 // If you're apart like Zach & I, convince the other person to sign up for pinterest.  They don't have to do anything but pin things they like.  This is the important part.

Create individual Maybe Boards // Begin to individually pin things that you think you both will like.  This is important.  You don't want to pin only the things that you like.  You are trying to get to compromise, remember.  Pin things that you like that you believe your partner will also like.  Pin things that you like that you think they may even slightly like.

Discuss the Pins // Take the time to go through each other's pin boards & comment.  Say what you like & what you don't like.  Be constructive.  Then take the time to actually look at the images together.  Discuss what you each like & don't like.  Talk about the elements in the image & if you can imagine your own furniture in there. Talk about using other elements from the pin board in that space.  This will give you each a complete idea.
one two three four five
Pin to a Collective Things We Both Like Board // When you discuss the images from your Maybe Boards make sure you are remember what you both are saying.  Pin the images you agree on or the elements you both love to this collective pin board.  Make the title all the things you each love (or despise!)  about the image so you remember.  Once you have quite a few pins, you'll start to get a cohesive look.

Continue your Communication // If decor is something that is important to both of you, make sure you continue to communicate as you go forth into building your home.  We've still got a lot of discussing to do  & I know there will be somethings we just don't agree on...but I get so excited knowing that we can discuss anything with each other (even things more serious than decor!)

So there you have it.  This is how Zach and I spend our free time when we aren't watching Stargate through skype!  If you're interested in what we've agreed on or want to check out how we've titled things to help us remember, look at the pin board here.  This has been easier than clipping from magazines!

How do you use Pinterest to plan?


Dorm Dec Wednesdays is an on going feature about decor ideas for a small apartment.  For more Dorm Dec Wednesday posts, click here.
Connect on Twitter // Follow on Pinterest // Peep me at Hello Cotton

3.29.2012

Pinterest Color Palette // This Week

I decided to mess around with the Pinterest color palette tutorial I did a while ago & see what my colors were for this past week.  I see I did still stick with some neon colors like that green-citron color.


It's pretty fun to do this once in a while to see what colors I am digging.  Usually I come up with something unexpected.  When I first did the tutorial, I could see that I tended to like the same color schemes either when pinning or actually creating my color palettes.  The same themes sort of jumped out at me.

I think I'll continue to do this (or try to continue this) over the next few weeks to see what happens.

Edit: I was looking through my nail polish colors & found that I have nearly this exact same palette!


ps.  April's newsletter is almost finished.  Don't forget to subscribe for some super awesomeness!

Have you tried the tutorial? Did you notice a color pattern?

10.30.2011

Sum up Sundays // Lazy Life

This week I've been super lazy.  I've not been blogging, I've not been doing much of anything.  I had a small birthday dinner for one of my friends Saturday night & that was a great night for my new man to meet some people in my life.  Then today he made me a delicious lunch:

I gave him a few ingredients from a recipe on pinterest I wanted to try & he went at it.  He said "I can either follow the recipe or wing it." I let him wing it & it totally came out different yet delicious.  A take on this Chicken Marsala recipe.  We added linguini to make it more of a pasta type dish since there was a lot of liberal improvisation with the wine/chicken stock.  Add some of his wonderful green beans & onions, & our fave crescent rolls!

The only thing I was in charge of was making sure the crescent rolls didn't burn, pouring the milk, & loading the dishwasher.  Cooking is not my forte!

I am glad I finally got to (help) make something I've pinned on pinterest. Aided by this man.


Isn't he cute?  Knows how to cook & all!

How was your weekend?