Showing posts with label cricut. Show all posts

12.01.2017

Freebie Friday // Printable Buffalo Plaid Mini Happy Planner Cover

Oh my goodness you guys...the holiday season is heeerrrreee! Who has their tree up?  Who has lights up?  Who is wearing holiday leggings?  I am only doing the last one because I am waiting for Zach to come home to start decking the halls!  However, as soon as set down my last piece of pumpkin pie I started to deck my planner!
this post contains affiliate links, please read my full disclosure here.

I have for you today a free printable Mini Happy Planner cover!  This guy is in a PNG format so you know what that means....it is ready to print then cut with your Cricut Explore!  Don't have a Cricut Explore yet? Better get to asking Santa! (Oh! There is a new Cricut Machine that does print & cut AND so much more.  It is the Cricut Maker!)  This cover is perfect for the current season.  I mean buffalo plaid is all the rage.
On the week of Thanksgiving, I posted in the Cricut Ready Stickers Group on Facebook how to make your own buffalo plaid prints using an oldie-but-a-goodie website/tool : a tartan maker.  I've been using this site for ages (I even mentioned it in this post!) and love to go back to it when I need simple tartan/plaid pattern.  So easy!  And you can import these patterns right into Cricut Design Space too.  Learn how to do that in this video over on the YouTube channel.

DOWNLOAD THE BUFFALO PLAID PLANNER COVER HERE

As with all the free downloads on the blog, these are free for personal use.  Do not sell the final product or the file.  Do not distribute in mass quantities, and do not claim any part of this as your own.  If you want to share or Pin this project, please pin the blog post and not the file itself.  I appreciate everyone playing nice!


When you download this guy, be sure to size it to be 7.5 inches tall.  Keep the proportions locked and the width should auto populate.  To fit this guy on my happy planner in my Recollections binder that I deconstructed I did have to trim a bit off of the right side.  Then I rounded the corners with my corner chomper.  So if you're using approved Happy Planner deluxe covers (the little binder style guys) you won't have to trim this.  Additionally, you can see this post for how I laminate & then cut the planner covers with the Cricut Explore.

Happy Holidays & Happy Planning!

9.18.2017

Make it Monday // DIY Traveler's Notebook from Scrapbook Paper

This past lunar cycle journaling has become my go to creative & self care outlet.  I love to sit and reflect, I love to decorate, and I love to see my page evolve!  In fact, over on the Printable of the Month Club on my Patreon page I shared a printable insert designed for a standard size traveler's notebook!  This has been the size I've been using recently and I love it.  It is perfectly portable but big enough to really feel like I'm getting some where. 
this post contains affiliate links, please read my full disclosure here.
Today I want to share with you my take on this video tutorial on making your own traveler's notebook.  When I found this video, my mind was blown!  I couldn't believe she was able to make her own notebook!  There's even a tutorial on the popular B6 size now.  Not sure if I'm down for that size yet...but that's an option.  I've even created a cut file for you to use with a beautiful cut out in the front!  Let's jump in.
supplies // scrapbook paper, 3 mil laminating sheets, laminator, Cricut Explore, elastic, scoring tool, bone folder, scissors,  crop-a-dile big bite, planner charms (optional), adhesive pouch (optional), pocket page inserts (optional)
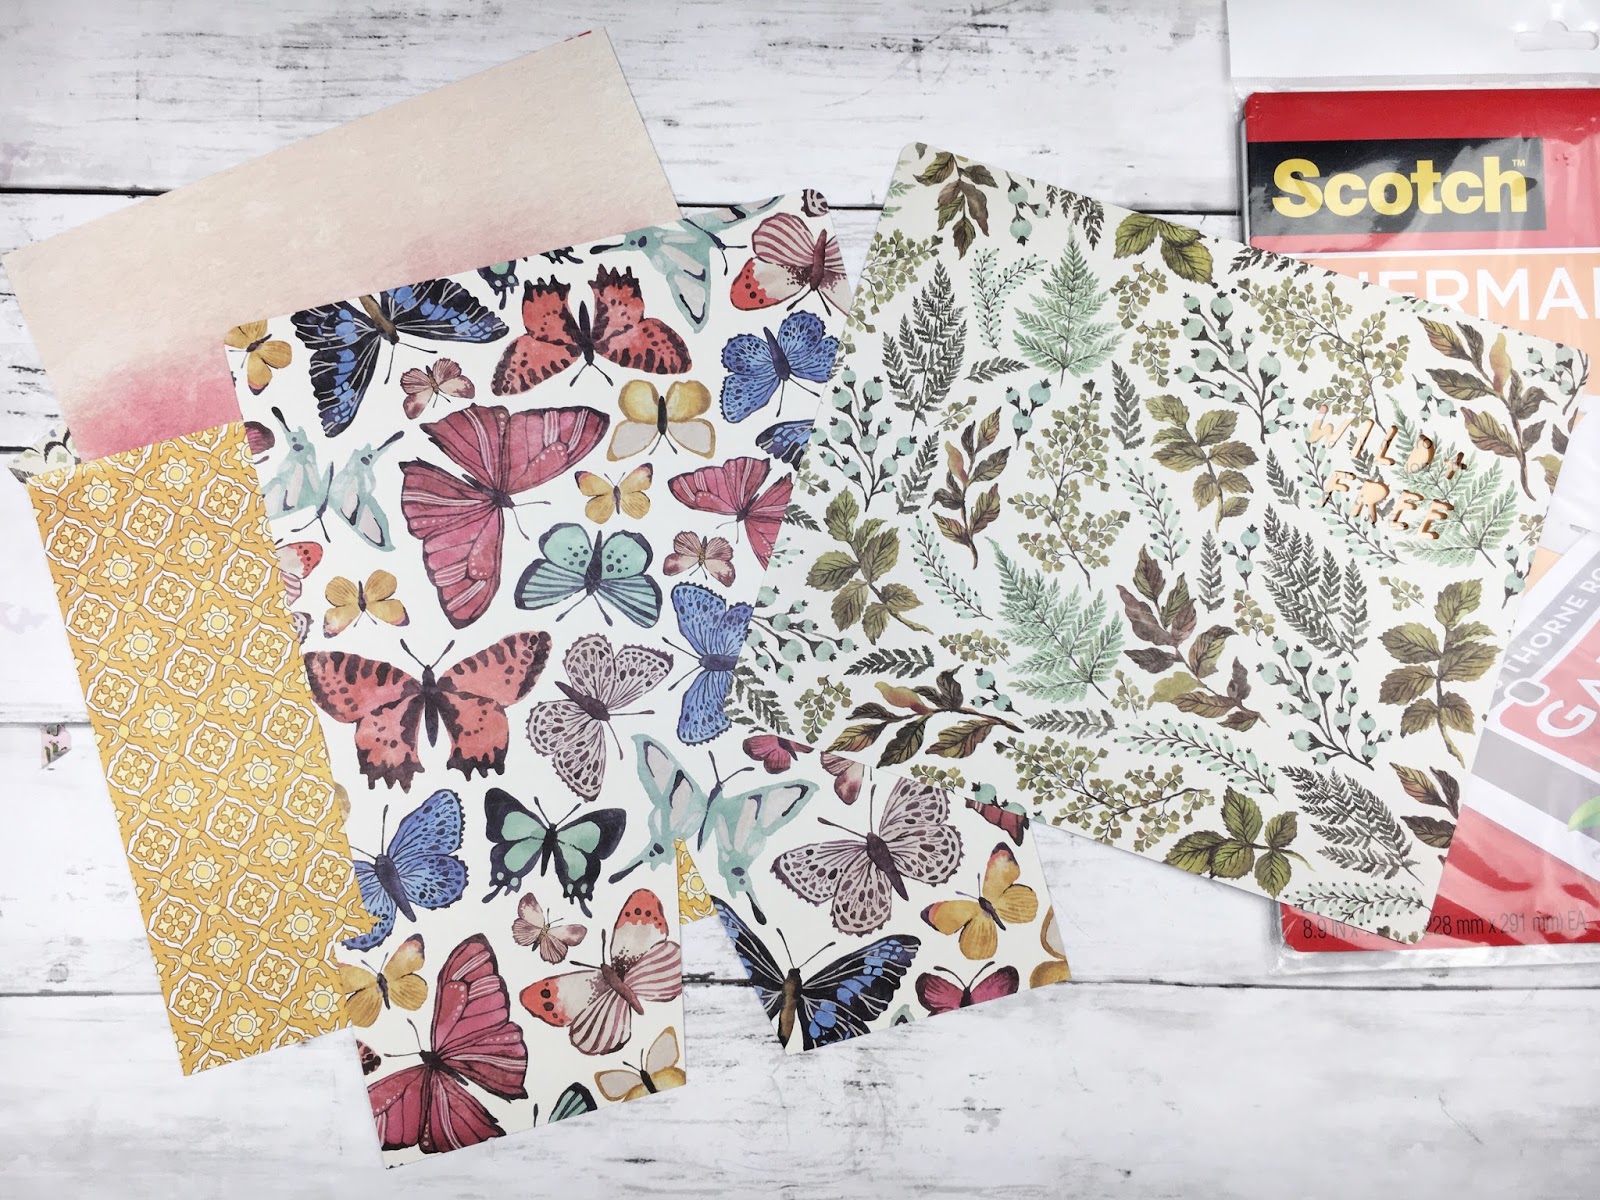
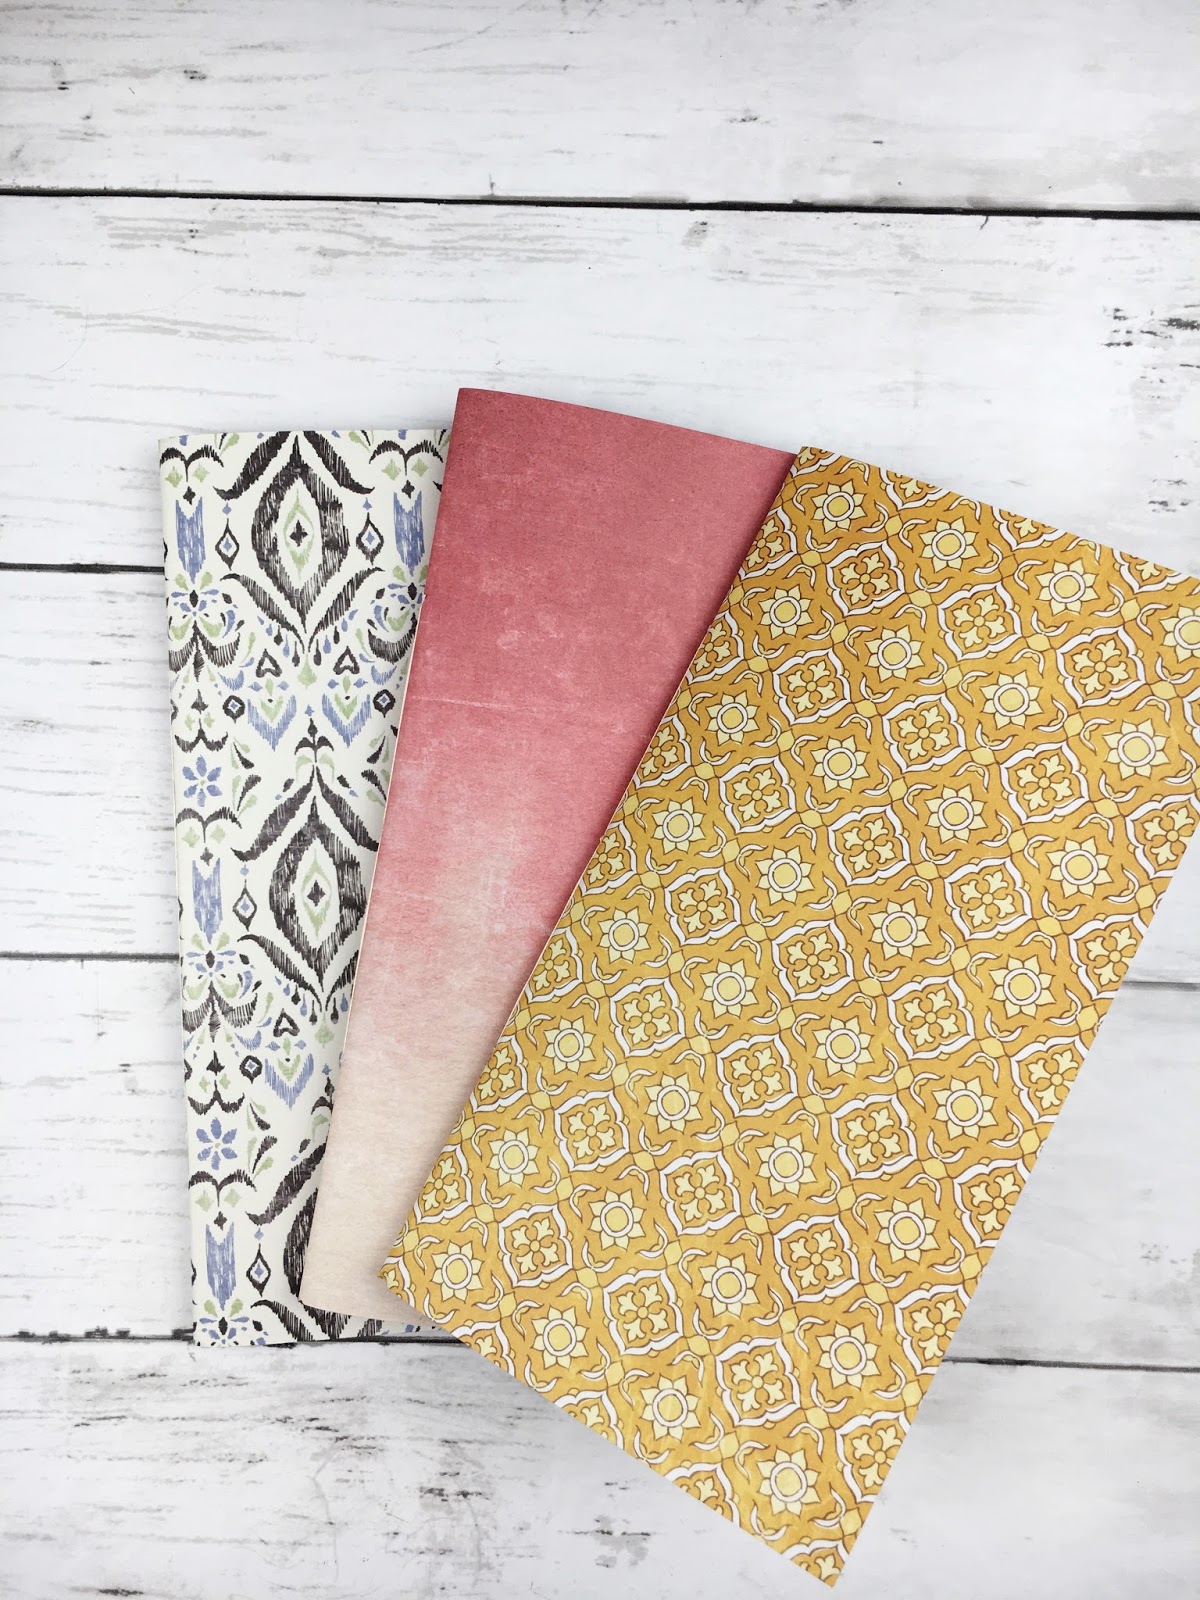
Start by choosing the scrapbook paper that you like.  You can create coordinating inserts by using a full paper collection or mix & match to your hearts content.  Double sided scrapbook paper works great for this project but I chose the Wildflower paper pad from American Crafts that I had in my stash.  This pad had some cut-a-parts which would be great to create a cohesive look.
Upload the SVG images to Cricut Design space.  Each file has a different sizing so make sure you size it properly - size the pink notebook cut file to be 10.5 inches wide, size the blue folder cut file to be 9.5 inches wide, size the yellow rectangle cut file to be 8.25 inches high.  Keep the proportions locked so that when you size one side, the other automatically sizes properly.  This part is also important - set all of the black lines to score.  Select the elements of each file & click attach.  This will make sure the score lines stay with the correct group.  Select Make It in the top right.  Place your scrapbook paper on your mat & let the machine cut it out.
Heat up your laminating machine and place the notebook template just cut by the Cricut Explore into the 3 mil pouch.  Put it through the laminator a few times until it is sealed.  You'll noticed I didn't to my standard 'laminate first then have the Cricut cut' because I like the look of the lamination on this project!

DOWNLOAD THE CUT FILES HERE!


Remember, the printables & files offered on the blog are for personal use only.  Do not pass this cut file or resulting project off as your own.  This project is not for commercial use.  As always, thank you for playing nice!
Trim down the laminated cover.  Be sure to leave a small outline of the laminate around the book.  Don't cut down to the edge of the paper.  Using the Crop-a-dile, repunch the holes in the spine.  The big bite is the best for this because you will be able to reach the center hole for the elastic that goes around the notebook.  Next, gently rescore the scorelines using your scoring tool ensure they are easy to fold.  Fold up the project and use the bone folder to crease the fold.

To thread the elastic into the notebook follow these instructions.  If you read slowly and thread with out distractions...you should be good to go!

Starting from the inside of the notebook, thread the elastic through hole 1 to the front of the notebook.  Thread the elastic from the outside of the notebook to the inside through hole 2.  Thread the elastic from the inside of the notebook through hole 3 to the outside of the notebook.  Thread the elastic from the outside of the notebook through hole 4 into the inside of the notebook.  Thread the elastic from the inside of the notebook through hole 5 to the outside of the notebook.  Thread the elastic from the outside of the notebook to the inside of the notebook through hole 6.  Thread the elastic from the inside of the notebook through hole 7 to the outside of the notebook.  Thread the elastic from the outside of the notebook through hole 8 to the inside of the notebook  And you're done!  You can now tie a knot.  Make sure that the elastics aren't too tight.  This may take a little bit of adjusting, so just fidget with it and be patient!
Now add the center elastic that binds the whole book together.  Cut a length of elastic and thread the two ends through the center hole from the outside of the notebook.  Measure it against the side of the notebook then tie a double knot so that the knot doesn't slip back through the hole.

Assemble the folder using the bone folder to crease each fold.  Glue the flaps down.  I use binder clips to keep the folder together while the glue dries.  I tend to use a corner rounder to make notches in the fold of the folder to better sit on the elastic.  But that is personal preference!

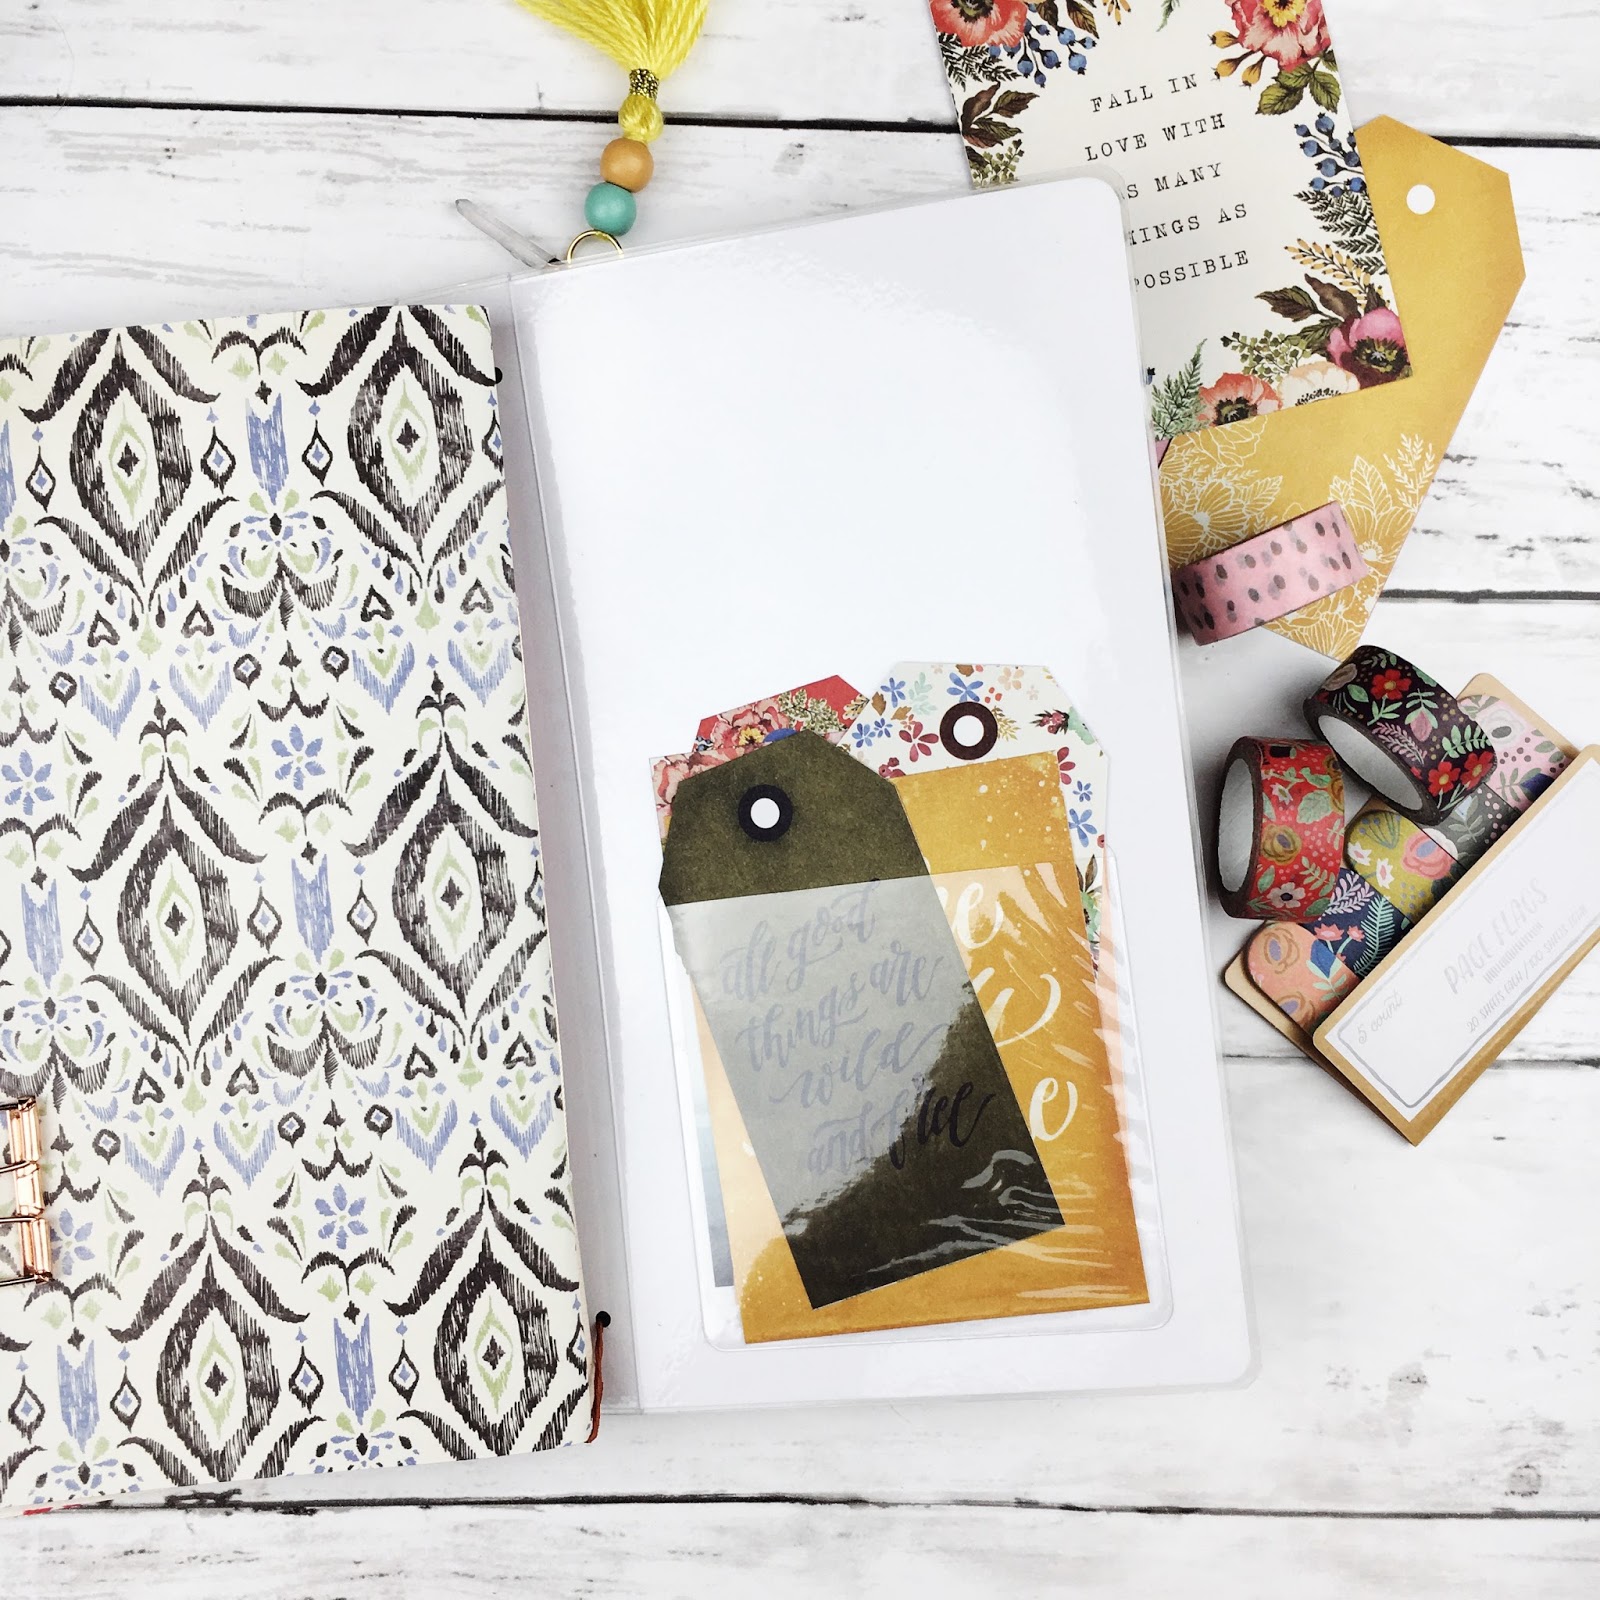
To create a mini dashboard or photo pocket, trim the binding off of a pocket page and fold it over.  Use the bone folder to crease the edges.
The final little embellishment is a little pocket on the inside back cover.  If you hoarded the Target Dollar Spot adhesive pockets, now is the time to bust them out!  Works perfectly!
You can make your own notebooks if you feel so bold - that's why the rectangle cut file was included!  As I mentioned above, if you're a part of the Patreon Printable of the Month Club you get access to an awesome planner insert!  I'm using mine for memory keeping.  If you'd like to join the Printable of the Month Club, it is only $3/month and as long as you're a patron you'll get access to an ever growing library of printables!!  Join here!
So, you can bind your own notebooks with this tutorial if you'd like or just staple them.  I don't own a long arm stapler, but I need one!  This traveler's notebook will fit any standard size notebook inserts so you don't have to bind your own.  The best part of this guy, though, is the wild & free cut out that shows the pattern on your first notebook!  I love it!  Here's how the book looks all put together:

Phew.....that was a long one!! But I hope it was helpful! I am going to make a thousand of these!  This is a great way to work through your paper pad stash too.

As always, I can't wait to see what you make!  Be sure to join the Cricut Ready Stickers group on Facebook to get your Cricut on and join the Five Sixteenths Blog | Live Creative group on Facebook to get your creative inspiration on!

xoxo, Moe

9.11.2017

Make it Monday // 3 Autumn Mini Happy Planner Covers

It is so chilly up here that I just know snow is going to fall before I'm completely ready.  Everyone else I know is down south still wearing shorts and flip flops.  I've fully busted out the boots, hoodies, and fall candles!  So it is only fitting that I dress up my planner for Fall!!
this post contains affiliate links, please read my full disclosure here.
One of the things I wish MAMBI would do is release a ridiculous amount of deluxe covers for the Mini Happy Planner.  I've debated on painting a few of mine just to have the diversity I want.  I have yet to take the plunge into taking the rings out of a six ring binder.  I almost tried this weekend but I chickened out!  So now I'm just using the gold deluxe cover for fall and a brand new snap in cover!! Below are three covers for you to cut with your Cricut Explore, so enjoy!

supplies // printable covers, printer, regular printer paper, Cricut Explore, 5mil laminating pouches, Cricut mat

Circut has recently updated their print then cut area to be 6.75 inches by 9.25 inches.  This update also changed the registration marks so my previous way of laminating then cutting no longer works.  After a ton of trial and error trimming my laminating pouches I found that my Cricut was able to read the registration marks even if they work laminated!  Queue the celebration!
So, open the desired back image and print that on your regular printer paper.  What I tend to use is 28lb paper.  It is slightly thicker but not as thick as card stock and that really makes the cover stand up to wear and tear more.  Upload the desired cover image to a new canvas in Cricut Design space.  There is no clean up needed so just follow the steps and save as a print then cut image.  Add this new image to your canvas, size the height to be 7.5 inches.  If the proportions are locked then the width will auto adjust.  Select Make It in the upper right hand corner, then send your project to your printer.
You can now access your printer's advanced settings in order to set the print quality.  From the pop up after selecting Sent to Printer, click on Advanced Settings.  Now you can select the paper type, any saved print settings, etc.  Print the image on the reverse side of the page you just printed.
Place the printed page into a 5mil laminating sleeve and feed through your laminator.  I find that 5 mil over regular printer paper holds up enough through wear at tear and a regular laminator gets hot enough to create a good bond to the paper.  If you try to laminate card stock with a regular old laminator it won't get hot enough to form a strong bond and the lamination will start to peel back from the paper.  That's not good!
If you're mat is not sticky enough you may need to use some washi tape to hold it down.  Feed it into your Cricut Explore and choose the proper setting.  I use Poster Board + and cut the project three times.  Once it reads the marks & cuts once I press the Cricut button on the machine another time to cut it again.  Then, after that cut, I press the Cricut button a final time.  This only reads the registration marks once and you don't have to unload & reload the mat.  It is super helpful!

DOWNLOAD THE COVER IMAGES HERE!


If you find your machine won't read the marks, try to cut in complete darkness or as close to it as you can.  I cut these guys multiple times in this experiment and it worked all 5+ times.  So hopefully it works for you!
The corners of these covers are square but if you'd like them rounded just use a corner rounder.  Obviously its easier to make the file with square corners and trim if you'd like than to do it the other way around!
I hope you enjoy these covers and that you're enjoying the Fall weather if it's getting chilly where you are!!

Want even more Cricut Explore DIYs?  Click here!

xoxo, Moe

7.14.2017

Free Sticker Friday // I Love the 80's Mini Kit

When I was younger my sister, brother, & I used to watch Saved by the Bell nearly every morning during breakfast.  I mean Kelly Kapowski is still a style icon of mine and literally the reason I love LuLaRoe because of the amazing 80's inspired patterns.  I mean, I still tie my Carly dresses into knots...I'm so down with that.  I'm not sure if the 80's are making a comeback, but I'm bringing it back with my clothes and with this mini kit.  I was born in the late 80's and was only 3 when the decade was over.
Free Weekly Planner Stickers
I still have nostalgia for a lot of retro things - like give me an avacodo colored kitchen from the 70's any day of the week and I'll also take an 80's poofy prom dress please.  Being a person that loves a really good thrift store, retro holds a big piece of my heart.

DOWNLOAD I LOVE THE 80'S KIT HERE


In this download you'll find PNG files to cut with your Cricut Explore, studio files to cut with your Silhouette Cameo or Portrait, as well as a PDF to cut by hand (though this tool is pretty neat).  There are also two skin tones to choose from - both 80's ladies have blue hair, pink shirt, and amazing purple eyeshadow.  Remember to size the files to 5.5 x 8 inches in Cricut Design Space.
Planner Stickers for Cricut Explore
Remember, all printable files on the blog are for personal use only.  Do not claim any part of the design as your own.  Do not sell the digital file or sell the printed product.  Do not print and distribute in mass quantities.  As always, thank you for playing nice.

If you're planning an 80's themed party or just want to throw it back a few decades, this kit is perfect.  I like to use these smaller kits in my Memory Planner since I combine a bunch of different kits, leftovers, and decorative stickers together.  But this is also perfect to use in something like the Mini Happy Planner.  Make sure you check out my YouTube channel for fun plan with me videos!

Shop Related Products on Amazon!

If you want a quick lesson on how to cut the stickers posted on the blog (and the Cricut Ready Planner Sticker Group) with your Cricut Explore, check out this video.  You can also learn to design your own stickers - check this playlist for tips!

Do you have a decade of style you love?  How do you throw it back?

xoxo, Moe

6.19.2017

Make it Monday // Mini Happy Planner Cover with Cricut Explore

Summer is nearly here!! Who's excited for the Summer solstice?  This girl is! I seriously can not wait to spend more mornings, days, & evenings on my porch.  Plus I can't wait for cool dips in the water & delicious summer time drinks.  (Lemonade is my favorite so you know I've got two of my favorite recipes here.)
DIY Mini Happy Planner Cover
this post contains affiliate links, please see my full disclosure here.

If you're a creative planner girl, I'm sure you love to style your planners for different seasons, holidays, and themes.  Styling my planner as my mood or as the seasons change is a relaxing an creative process for me.  Gathering up some of my die cuts, scrapbook paper, paper clips, and Project Life supplies and creating a cohesive vignette is a simple way to burn some creative energy!  Until now, I've only had the Mini Happy Planner covers that are already in existence.  But using InkScape and my Cricut Explore I've now got 3 summer themed planner covers - and I want to share them with you!

Shop Supplies on Amazon!


This is a print then cut project so you'll need to upload the cover of your choice to Cricut Design Space and size the height to 7.5 inches.  Select Go, and print the cover on to your chosen printer paper.  I use 32lb paper because it's a little bit sturdier but not as thick as cardstock.
Cricut Explore Mini Happy Planner Cover
Open the corresponding back file on your computer and print this image on the back of the cover page.  Be sure you're using the highest print quality for a vibrant print!  If you're unsure how to print back to front on your printer, you may want to do a google search for your specific printer.  For my printer, I place the printed page face up and the second image is printed on the reverse side.
Mini Happy Planner Cover DIY
Next, laminate the printed page similarly to this tutorial, lining up and cutting out notches so that the registration marks aren't covered by the lamination.  I've found that cutting far, far, far from the registration marks gives the most success!
Mini Happy Planner Cricut Explore Project
Place the laminated page onto the Cricut mat.  Set the dial to Poster Board + then cut the project following the prompts on your computer screen.  You may find that one pass under this setting is not enough, simply press the flashing Cricut button again after the first cut is completed.  This will run the mat through the cutting process again to ensure the cover is completely cut from the page.  I've found that 3 passes is just right.  You can create a custom material setting - but I'm lazy!
DIY Dashboard with Cricut Explore
The best part about having the corresponding back pattern is that the cover looks great from both angles!  And you can use it as a dashboard for sticky notes or just look at how professional your creation is!

DOWNLOAD MINI HAPPY PLANNER COVER FILES HERE


Remember, all files downloaded from the blog are for personal use only.  Do not distribute the files or the finished product.  Do not claim any part of this file as your own.  Do not print and disseminate in mass quantities.  If you'd like to share this project with others, please link to or Pin this post.  As always, thank you for playing nice.
DIY Mini Happy Planner Cvoer
Now pop your cover onto your Mini Happy Planner!  I love the variety of Deluxe Covers for the Mini Happy Planners (there is a HOLOGRAPHIC! one for the classic size, did you know?!?!?!?!) and have found that the personal size Disc Agenda Covers from Love Doki fit the Mini Happy Planner perfectly!  My favorite is the constellations one!
Mini Happy Planner Cover Printable
When you make this project please, please tag me in your photos on Instagram.  You can also join my Cricut Ready Stickers group on Facebook for printable stickers and project shares!

Do you change your planner accessories seasonally?  What do you use to style your planners?

xoxo, Moe

6.09.2017

Free Sticker Friday // Floral Geometric Washi Tape

One thing I've really tried to get behind in the planner community is the bullet journal.  There is so much inspiration over on Instagram but I just can't seem to settle on the perfect layout.  I know the whole point is to be flexible....but I just can't do flexibility when it comes to planning.  When there are too many options I get overwhelmed!  I've tried a layout in a grid journal, in a lined journal, and now one these dot grid half letter size inserts.  I like the way this monthly layout looks.....but I don't know if I'll keep up with it.  Seems too much to layout all at once.  But maybe if I go ahead and do a month at a time I won't feel so overwhelmed.
this post contains affiliate links, please see my full disclosure here.
I found some clearance bullet journal supplies from Teresa Collins at my local Joanne so I thought I'd play around with a spread for the month.  It's a perfect way to use my planner stamps!  The script letter stamps were from Joanne's too - they have a new 'dollar bin' style area where things are $1-$4.  These stamps were $1.99 & I used the coupon I had on them!  I always think it's so funny to use a coupon on something that is super cheap to start with.  But hey, gotta save where you can!  (OH! And Joanne's is on Ebates - sign up here to save even more moolah when shopping online!)

The point of today's post though is free, printable washi tape!! I love floral washi tape.  One of the best things about floral washi tape is how beautifully it can be paired with geometric prints.  In this printable set you get varying widths of washi strips at a length of 8 inches wide.  It should fit various places in various planners - but you can see it comes just shy of the height of a half letter size page.

 DOWNLOAD FLORAL GEOMETRCI WASHI TAPE HERE

Included in the download is a PDF to cut by hand (though this tool is pretty awesome), a PNG to cut with your Cricut Explore (be sure to size to 8 inches wide in Design Space) and a .Studio file to cut with your Silhouette Portrait or Cameo.  Remember that all files shared on the blog are for personal use only.  Do not claim any part of the design - printed or digital - as your own.  Do not sell the work - printed or digital - at all.  Do not print and distribute in mass quantities.  If you've like to share or Pin this freebie, please link to or Pin the post and not the file.  As always, thank you for playing nice. 
The best part about washi strips is that you don't have to buy a whole dang roll!  Just print when you need it and use it how you like.  I like to use these like I would regular washi - tear it off and use it to hold in pieces of paper.

I hope you're having a great week - can you believe that we're already in June? Like...where has the time gone???  Happy Summer everyone!

Shop Related Products on Amazon!

ps. If you're looking for even more free stickers, check back every Friday - or click here.  And if you haven't joined the Cricut Ready Stickers Facebook group...what the heck are you waiting for?!?!

Have you tried the bullet journal trend?  How to you bullet journal?

xoxo, Moe

5.22.2017

Make it Monday // 8 Planner DIY's for the Cricut Explore Beginner

One of my favorite creative tools is my Cricut Explore.  I bought this guy a few years ago, and let me tell you - best investment ever!  If you oohh and ahhh over tons of lovely planner stuff but you really want to save some dough and make it yourself - invest in a digital die cutting machine.  For planner DIY's my machine of choice is the Cricut Explore.  While I do also own a Silhouette (read about my unboxing experience here) I prefer me Cricut Explore because it is a work horse.
this post contains affiliate links, please read my full disclosure here.
You can cut though tons of materials & even add custom depths, the software and interface are easy to use, plus the machine itself is a lot quieter.  And the newer Explore machines cut even faster!  The best part is no only does this guy cut through laminated scrapbook paper like butter but you can also print then cut planner stickers as well- that delicate kiss cut is key.  If you're down to learn some designing tips & trick, check out my whole YouTube playlist here.

Today's post is a round up of eight DIY's for someone who's just opened their Cricut Explore.  In a few tutorial you'll learn how to use certain Design Space features like weld, slice, and flatten.  If you're just into cutting things out, some tutorials provide the cut files for you.  Simply upload, size, & cut!  Here's the round up:

Create Planner Stickers

Using only simple shapes and Cricut Design Space, learn how to create an easy image to Print then Cut using the Cricut Explore.  Learn how to use the flatten feature and assemble your own unique images using basic shapes.  Plus here's a post on some tips & tricks for the print then cut feature.  Find the DIY here.

Planner Pocket

Do you have a planner that just doesn't have enough pockets?  (ahem - Filofax original) Make an extra pocket with this SVG cut file for your Cricut Explore.  Fits perfectly in Personal size planners - or punch it to fit any size planner!  Find the DIY here.

Washi Bobbin Storage

If you have enough washi to fill a bath tub you may find it hard to take all your favorites with you on the go.  If you don't have a Happy Planner and can't utilize the DIY above why not check out this DIY on making your own little washi bobbins.  Learn to use the weld & slice feature in Cricut Design Space.  Find the DIY here.

Printable Planner Paper Clips

In this tutorial you'll find a video on how to clean up an image for Print then Cut.  This is a super simple way to make planner clips - still one of my favorite ways!  Find the DIY here.

Sushi Bookmarks

Get ready for some summer sushi dates with this easy DIY.  You'll learn how to use the Print then Cut feature with laminated paper.  Make three different magnetic bookmarks to use through out your planner.  Keep them for yourself or make a set to gift to a friend!  Find the DIY here.

Unicorn Paper Clip

Speaking of clips - how about a beautiful unicorn paper clip!  Using card stock and glitter scrapbook paper you can whip up something magical in no time. Find the DIY here.

Happy Planner Clip in Tabs

Need to add something you your Happy Planner but don't want to punch the object itself?  With this SVG file you can cut out custom tabs from scrapbook paper, add adhesive, and snap in some precious memories.  Find the DIY here.

Happy Planner Bookmarks

Speaking of the Happy Planner if you need some day or week markers as well as some on the go washi storage - check this DIY out.  Create 3 clip in book marks to help you mark your place!  Find the DIY here.

I hope you've found a simple project to work on this week - I mean, 8 brand new things for your planner all in one week seems like a good deal!  Be sure to check back often to find new Cricut Explore DIY's.  If you want to find all Cricut Explore related posts on the blog, click here.  If you'd like to find a bunch of free printable stickers ready to be cut with your Cricut Explore, click here.  Don't forget to subscribe to my YouTube channel for more Cricut Explore tips & tricks as well.

ps.  Don't forget to join my Cricut Ready Stickers Facebook group too!  Request a join here & find even more free printables as well as tips & tricks from a learning community.

What is your favorite thing to make using your Cricut Explore?  How have you become creative using that tool?

xoxo, Moe

If you like the content you see here on the blog, please consider becoming a patron!  Joining the Patreon Family as a financial contributor means you get access to exclusive content only for you!