Showing posts with label sew. Show all posts

6.12.2017

Make it Monday // Easy DIY Meditation Bolster Sewing Project

I'm in the middle of redoing the spare room downstairs with some bohemian inspired bedding I got for a super great deal from our local Meijer.  One of the key parts of the spare room downstairs is my sacred space!  This is where I go to meditate, journal, and all around connect with myself.  I love that this space of mine is separate from my actual bedroom because that means it is a place I can go to.  It is a place I can show up to when I need to. 
Easy DIY Meditation Bolsterthis post contains affiliate links, please read my full disclosure here.

Today I want to share with you how to make a comfortable meditation bolster.  This project was easy...yet annoying.  You'll totally love the results...but you may not ever want to make a pillow again.  Before I made this guy, I was using a small pillow.  Once I realized that pillow wasn't high enough and just wasn't supportive enough I went on to use one of the chairs from my craft table.  In the end, neither of these options had the right height or support for my booty.  So I thought to myself 'hey, you can make a bolster!'  and that's what I did.
How to Sew an Easy pillow
Shop Supplies on Amazon!

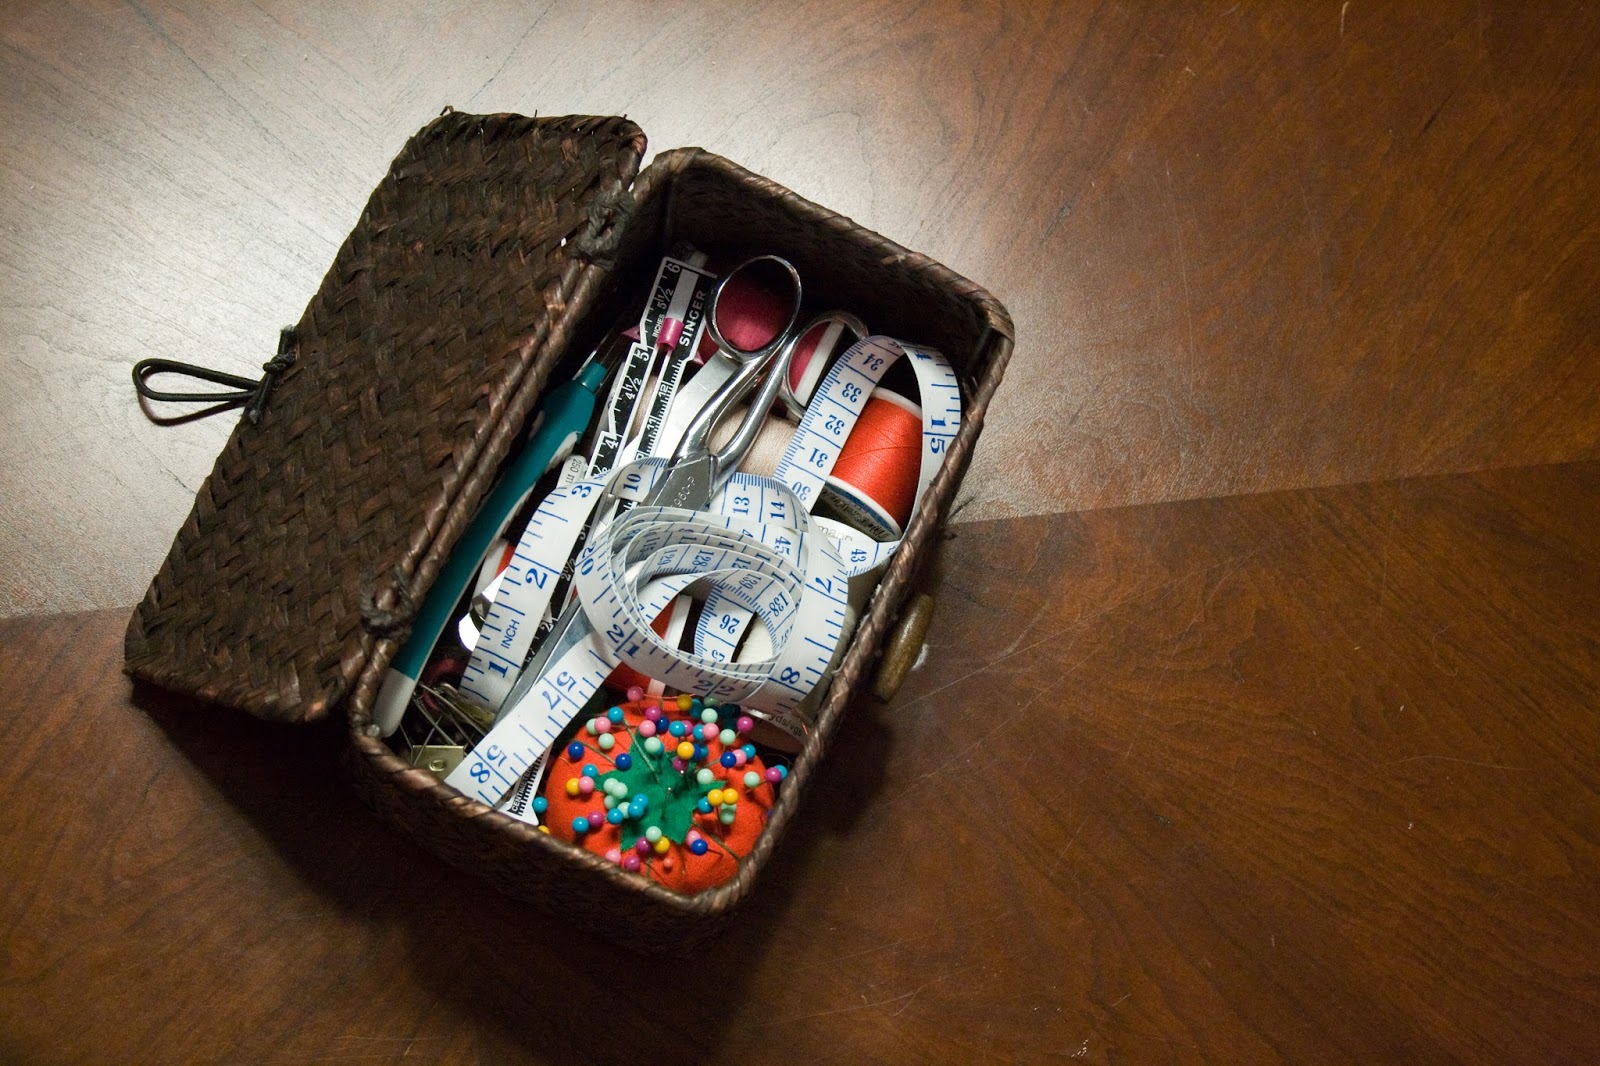
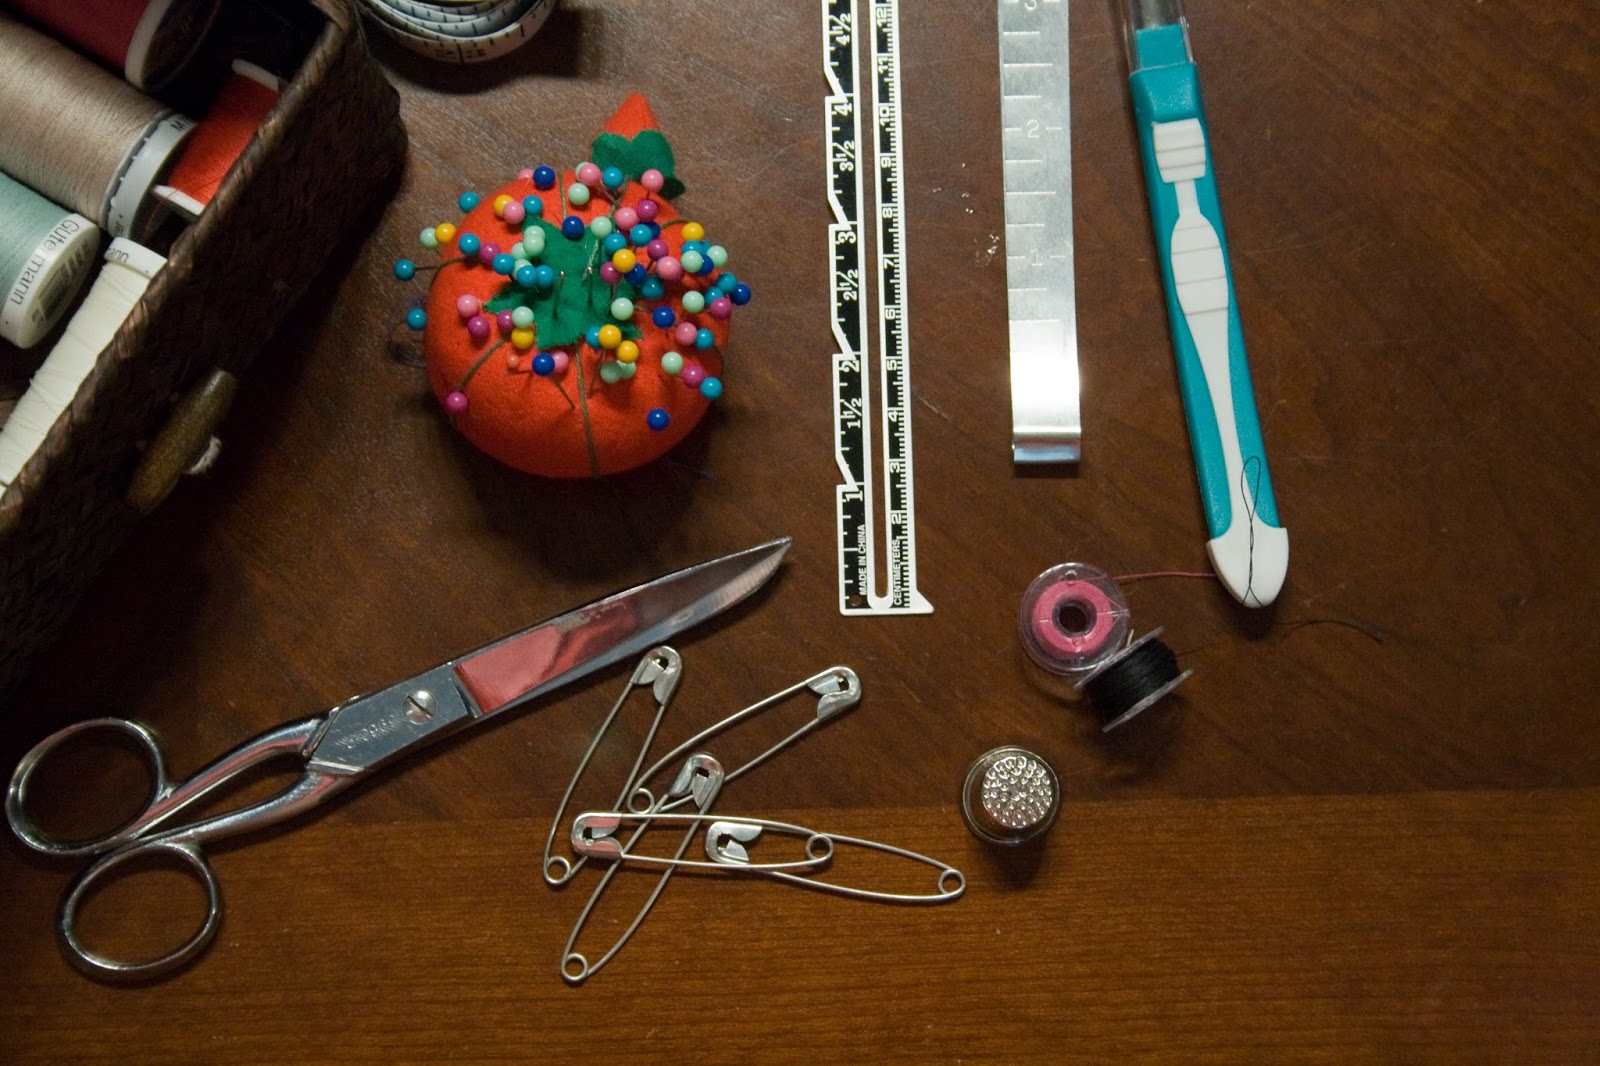
supplies // fabric (I used an extra sheet set to match the new bedding), sewing machine, matching thread, ruler/measuring tape, pins, bean bag chair beans, 1.5 inch button cover kit, doll needle

I started with 6 fabric peices - 2 14 x 20 inch pieces, 2 14 x 9 inch pieces, and 2 20 x 9 inch pieces.  This pillow will be stored in the bottom shelf of my meditation altar so I took these measurements to ensure it fits.  Feel free to make your pillow a different size, but this guy is the perfect height to elevate your bum enough so your legs don't fall asleep during mediation!

Pin the right sides of the 4 squat pieces together and sew up the short sides to create a long strip of fabric.  The seam allowance here is set to be .5 inches.  In hindsight, I would have used just a long, single piece of fabric as the sides of the bolster rather than sewing these 4 pieces together.  I also suggest using a zig zag stitch for strength.  I'm using some cheapo fabric so the zig zag stitch gives the seams a little more substance.  Leave an opening to add the beans
Turn Corner on Sewing a Pillow
Pin the top and bottom pieces (the 20 x 15 pieces) to the top and bottom of the tube you've created - make sure you're pinning everything right sides together.  This is the tricky part & where the single long strip might have been better.  As you're sewing around and reach the corners be sure to pull the extra fabric out so that you're not sewing over the corners too much.

Turn the pillow inside out so the right side is now facing outward & fill it with beans.  This is going to be the messy & most annoying part.  The end result is so worth it though.  I used a paper funnel and measuring cup to funnel the beans into the pillow.  Once you get the pillow good and full, test it out.  If it feels overstuffed just shake out a nice chunk of the beans.  Hand or machine stitch the little opening closed.How to Make a Covered ButtonTo finish the bolster, add a coordinating covered button.  You can pick up these covered button kits at your local sewing shop so this isn't something special you'll have to seek out.  Simply follow the directions on the back of the package.  Cut a circle to the required shape, place it over the form, push the button into the form.  Fold the extra fabric over, place the button backing on top, and push it down to secure.  Bam! Button.Add a Button to a BolsterDIY Mediation Pillow
Using the long doll needle and doubled over thread - you can even use two strands, doubled, for extra strength - attach the buttons to both sides.  Poke the needle through the center of once side to the center of the other side of the bolster.  This may take a few tries. Once you reach the other side, slip a button through then pass the needle back through to the first side.  Add the second button, pull taught, and secure with a few knots.

And you're done!  See, easy peasy. Though slightly annoying.

Using this bolster now relieves the pain on my hips, allows the blood to circulate, and gives me the right height to see my altar.  It also fits perfectly into the space under my altar table.  The altar table itself is a TV stand from either Walmart or Meijer, I can't remember. (Oh! Walmart is also a part of ebates!  Be sure to sign up here if you haven't started to use ebates yet!).  It has shelving space plus a little door with some shelve too - perfect for hiding away journals, etc.
Sacred Mediation SpaceSacred Meditation Space
I am in love with this little space.  Be sure to check back soon to see the whole room put together + some other decor DIY's!  If you'd like to check out some of the other rooms in my house I've got a living room tour + a craft room tour over on my YouTube channel.  You can check out the bedroom tour here on the blog.  Need more DIY decor inspiration? Click here!

Do you have a sacred space?  Where do you go to connect with yourself?

6.09.2014

Make it Monday // Simple Sewing Kit

I've been doing a lot of sewing recently as I am in need of some period style dresses for the SCA events we've been attending.  So far I have one dress I'm pretty proud of, my first dress ever, and a dress I don't know if I can salvage from this past weekend.  I would say I'm a novice sewer at best but the styles of dresses I'm making are just the right amount of difficulty for me.  I put together a little sewing basket to corral all of my items for me using a basket I had laying around from Hobby Lobby.  (Hobby Lobby always has half off basket sales...so just wait for one & you can get a great deal!)
Here is everything all packed together.  I like this little basket because it's small enough to carry around in one hand but fits all the things I need.
I don't have too many spools of thread right now so these all fit rather nicely together in the bottom of the basket.  Then the pin cushion sits to the side.  Bobbins fall nicely beside that & my safety pins, of course, always fall to the bottom anyway.  I really like those colorful pins because if one is dropped I can see it on the cream colored carpet easily.  
Here is a bigger overview too.  The scissors are from a bigger sewing basket I scored at the thrift store one day back in Williamsburg.  It was a huge basket filled up with supplies for only $7! The two hem guide/ruler things (do they have a proper name?) are very helpful in here.  One has a middle part that slides up & down through the middle of the ruler & the other is an actual little clip!  Pretty nifty for pinning & measuring hems.  Other little notions are a handy seam ripper - I like that this one is rather big & sturdy - a thimble, and of course, bobbins.
I pull this little guy to the coffee table along with my sewing machine to get some sewing done.  I think each of these tools is important & helpful - and as a plus, the basket means I'll always know where everything is.

You can assemble a basket like this for super cheap too by checking out the Dollar Tree for small sewing kits, using coupons as Joaanes, & waiting for sales at Hobby Lobby.  Bonus if you can find some awesome stuff at the thrift store!

xoxo, Moe

Connect on Twitter // Follow on Pinterest

2.17.2014

Make it Monday // Easy Purse Organizer DIY from Placemats

I think when the beginning of the year hits something in our DNA screams 'it's time to get organized!' and I've been listening.  A few weeks ago I shared with you what I keep in my purse and I'd love to say that it's stayed that way - simple & organized - but the truth is it didn't.  Right now my purse is a receipt burial ground full of lost lip balm & pens.  My phone gets lost in there every two minutes and who knows what lurks at the bottom.  I love my purse from Target - it's big enough for everything, has two side handles, & another handle for a cross body if you want it.  The other day I was watching organizing videos on YouTube and I found something amazing: a little contraption to keep your purse organized called a purse organizer.  The person doing the video purchased hers on etsy (which is a great option!) but I decided that I could make something similar.  I knew that mine didn't have to be super duper fancy - just something to organize my crap.  So I picked up two cheap placemats & got to sewing.
this post contains affiliate links, please read my full disclosure here.

Supplies:  Sewing machine (or needle & thread, or fabric adhesive for a new sew option), two cheap placemats (or one, depending on the size of your purse), straight pens, ruler/tape measure
The best type of placemat to work with are the Mainstays brand from Wal-Mart.  They are $1.97 (so cheap!) and have little ridges that make it easier to sew in straight lines.  They are also pretty sturdy with out being too thick so your sewing machine needle will be able to pierce the fabric.
 First, lay the placemat flat horizontally & decide where to fold your placemat to make the pockets.  I decided to fold up the bottom of the placemat 3/4 of the way to the top.  The placemats ended up being a bit too tall for my bag so I flipped the placemat over & pinned the top flap down a little as well.
If you have an idea of things you want to store in the pockets, use the tape measure to measure out & pin the individual pockets.   Repeat the pining & measuring if you need to on the second placemat.  Leave each side of each placemat unpinned, we are going to join the placemats together at one end to create a longer organizer.
Now sew, sew, sew.  I used the thread I had on hand (but I'd suggest matching thread since you do see a bit of the thread in your bag once you're done.  Unless you don't care about that, which is fine).  You can see in the pictures above that following the ridges on these placemats is really easy.  Make thick & thin pockets as well.  Randomizing as you go is best especially if you didn't map out your pockets in advance.
Once you've sewn up all your pockets join the two placemats by sliding the hem of one placemat over the hem of the other placemat.  Pin & sew the placemats together in between each hem.  This is the easiest because you're not pushing your needed thorough 4 thick hems.  Hopefully the picture will help you see the placement.  Trim your ends & you're done!
Your organizer might be a bit too long - mine was even though my purse is huge.  So you can double over the sides like the picture below.  Also don't be discouraged if your organizer is like a lump of weird fabric in your bag.  It doesn't quite look right until you get all your stuff in there.  I slipped the organizer in my bag then filled it up with my things.  I actually had a bunch of pockets left over after I put all my things in there!  I was totally not optimizing the amount my purse can hold!  I got rid of some of the little baggies that were in my previous what's in my purse post because I now have other pockets to hold the stuff - but I may add them back depending on the things I'll add to my purse now that everything has a spot.
You can either place your purse organizer with the pockets facing in or facing out.  I prefer the pockets facing in towards each other - I can get to things better.  Now your purse has like 4x the pockets it had before & you can easily move between purses and find everything you need! (In the photo above you can see that I used blue bobbin thread since I just had it on hand.  It doesn't bother me too much but if you don't like those kind of things use matching thread!)
I also made one from a single placemat for a clutch style organizer.  This one was supposed to be fancier, just in case you were going to a nice place or out for the evening, etc but then I realized I have no nice clutches!  So you can see that you can make one of these organizers from however many placemats you need.  I think this might even be great for a travel make up bag as well!

Want more easy sewing projects?  Click here!


Are you getting organized this year?  Are you including your purse in your organization plans?

xoxo, Moe

Connect on Twitter // Follow on Pinterest

1.02.2014

Resources to Learn to Sew, Knit, or Crochet

If there's one thing I'm passionate about it's making things.  Sewing, knitting, & crocheting are right there at the top.  I'd say I'm a pretty advanced crocheter but when it comes to knitting & sewing I'm pretty much a beginner.  The great thing about being a beginner is that you have so far to grow - you can learn to do just about anything.  But there are also a bunch of beginner resources out there that will have you making amazing, yet super simple projects in no time.  So if your goal is to get creative in the new year here are some of my favorite crafty resources:

Craftsy offers classes in nearly anything you can think of.  You get great, high quality videos & access to a virtual class room where you can find answers to your creative questions.  Some classes even come with downloadable patterns.  If you want something more in depth than a short YouTube video & something more hands on than a craft book, these virtual classes are a great option.  Here's the link for sewing, knitting, & crocheting.

YouTube
If you're pretty good at picking things up, you can search for YouTube videos that can show you the basics.  I even searched for how to use my brand of sewing machine - a Brother - and found some tutorials on using all the stitches available, different techniques, etc.  You can find some great, in depth tutorials for different crochet & knit stitches as well as some creative inspiration.  If you're ever stuck in your project YouTube is a great place to learn how to solve your problem.

Habitual Homebody Crochet Videos & Crochet Along
Find the above project instructions here
A wonderful blogger Alycia from Habitual Homebody has shared her own crochet tutorials & projects and has started a monthly crochet along.  Joining in on these crochet alongs is a fun way to meet other crocheters & crochet bloggers as well as connect with others who might be learning as well.  She also has a huge list of Crochet Resources on her blog featuring her own videos.  She's such a nifty crocheter!

Craft Books
Images from the book 1, 2, 3, Sew
Of course, the stand by resource are crochet books.  You can browse the bookstore, Amazon, or even your local library to find some easy instructions.  Books to look for if you're a beginner may feature words like beginner, or Sewing 101 type of things.  I also love books featuring one yard projects or one skein projects because let's be real I have the attention span of a goldfish!  These types of books are sure to give you a quick fix & teach you something new.  Here's a list of beginner sewing books, knitting books, & crochet books.  And if you're browsing on Amazon, a lot of books are available for Kindle!  So download those guys on your phone, ipad, or kindle & get to creating!

Actual In Person Classes
Many craft stores offer in-person classes in the evenings & on the weekends.  These are fun to meet new people, to get out of the house!  Oh, and you can learn a new craft.  Craft stores offer many different levels of classes so you can learn the basics or learn something specific.  A room mate of mine in college took a fun class on making a tee shirt quilt - it was simple enough to learn the basics but she also came out with an awesome product at the end.  If you have a museum or gallery near you, see if they offer specialty programs like making an art quilt or learning to work with different fibers.  Maybe there's even something like a mixed media class focused on fiber arts.  You can really get your creative side going with something like that!

What are you going to create this year?

xoxo, Moe

Connect on Twitter // Follow on Pinterest

2.16.2011

Dorm Dec Wednesdays: DIY Bath Poof

I've realized I haven't yet posted or created anything handmade for the bathroom.  I guess I never really thought of it as a place to decorate besides storage.  (I guess I did post that vanity tray, but I really think that has been the only thing)

I really like bathroom decor. It can make even the smallest & not so cute bathroom an oasis to get away in.  Light some candles & draw a bubble bath when you are surrounded by things you find pretty & I am sure any one can relax the stress away.  In fact scented soap & bubble bath are my favorite. I recently bought this soap from Spotted Moth:

Blood Orange and Bergamot Organic Soap


I think Valentine's Day made me buy it
look at that red!
I also liked the name & imagined it would smell delicious!

While on Stumble today, I came across this great idea to turn old towels into bath poofs that look like roses!  Here's the finished product:

the front

the back

in process

These are perfect in expensive gifts & a great way to reuse towels! Pop over to Ruffles & Stuff for the complete sewing tutorial.  I'd say that even if you didn't have a sewing machine, you could hand sew these as well.

Happy Wednesday everyone.  Do you craft up things for your bathroom/guest bathroom?

PS. Don't forget to check out the link parties in the Side Bar or click here!