Showing posts with label recipe. Show all posts

11.12.2019

Three Keto Dough Recipes I Always Have on Hand

While I was pregnant with Marcus I was advised to start eating low-carb toward the end of my pregnancy.  Turns out I was growing a large baby and we needed to limit the carbs so that he didn't bust from my nether regions like bigfoot.  Too much? Well, that's the truth!
this post contains affiliate links, please read my full disclosure here.

Eating low carb was not what I wanted to do with my life, especially nearing the end of my pregnancy when I wanted ice cream and Oreos!  (spoilers: this is my favorite low carb ice cream.)  Honestly, when deciding to go low-carb one of my goals was to still be able to eat bread and sweets.  Finding some Keto friendly recipes on Pinterest was an obsession of mine...second to actually testing them out!

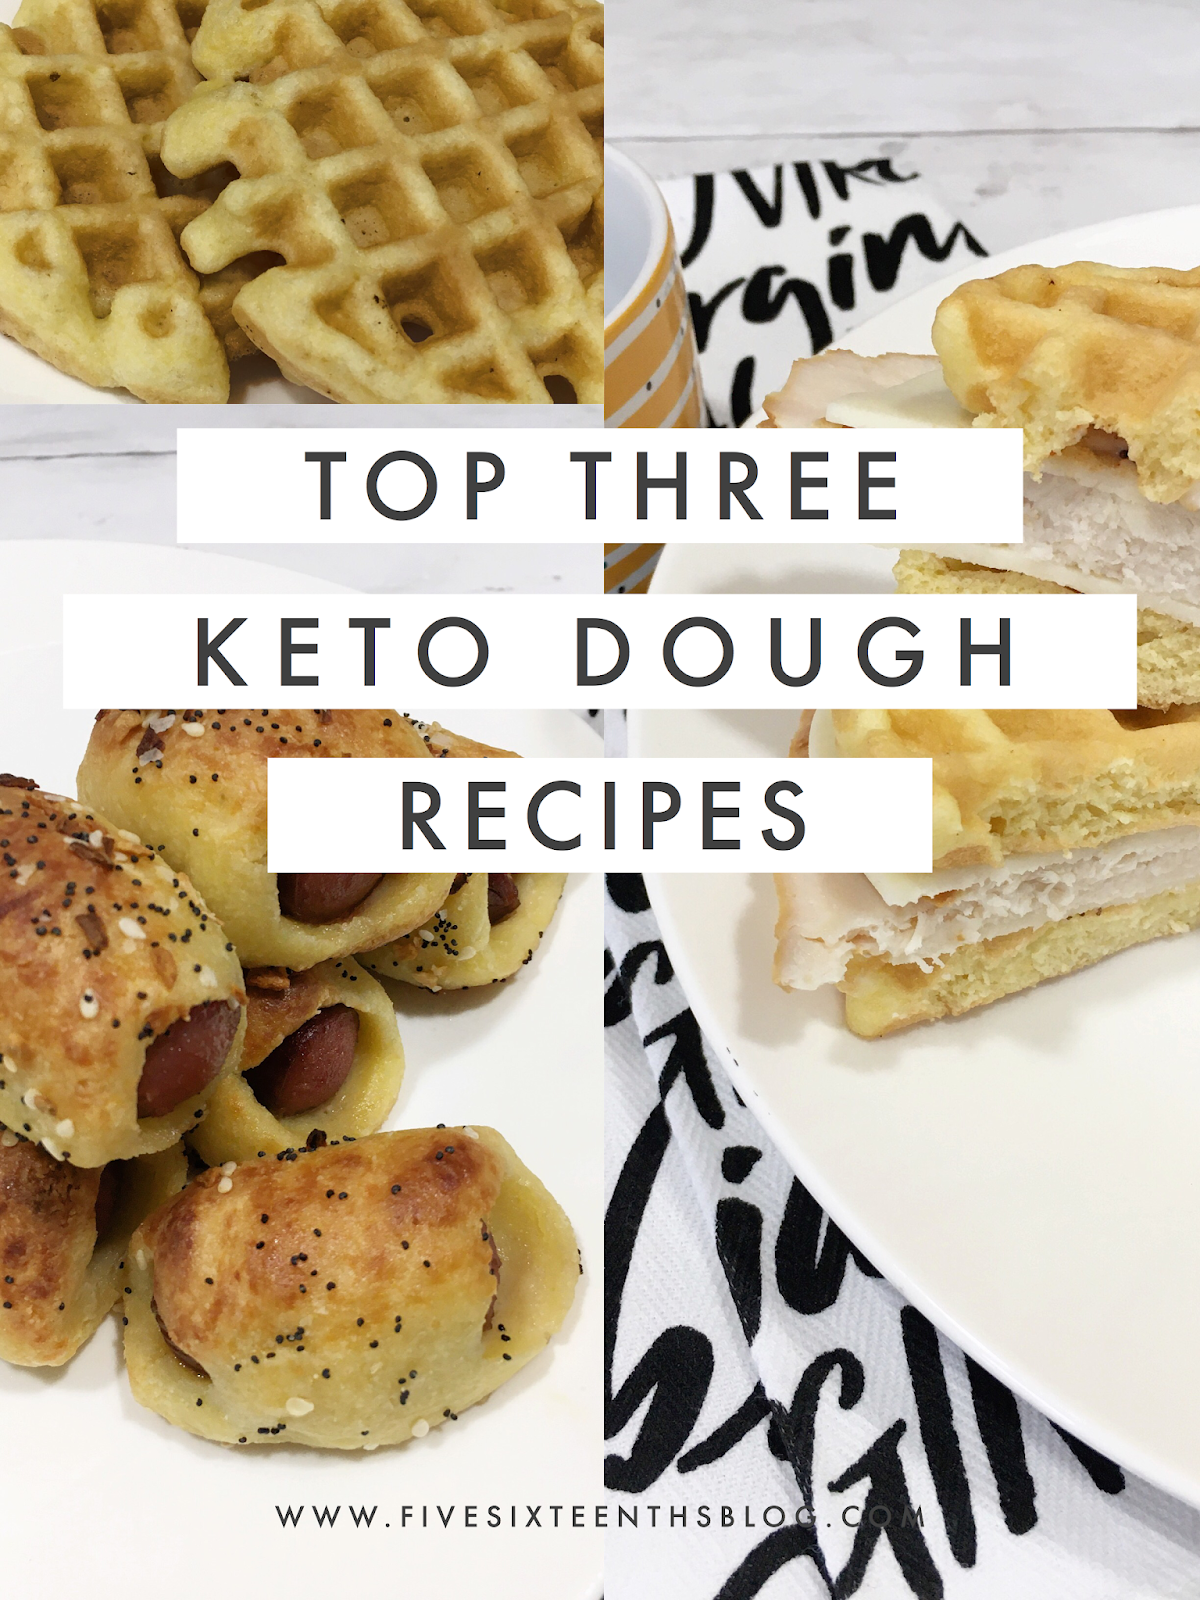
Over the last few months of my pregnancy and even into postpartum I've enjoyed finding and making new Keto recipes but there are 3 'dough' recipes that I always fall back on
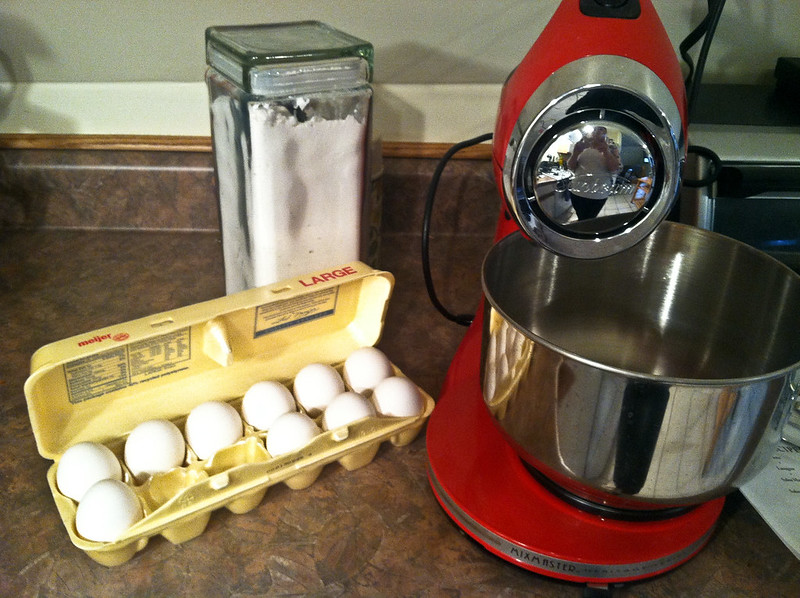
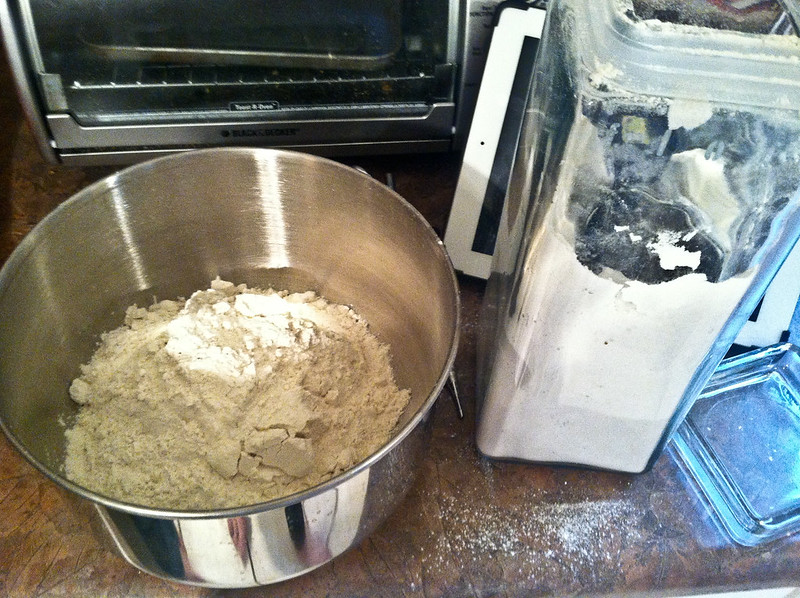
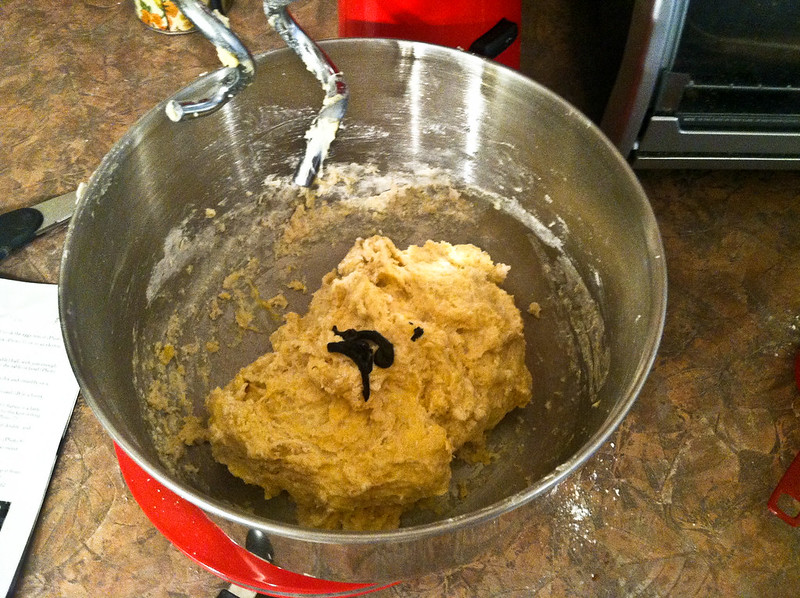
Fat Head Dough

This was the first Keto 'dough' I discovered and it quickly became my go to for everything.  Fat Head Dough is basically mozzarella, cream cheese, eggs, and almond flour (or coconut flour).  This is the recipe I use each time. Making this dough can get really sticky.  Most recipes advise you to wet your hands often when working with the dough but I find using food prep gloves works the best.
I first experimented with these Fat Head Dough bagels but quickly moved to using this dough to make pigs in a blanket (with everything bagel seasoning!) & little pizza pockets.  Let's also talk about how I paired these pigs in a blanket with red wine.  I've reached ultimate mom mode!  I experimented with making little pizza rolls too...this is something I need to work on more.  I just found this recipe to make chicken empanada pockets and can't wait to have these for easy meals!

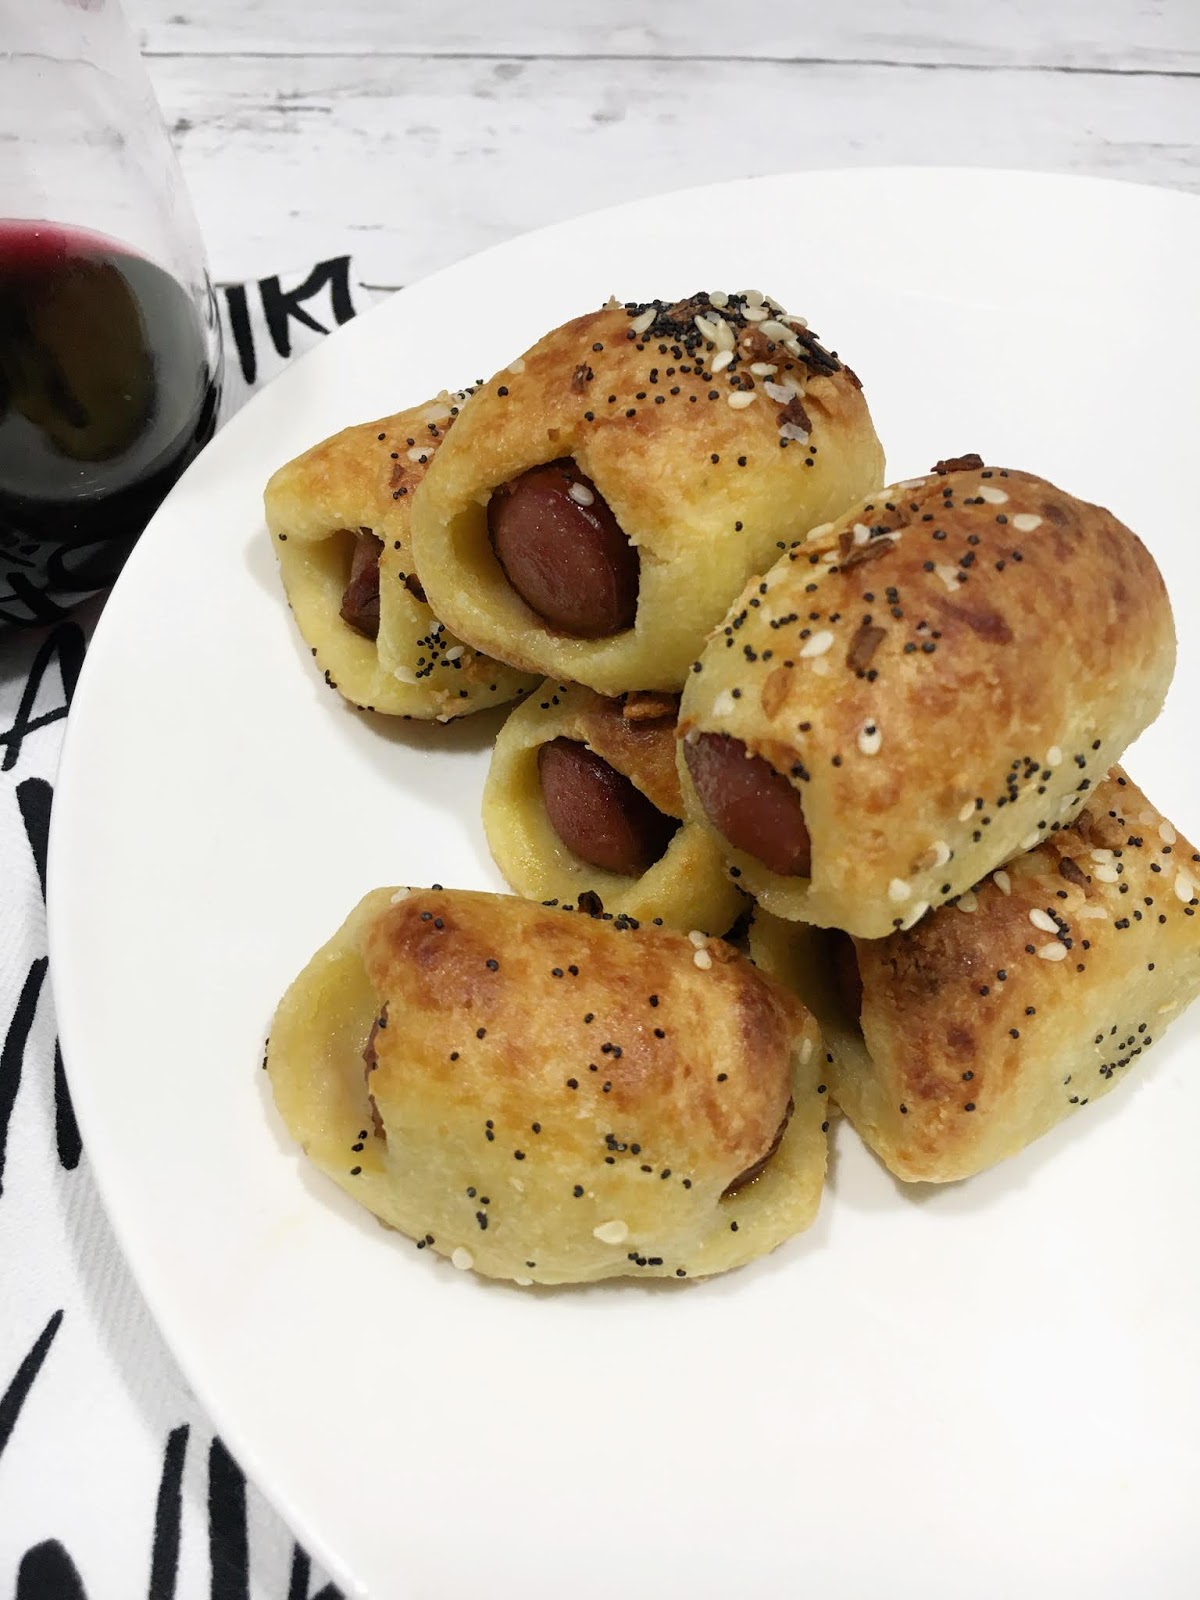
For the pigs in a blanket just make the dough as normal & cut the hot dogs into thirds.  With your food prep gloves on, grab a small ball of dough and wrap it around the dog.  Place on your pan and then sprinkle with everything bagel seasoning!  You can even brush a little bit of butter on them for that crescent roll taste but these taste great as is.  I bake them at the same temperature and time as the bagel recipe.

It is also important to cook these bad boys on a silpat mat I find this dough sticks to anything BUT this.  Even greasing tin foil got me no where.


The Chaffle

The Chaffle is something I'm just getting into but I can totally see it being my go to for buns, bread, personal pizza crusts...anything that you need to be hand held & quick!  The basic recipe is a cheese & egg mixture cooked in a waffle maker.  The waffle maker I've found that works the best for these hand held size portions is the Dash Mini Waffle Maker. You may be able to find it on Amazon - it sells out rather quickly - but Target is where I got mine.  Plus you can either order online and pick up in store or get it delivered same day with your Shipt subscription!
I love to whip the simple egg & cheese mix up for a quick breakfast sandwich or a quick pizza lunch.  One of my favorite quick lunches has been a pizza made on a flour tortilla.  Prior to having to cut my carbs I'd use whatever tortillas we had...eventually I'd found some low-carb ones BUT this chaffle cuts the carbs even more!  Just mix 1 egg with 1/2 cup cheese (I usually use mozzarella).  This will make two chaffles which makes it perfect for handhelds!

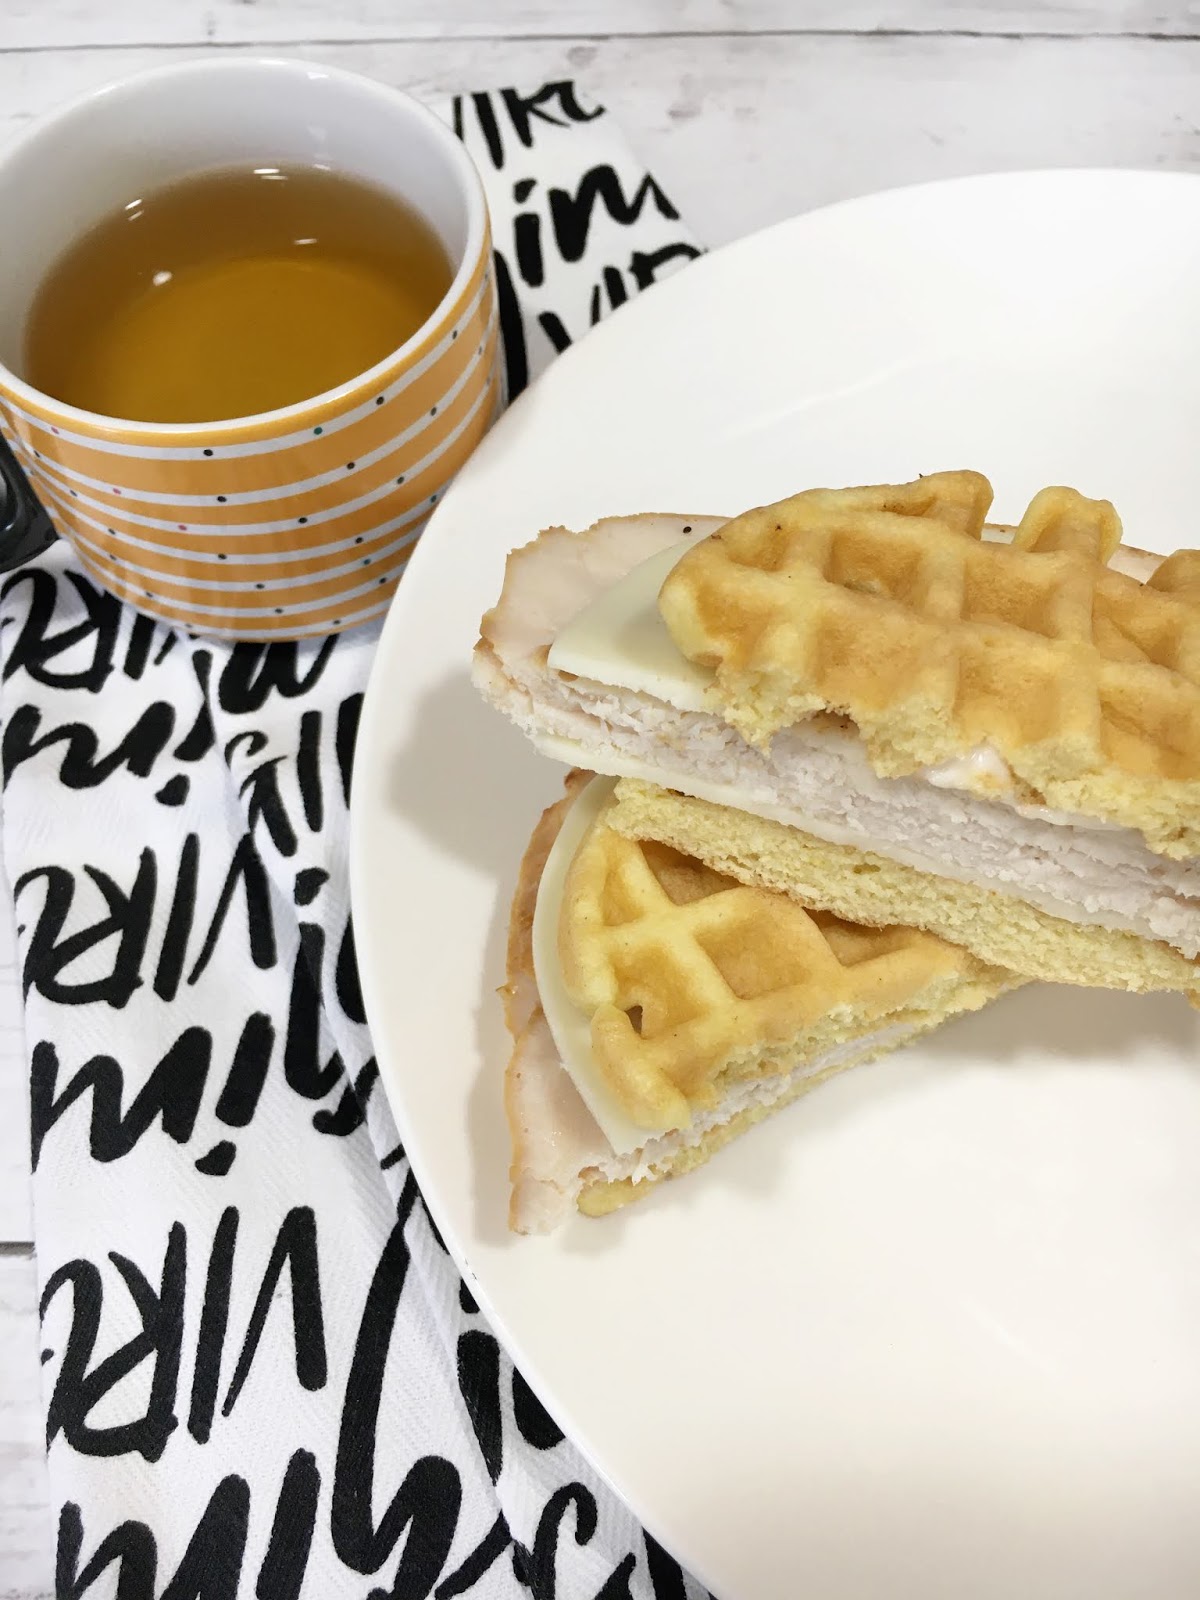
My favorite chaffle recipe that tastes EXACTLY like bread (so its perfect for sandwiches and toast!) is from Butter Together Kitchen.  I added a few things here in my own experimentation - instead of 3 tbsp almond flour I went with 2.5 tbsp, then added a half tbsp vital wheat gluten (this makes it more bread like) and 1/4 tsp of Lakanto Classic Monkfruit Sweetener.  The vital wheat gluten has been a real fun thing to play with and it is in another one of my fave low carb doughnut recipes.  If you make this recipe my way & with the mini waffle maker you'll get three chaffles.  So it might by worth it to double the recipe and make six so you can have 2 more sandwiches later/the next day.  Its the perfect meal prep!
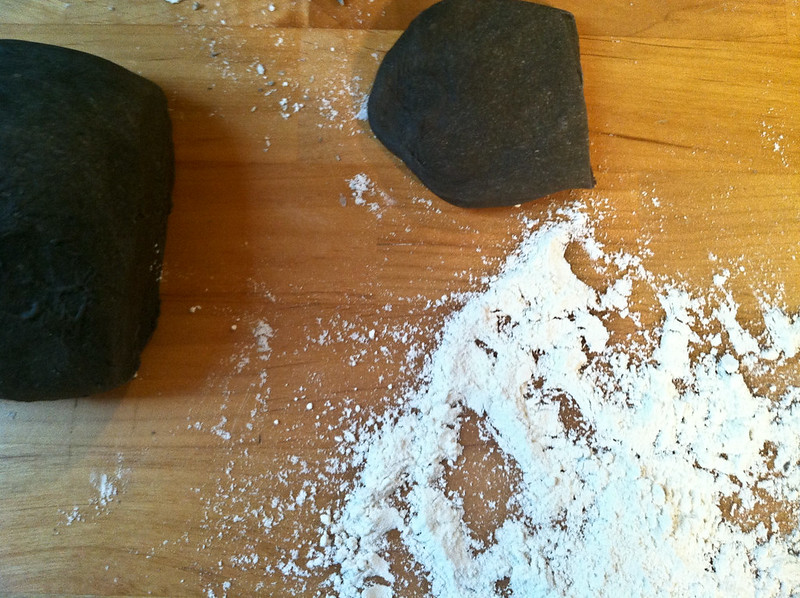

Psyllium Husk Roll

This was the first 'roll' recipe I came across and I'd used it to make buns and whatnot for things like pulled chicken sandwiches.  (I love to make pulled chicken in my Instant Pot!)  This recipe also uses and ingredient I was interested in - psyllium husk.  This is basically pure fiber so drinking water is a must but apparently this ingredient helps recipes stay together.  Psyllium husk and vital wheat gluten are pretty fun things to play with in low carb cooking!
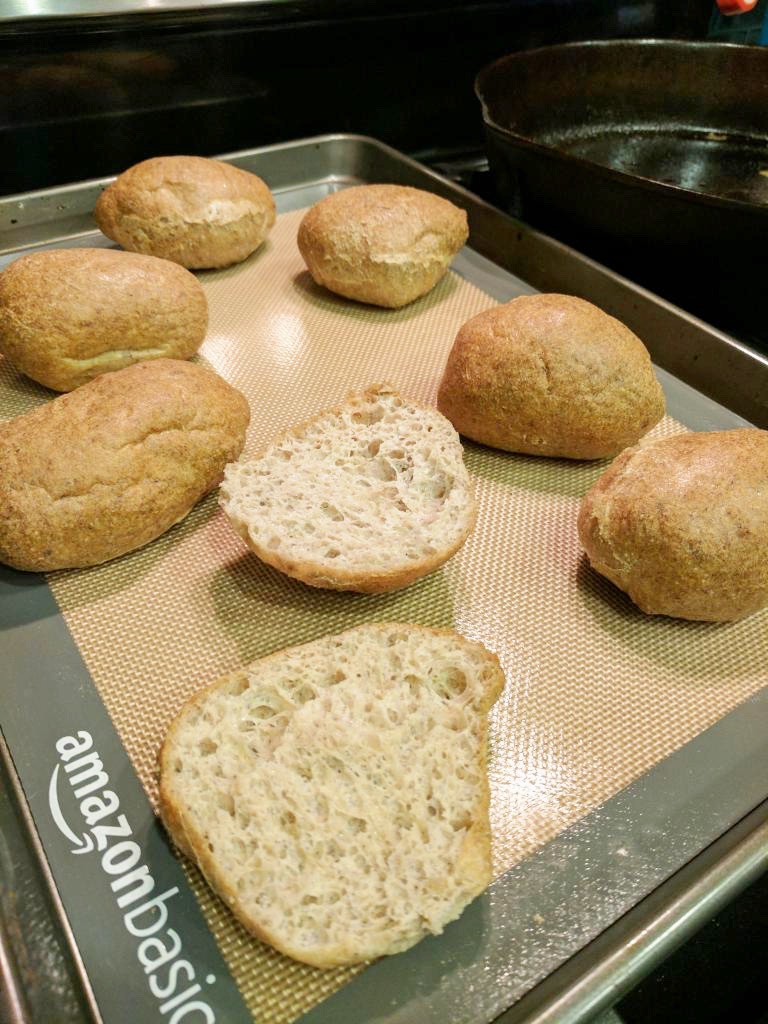
I didn't have a need to make these rolls recently so this image is from the original recipe maker, here.

This is the only recipe I'd ever used the psyllium husk in and it turns out a pretty nice roll.  The are a little odd though.  When you first cook them they will come out hard on the outside and then a little gooey on the inside.  I put them in a ziplock bag to store them and the next day they were soft on the outside and not gooey but still bread like on the inside.  It was odd but this is the results other people got to!  I'm excited to continue to experiment with different spices to make these rolls super versatile.


Another post I need to do is all the sweet things that I eat on Keto!  I have a huge sweet tooth and a love of bread so eating those things was important to me when I went to switch my diet up!

I'm still doing a Keto focused diet though I'm not super strict on myself.  I sub a few things here and there - like all these dough recipes, no sugar in my coffee, heavy whipping cream instead of creamer, monkfruit sweetener or stevia for sweetener - in order to just cut a few things out.  Overall decreasing my sugar and carb intake rather than obsessing over macros is my long term goal!

What are your favorite low carb recipes?  Anything I should try out?

xoxo, Moe

7.31.2017

Make it Monday // Yummy Banana & Butterscotch Smoothie

If there is one thing I love during the summer (and every other season of the year) is ice cream.  Now I'm not saying this is in anyway the healthy version of ice cream...but there's like 2 to 3 bananas in here....so that's got to count for something.  Isn't it about subbing things out?  So like eat all of the bananas and none of the ice cream, right?  That's a thing right?

And before you say 'Ewwww this sounds like the worst thing ever!', hear me out.  Bananas are a good substitute for ice cream, that is a thing!  There are tons of banana ice cream recipes out there.  Butterscotch milkshakes are a thing too...at least for me.  So if you don't like bananas, or bananas as an ice cream substitute, or butterscotch....might want to skip this post. 
this post contains affiliate links, please read my full disclosure here.
Anywhoooo...I do try to make banana smoothies when I'm craving something sweet because then I won't eat the ice cream.  In addition to an ice cream weakness, my favorite ice cream topping in butterscotch.  I love butterscotch flavor everything! So I thought I'd try tossing in some butterscotch topping into my banana smoothie.  So that makes it less healthy...but still a good treat.  Better than a big bowl of ice cream, right? right?
Supplies // 2 to 3 bananas, half cup milk, ice cubes, 2 tbsp butterscotch topping (or add to taste), Nutribullet

First off, can we talk about the only thing I've used my Nutribullet for is milkshakes and these smoothies....nothing truly healthy. Whoops!  I really do love this little guy though.  It's perfect for when you want to make a single serving of something as you don't waste ingredients.  When I use my big blender I always over estimate - because really my whole life is just throw it in the blender - so I have too much.  If it's just me, that means I drink more than the serving I need.  If I'm splitting something with Zach, we may still have too much...or not enough to satisfy us!  The Nutribullet makes guessing the perfect way to make a single serving!
Chop up the bananas into the cup, add the half cup of milk (you can use almond milk, cow's milk, whatever milk you like), add the ice, & then blend.  I mean it's really that easy to make a smoothie.
Once it's all blended up, add the 2 tbsp of butterscotch topping & blend.  Taste the concoction & if you need a bit more topping, add it in.  You can get the low sugar topping, or even try adding in butterscotch flavoring.  I love the smoothness of the ice cream topping.
What I love about the Nutribullet is that the cups you use to blend also turn into the cups you can drink from.  You don't have to....but you totally can!  Some of the screw on tops even have handles.  How convenient.  
Now if you need me I'll be out on my porch drinking these guys all day, everyday.  Again...defeats the purpose of being healthy but it's so delicious.
On a serious note....I have been trying to make good substitutions for things in my life.  For example, drinking cold brew coffee has cut out a giant part of the sugar during my day.  I've also been drinking club soda + essential oil concoctions instead of soda (not everyday....but a few times a week.  Ingesting essential oils is a personal preference and personally because of their concentration, I don't suggest ingesting EO's everyday).


So I hope this little recipe inspires you to sub out the ice cream treat for an equally satisfying treat!  I know this meets my sweet tooth when I need it.

How do you substitute snacks to make healthier choices?

xoxo, Moe

7.03.2017

Make it Monday // How to Make Cold Brew Coffee in a French Press

About a 2 weeks ago I picked up some coffee concentrate from the grocery store.  I'd heard about this crazy concoction from my BFF when we were in Florida (she doesn't even like coffee!!) and finally decided to pick some up.  Apparently you can dilute this magical juice with water, milk, etc and have a delicious cup of coffee.
Cold Brew Coffee At Home
this post contains affiliate links, please read my full disclosure here.

Let me tell you - I love this stuff!  Since picking that bottle up I've had a cup of cold brew coffee each morning with just milk.  I've cut my intake of sugar and that processed non-dairy creamer stuff by doing this.  Though I can't say the impact of that yet, the cup of coffee isn't too bitter and I can stand to drink it with out the pump of sweetness.  Never thought I'd be able to do that.

So, because I've found a new love & because I have a French press that is collecting dust next to my coffee bar I thought I'd try my hand at making my own cold brew coffee concentrate.
How to Make Cold Brew Coffee in a French Press
supplies :: french press, coarse ground coffee, room temp water, 14-16 hours, mason jar (optional), fine sieve (optional)

Personally I used the coffee grounds I'd had on hand but a lot of the blogs I read suggested coarse ground coffee for a sweeter flavor.  It seems that the grinding process heats up the coffee beans and the finer you grind, the more heat is generated.  Science, it makes sense.  And that heat is what creates the more bitter taste.  So take that as a suggestion.  I do plan on getting a coffee grinder for myself.
Cold Brew Coffee At Home
Add 1 cup of the coffee grounds to the French press and top with water.  Leave about an inch at the top so that you can add the lid and plunger with out causing overflow.  Cover the press and set aside for 14-16 hours.
Cold Brew Coffee Concentrate
Once the concoction has steeped for 14-16 hours, add the lid and press the plunger down to push the grounds to the bottom of the container.  My french press has a fine mesh over the spout as well but you may need a sieve here to remove the rest of the grounds.  Either pour the magical goodness into a separate container like a mason jar to store it for later or pour into a temporary container, clean the french press, and transfer the unicorn blood back into it.

Store in the fridge for about a week because you'll drink it all in that time frame.  No need to worry about it going bad, you're gonna down it in no time!
DIY Cold Brew Coffee
Cold Brew Coffee At HOme
I dilute the coffee concentrate with milk and drink it cold.  I have tried to dilute it with water - both drinking it cold and hot - and personally I don't like it.  I'd need a little bit of sweetness to drink it that way.  Milk - we drink Skim milk but this would be great with almond or soy milk - is the way I choose to take my coffee.  I don't measure out the ratios but about a shot of coffee in a mug topped with milk seems to work just fine.

Shop Related Products on Amazon!

I can't wait to try different coffee recipes with this coffee concentrate.  I see a gourmet coffee shop right on my kitchen counter in the future!

How do you take your coffee?  Are you down for some cold brew?  Let me know below or in the Five Sixteenths Blog | Live Creatively Facebook group here.

xoxo, Moe

9.05.2016

Make it Monday // Crazy Easy (Chicken) Fried Rice

There are an assorted few recipes here on the blog.  I am 100% not a cook at all....but since being with Zach, his add a bit of this and see what happens kind of cooking has rubbed off on me.  This is one of those types of recipes.  Fried rice is one of the easiest things to make and I totally think it should be in your recipe Rolodex.  I'm sure you have some of these things in your stock right now, and if not you can omit a few things or run out and grab a few things.  I'm going to share with you my base recipe with a dash of fun added in (like the chicken).  Honestly I made this with instant rice before we had a rice cooker and it still tasted great.  This is easy and affordable, so here we go.
this post contains affiliate links, please read my full disclosure here.

ingredients // 2 cups uncooked rice (instant is fine, I used Jasmine rice), 2 cups frozen mixed veggies, 2 eggs, 2 tsp oil (I used sesame but olive oil will work too), soy sauce to taste

optional // 1 lb chicken cubed, 1 tsp ginger paste (or fresh ginger), 2 chilies chopped, fresh green onions chopped, 1/2 yellow onion diced, sesame seeds

The base recipe excludes all the optional parts of this recipe (obviously) so you can skip over those parts in the.  

Prepare the rice according to the directions.  I made this with instant rice for years, it has only been recently that I'be been using the rice cooker.  If you don't have a rice cooker, you need one.  I put this step first because if you have the rice cooker you can let the rice cook while you prepare the chicken.

Cube the chicken and saute in oil with onions, ginger, and chilies.  Cook thoroughly and move to a separate dish.

Once rice is cooked, add to hot pan (add more oil before if needed).  Add in soy sauce - this is a personal preference thing, but don't worry you can add more in at the end too.  Stir in frozen veggies.  Allow to cook for a few minutes, stirring occasionally.

Move rice from center of the pan to create area to cook the eggs.  Break two eggs into the pan.  Allow to cook lightly then break yolks.  Stir the eggs in the center of the pan until they start to cook (think scrambled egg consistency).  Once cooked, fold into remaining rice.
Add in chicken.  At this point taste the rice, add in more soy sauce if needed.  Continue to cook until thoroughly heated.  Add in green onions right before serving, stir.

Add a dash of sesame seeds as a garnish.

Depending on how gluttonous you are, this recipe probably serves 4.
Soooooo, like I said if you just cook the rice, saute it in oil, add in soy sauce, add veggies, add egg (even that is optional) and cook it all up, you'll have some delicious & super easy fried rice.  If you have an egg that is about to expire or you have some leftover rice - even white rice from the take out place - you can have some yummy fried rice.  Better yet if you have leftover white rice from the take out place, make rice pancakes.

Like I said, I'm no professional but this rice is the bomb.com.  Perfect for a girl on her own, a college gal, family of two, or potluck (just maybe double it!) - just make this recipe, ok?

Do you have a favorite, easy recipe?  Any ones you'd like to share?

xoxo, Moe

2.22.2016

Make it Monday // Southwest Chicken & Rice Bake

One of my favorite easy recipes is a variation of rice, cream of whatever soup, and chicken baked in the oven for 45 minutes.  This is a super easy base recipe to add your own spin on to get a yummy dinner and it is the recipe I have in my recipe book. I can't tell you how many times I've varied the ingredients to create something different.
Southwest Chicken and Rice
Today I want to share with you how I made this delicious Southwest Chicken and Rice bake!  It is definitely a main dish - you can eat it with chips as a dip or use it as the fillings for burritos or tacos.  It is quick to make (it bakes for a bit, but you're not standing over the stove) and it's filling!
Quick Chicken Dinner Recipe
Here's how I made it

Ingredients:
1 can whole kernel corn
1 can diced/chili ready tomatoes
1 lb chicken breast (or more depending on your liking)
3/4 cup rice
Rotisserie chicken seasoning
1 packet Quesadilla Seasoning
1/2 Cup cheddar cheese (or queso cheese)
other veggies (peppers, onion, etc) optional
1 tbs olive oil

Start by defrosting your chicken if need be (one of these guys is great for this.  They defrost meat quick enough, with out a microwave!).  Next, slice it in to very thin strips.  Season the chicken with the Rotisserie chicken seasoning then saute the chicken in a pan with the olive oil for about 5 - 7 minutes.  I found that in the original recipe if I didn't cook the chicken just a bit before throwing all the ingredients together, the chicken would remain under cooked.  You can also saute the chicken with the peppers and onions if you'd like to soften them up a bit.  
Southwest Chicken Dip Recipe
Next, in a square metal pan or baking dish add the rice, can of corn, and can to tomatoes.  Do not strain these cans.  The liquid is needed to cook the rice.  Mix in the Quesadilla mix into the rice, corn, tomato mixture evenly.

Add the chicken to the top.  Sprinkle the cheese on the top. Cover with foil.

Bake at 375 degrees for 45 minutes.  After it is done baking, let it sit for a few minutes and then stir & serve.
Chicken and Rice Dip
Easy Family Meal
Like I mentioned above you can serve this as burrito or taco filling or as a dip for chips.  Or even in a taco salad shell with some greens.  I love the base recipe because you can get soooooo much versatility our of the same style.  This is my go to recipe for when Zach is gone.  Perfect simple bake it and leave it type of meal because I really do hate standing over the stove and cooking!

Do you have an easy go to recipe you use a lot?  How do you vary your recipes?

1.25.2016

Make It Monday // Fricken' Easy Marbled Mint Fudge

During the holidays one of my favorite sweet treats is fudge.  I'd picked up dark chocolate & mint chips from the store sometime in December because I just couldn't resist them, but never got around to actually making the fudge until right now.  Here's my excuse - 1 bag was not enough to make the recipe I'd found and I just never picked any more up.  The other day I did find some more chips at the store so I thought I'd try my hand at making what I'd meant to make.
And since I just can't do things easy right off the bat I decided to divide my chips - they were dark chocolate & mint after all - and create a marbled look.  Let me tell you, this recipe is super, super easy.  If you have a sweet tooth like me you'll totally be making all the fudge all the time.  I used this 3 ingredient recipe and halved it to create my marbled fudge.

Ingredients :: 3 cups (two 10oz bags) chips, 1/4 cup butter, on 14oz can sweetened condensed milk.

I started by dividing the dark chocolate chips from the mint chips into two separate  bowls.  Two 10 oz bags gives you just a little bit more than you need - 1.5 cups of the dark mint and 1.5 cups of the mint chips.  Halve the butter and the condensed milk and add each to each bowl.  

Microwave each bowl until the chips melt, giving them a stir once or twice.  I found a fork works the best to evenly distribute the ingredients.
Once each set of chips is melted, begin to pour the mixture (one at a time) into a well greased 8x8 pan.  I lined my pan with foil to make the removal process easier.  The dark chocolate chips maintained a thicker consistency while the mint chips got more runny when heated, so I used the dark chocolate as the base - meaning I poured that one into the pan first.

Using a spoon, spread the chocolate around the bottom of the pan.  Once it is as evenly distributed as possible, top with the melted mint chips.  Since these were more runny it was easier to take my spoon and create an S design running back and forth with in the chocolate.  To get the best marbled effect, don't be afraid to really get in there with the spoon and stir things up.  Don't go too far though or you'll get a weird color if you mix it too well.  I do suggest using a spoon - at first I tried a toothpick but it wasn't sturdy enough to get a good mix going.  You may need the toothpick to pop any air bubbles that form while creating the marbled effect.  The tiny pinpricks did leave little holes when I popped the bubbles - but that obviously doesn't affect the taste!!

If you can't find the premade bags of chips, two 10oz bags of complimentary chips works too.  It will probably be easier since you don't have to divide them by hand!!

I can't wait to enjoy these little treats all year round - it will be fun to try my own little fudge combinations!

What is your favorite sweet treat?

xoxo, Moe

7.06.2015

Make it Monday // Thin Crust Tortilla Pizza

So the title of this post is a little bit deceiving....you may think 'hey, this girl's got her shit together and it making some delish recipes.'  I'm gonna say you're wrong.  Pretty much this recipe came from me standing in front of the fridge thinking 'you know what?  I think I have enough crap in here to sorta make a pizza.'  
And that's how this yummy thin crust pizza came about .  This is perfect for a quick lunch for you or for some kiddos.  It is also pretty easy to just keep all these things on hand for when you think 'I have nothing to eat.'
Ingredients: pizza sauce or tomato sauce, mozzarella cheese (or any cheese really), pepperoni, parmesan cheese, tortilla, optional - various other toppings.  Not pictured - Pam or non stick spray, Aluminum foil or cookie sheet.
(I've found that since this is a super thin crust pizza it doesn't hold up well to too many toppings.  I just keep it simple with pepperoni.)

Preheat oven to 400 degrees.
I always make a little 'pan' with aluminum foil because I'm all for a no clean up meal.  You can set the aluminum pan right onto your oven rack or on a cookie sheet to bake.  Easy + no clean up.  Add your sauce, cheese, pep, etc to your tortilla.

Bake for about 10 minutes.  I find this makes the tortilla edges super crunchy but doesn't burn.  There has been a lot of pizza trial and error for this recipe....let me tell you!
Now slice it up with your pizza cutter. I usually cut into 8 slices.  And remember, every pizza is a personal pizza if you try hard enough.  

This is great weekend food or quick to whip up if you have a few unexpected friends over.  Pop open a beer and eat some pizza.  Don't forget to invite me.

What is the weirdest thing you've put together from the stuff in your fridge?  Do share!

xoxo, Moe

4.02.2013

The Things We Do Together // Good Food Brings Us Closer

One of the biggest things Zach & I do together is cook.  It's one of the only times we're each guaranteed to be focusing on the now.  I love cooking with Zach because he's so creative & it's just nice to spend time with each other coming together on a yummy meal.  
A lot of the time I'm surprised by how delicious the food he's made is.  Sometimes it's totally new, sometimes its just a tweak on an old recipe.  I love when he comes up with an new idea & just gets to cooking.  He's wonderful at peaking in the cupboard & fridge and then creating a meal with what we have.  Grocery shopping involves a lot of idea bouncing on what we'll make for dinner.  If we aren't in the kitchen on Sunday's drinking wine & cooking, you can find us at the grocery store deciding on what to make the following week/weekend.
Spending time together, focused on a non-stressful common goal is great for us.  We don't have to butt heads on anything, we don't have to make too many decisions, we're just working together on good food!  I love that it's a creative place where Zach takes the reins & I just trust.
Isn't there a saying about good food bringing people together? It sure does work for us!

Learn how to make Zach's delicious Salmon here
read about our adventures in black pasta making with squid ink here.

What brings you & your significant other - or your family - closer?  What do you do together that lets you focus on the now?

xoxo, Moe

Connect on Twitter // Follow on Pinterest // Peep me at Hello Cotton

2.18.2013

Make it Monday // Homemade Black Fettuccine Noodles

Zach & I have an annual tradition of making homemade pasta each Valentine's Day.  Last year we made three types of ravioli: cheese, sausage, & spinach and mushroom.  Each pasta was a different color: sausage = red, cheese = white, spinach = green. This year we wanted to do colored pasta again but try a fettuccine noodle this time, and try a twist to the coloring!  So today I am going to share with you how to color pasta black with cuttlefish ink. You read that right & it's really fun.
Start with a regular pasta recipe (we used a modified one from memory & looked to the book that came with our pasta machine for reference).  The general ingredients are flour, eggs, & water, you'll also need to pick up some cuttlefish ink.  You should be able to find this at any sort of international store or even if you have a amazing supermarket.  Zach found his online.
This was the first time we got to try using the mixer to make pasta & it was a bit of a challenge.  Last year we made piles of flour & egg on the table and I worked it together with my hands.  This year I really wanted to try the dough hook attachment on my mixer.  A place online suggested to start with the regular beater attachment to get the mixture going, then to switch to the dough hook.  That's what we did.
From last year we learned that sometimes you'll need more water & sometimes you'll need more flour.  As we started to mix the eggs, four, & water we also added two packets of the cuttlefish ink.  Now, I will worn you it smells a bit ...... fishy.  But don't worry! It won't be fishy when you get done, I promise!  Because we were a little bit inexperienced with the mixer we pulled the dough out a bit & worked it with our hands to get the ink distributed well.  The mixer takes a lot fo the kneading out but you'll still need to knead it a bit with your hands until it's the right consistency.
Here's where I took it out the first time to incorporate the ink. I threw it back in to knead some more
Our cart came in pretty handy when making the pasta! It was great extra counter space! At the end of it all you want the dough to not be sticky.  Your ball of dough should almost feel like play-dough on the dry side - it still sticks to itself, it's not flaky, but it's not sticking to your hands - it's just a nice little ball of dough.  This will take adding more water or more flour to the dough, but do it in increments so you don't end up adding too much.
Now you're ready to let your dough sit for 30 minutes.  Throw a towel over it & just let it be.  Now is the time to clean up your mixing bowl, but don't put your flour away.  You'll need it to help running the pasta through the pasta maker.
Start by cutting off chunks from your dough ball about an inch in width.  Begin running through your pasta maker on the largest setting.  You'll need to add flour if it starts sticking, fold it over, run it through again.  You want it to become a consistent sheet of dough before moving down to the next notch  Keep going, making a consistent sheet of dough before moving down in size.  We ran our pasta dough until it reached the 7 notch.  Then threw flour on both sides & ran it through the fettuccine attachement.  Let me tell you, it's much better to have a friend doing this with you!  Your sheet of dough will be long & you may need a friend to catch and organize the pasta strings.
Since our dryer is out (we just had the new one delivered, but it's not hooked up yet..can't wait!) we've been using drying racks for our clothes.  These drying racks did double duty as a place to hang the pasta!  I am not quite sure what we would have done if we didn't have these, so a place to hang your fresh pasta is important!
Now prepare your meal as normal.  Since your pasta is fresh, it won't take any time to boil up so watch it & make sure it doesn't overcook.  Zach made up some scallops & shrimp, added some asparagus and we put Alfredo sauce over the noodles.  It was an amazing dinner.  You may want to have a few friends over because you'll end up with a lot of pasta, we'll have leftovers for a bit.
So there you have it! Homemade pasta dyed with cuttlefish ink!  It turns out really pretty.  Homemade pasta is very fun to make.  You can make it yourself, but it's fun to do with a friend.  I think it's really a team work sort of thing because you have to work together when the sheet of pasta gets too long for you!   Cooking together is one of my favorite things.  I'm so glad I have a great cook to work with!

xoxo, Moe

Connect on Twitter // Follow on Pinterest // Peep me at Hello Cotton