Finding, using, and sharing apps is one of my favorite hobbies. Starting with my iPhone 4 I've loved to download photo editing apps, overly process photos and share them with the world. That was when Instagram & the power of the smartphone was new. Today, there's a different story when it comes to the photos we take and edit with our phones - subtle, professional edits that enhance the natural beauty of a photo. Prior to the age of the smartphone you'd use something like Photoshop to create the perfect photo. Today that whole game has changed!
We're trying harder now to curate the photos we take and there are a ton of apps that can help edit that perfect shot right on your phone - Instasize is one of them! I was contacted by Instasize to review the full version of their app and share it with you today. Instasize is an easy way to carefully and subtly enhance your photos as well as create a curated social media presence.
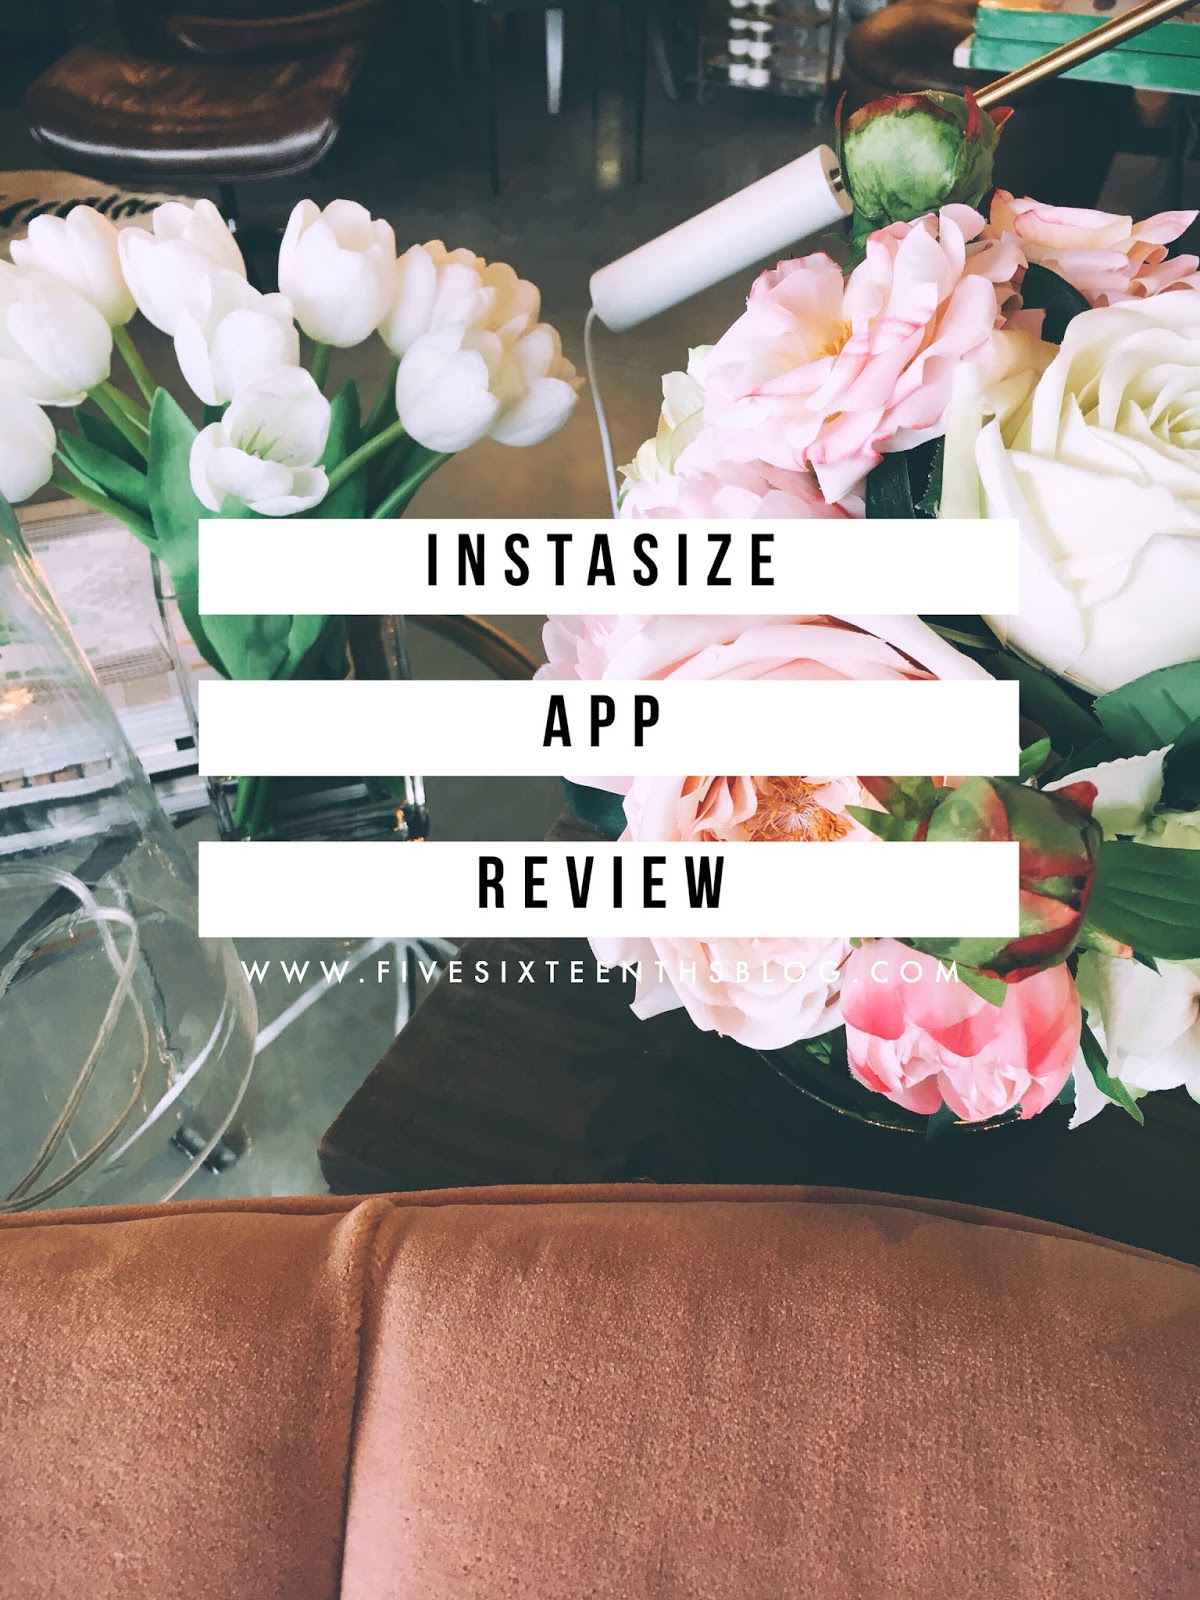
What is Instasize?
Instasize is truly an all in one photo editing app. The app features a wide range of professional filters & editing tools, the ability to edit both photo & video, pre designed text overlays, 50 fonts to insert your own text, & a collage creator. Seriously, all in one app!
A premium subscription of $4.99 USD/month offers you access to updates monthly + exclusive, member only tools.
What does Instasize do?
In a nutshell, Instasize allows you to curate your social media presence with consistent photo edits & text overlays. Giving you a complete tool kit to stream line your social feeds in one app, Instasize can be your go to for any size photo you need to post. At it's core, Instasize can fit a portrait photo into a square canvas, perfect for posting to Instagram. However this app does so much more:
Photo & Video Editing
First off, there are 40 professional filters for you to choose from to edit both photo and video. When you load the original size photo/video into the app you'll be editing the original size. You can either crop the media, work with it at it's original size, or tap the yellow circle in the lower left of the image to shrink it onto a square canvas.
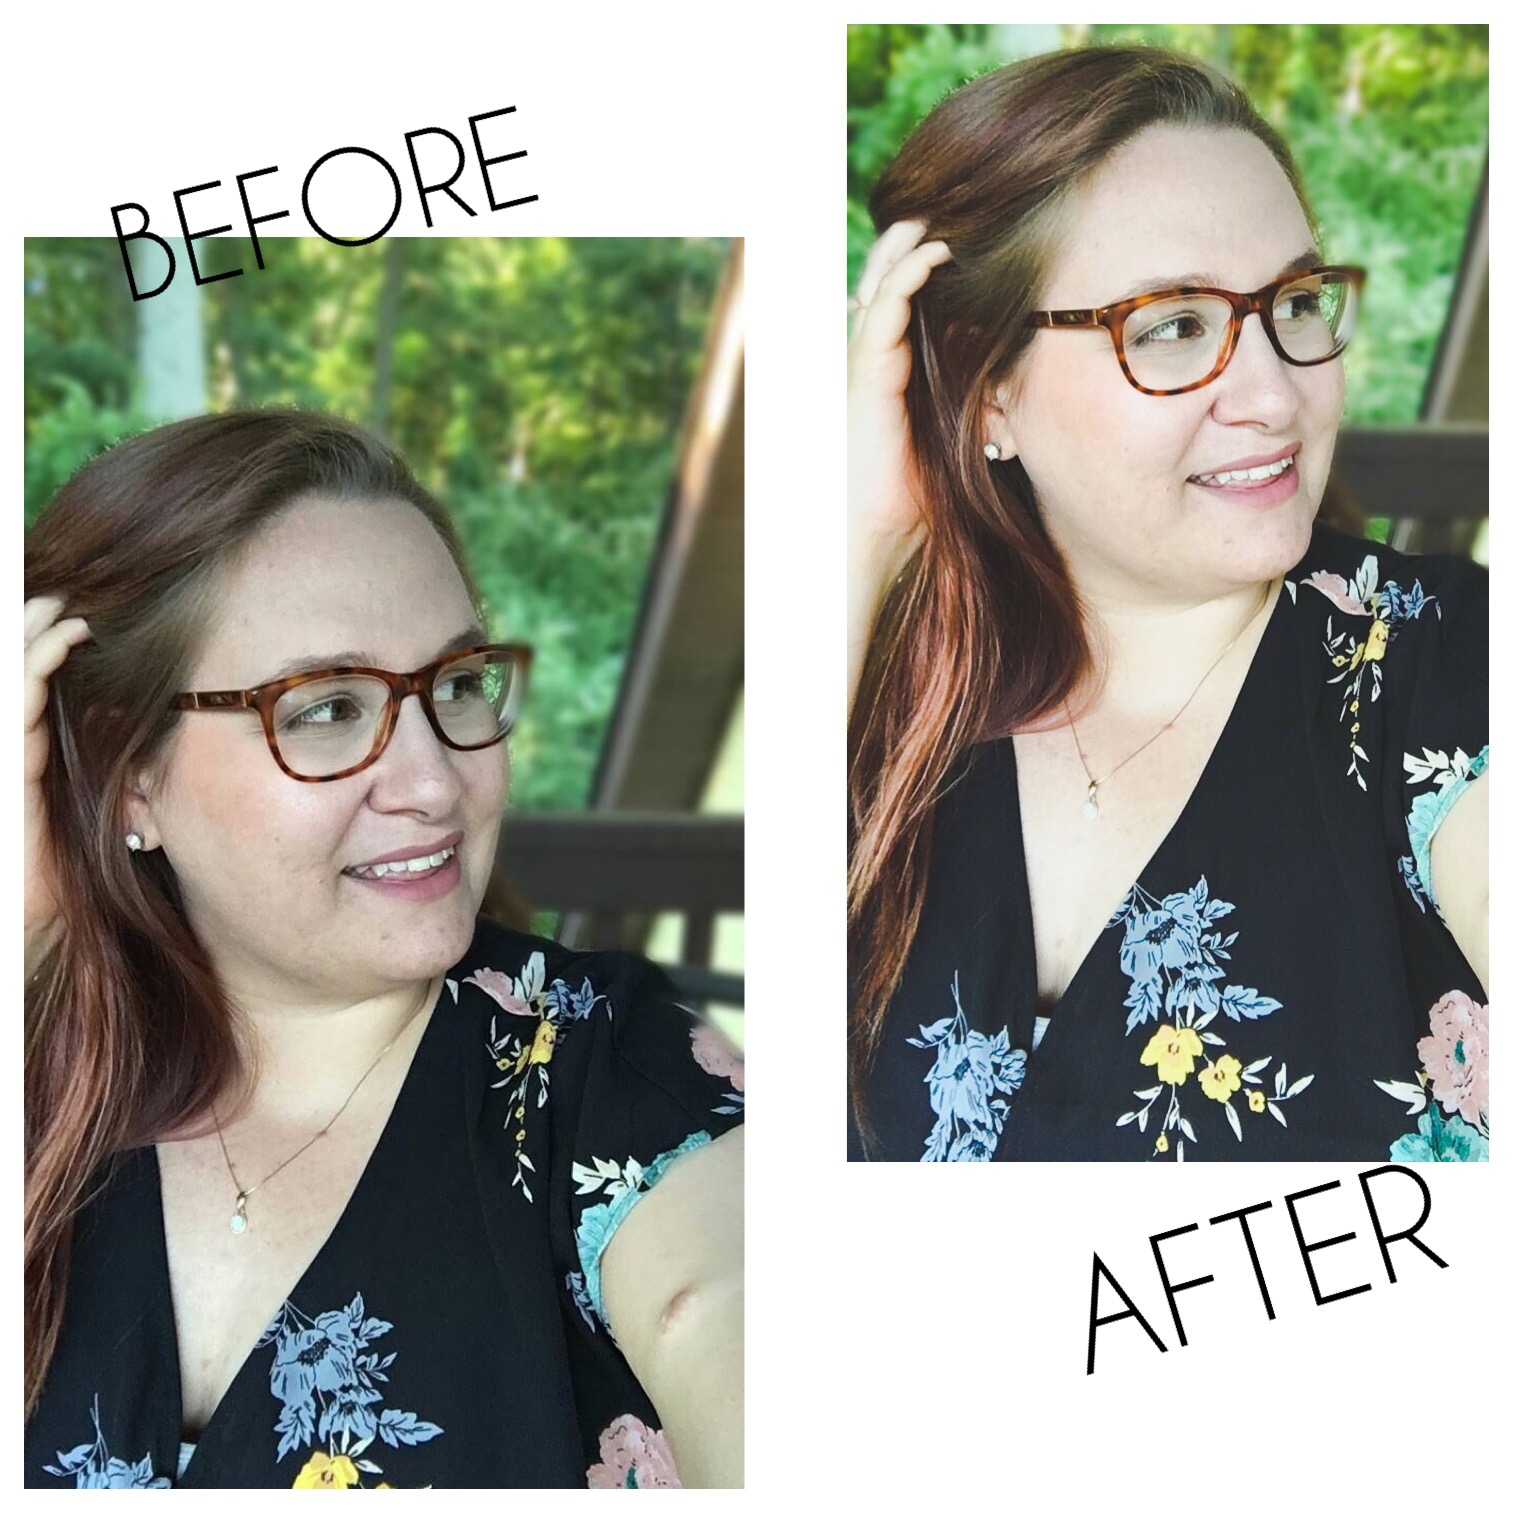 From here you can edit the photo using the filters or the precision edit tools - both options for saturation, brightness, etc and beauty tools to whiten teeth, even skin tone, etc. I think that this app is perfect for portrait or landscape photos. And by that I don't mean the orientation of the photo but rather editing images/video of people and/or the outdoors! The flat lays I usually do don't fair well with the filters in this app, I've found. But I love the way the filters enhance my selfies!
Collage Maker
Another cool feature of this app is that you can create a collage then edit all the photos in the collage at the same time. Doing this means you'll be able to have a consistent look to each photo rather than the fear that each image may have a different look. I find this an important feature because of the consistency and the ease of not having to jump between apps.
 From the collage maker you can choose different layouts and actually see how your photos will be arranged in each layout prior to choosing the collage. Then you can edit the spacing between each photo and even add a background, photo, or color around the image.
 If you import a photo or video at a 9:16 ratio, you can still edit it but you can't crop something like a native camera photo/video to a 9:16 ratio. This is easily solved by either cropping before or after editing the media in the app.
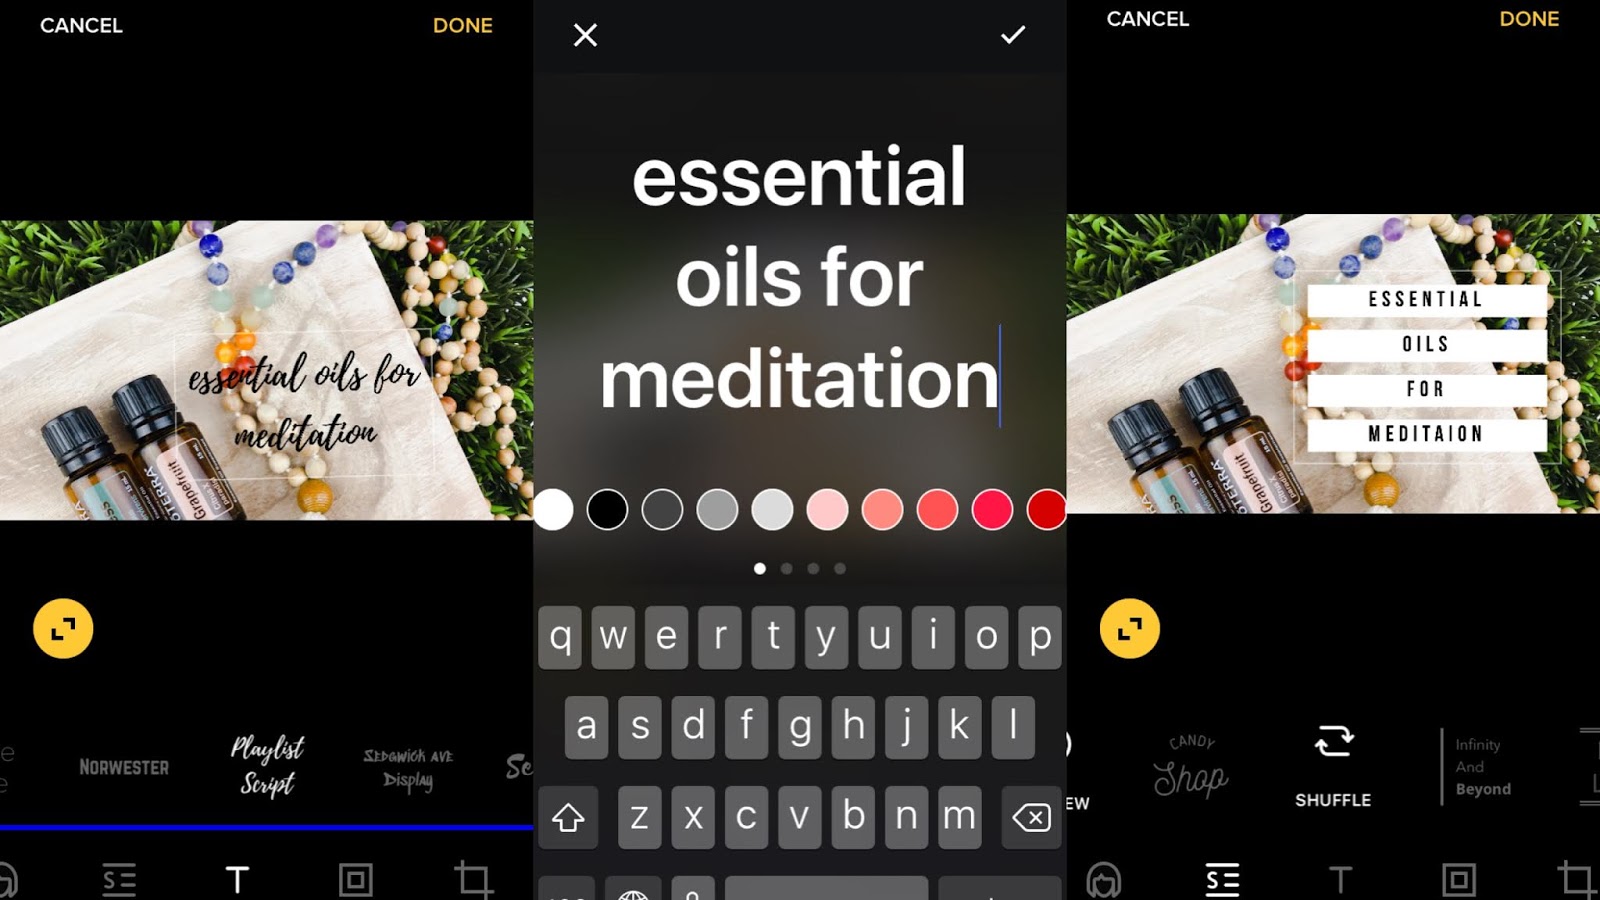 Your also able to add your own text if you're not fond of the presets. You can choose from 50 professional fonts - there are really nice sans serif & scrip fonts included! You may not find your personal branded fonts but you may be able to find something super close. Get creative with how you add the fonts to your canvas. The best part is that you can add the text to your videos too!
Social Media Formats
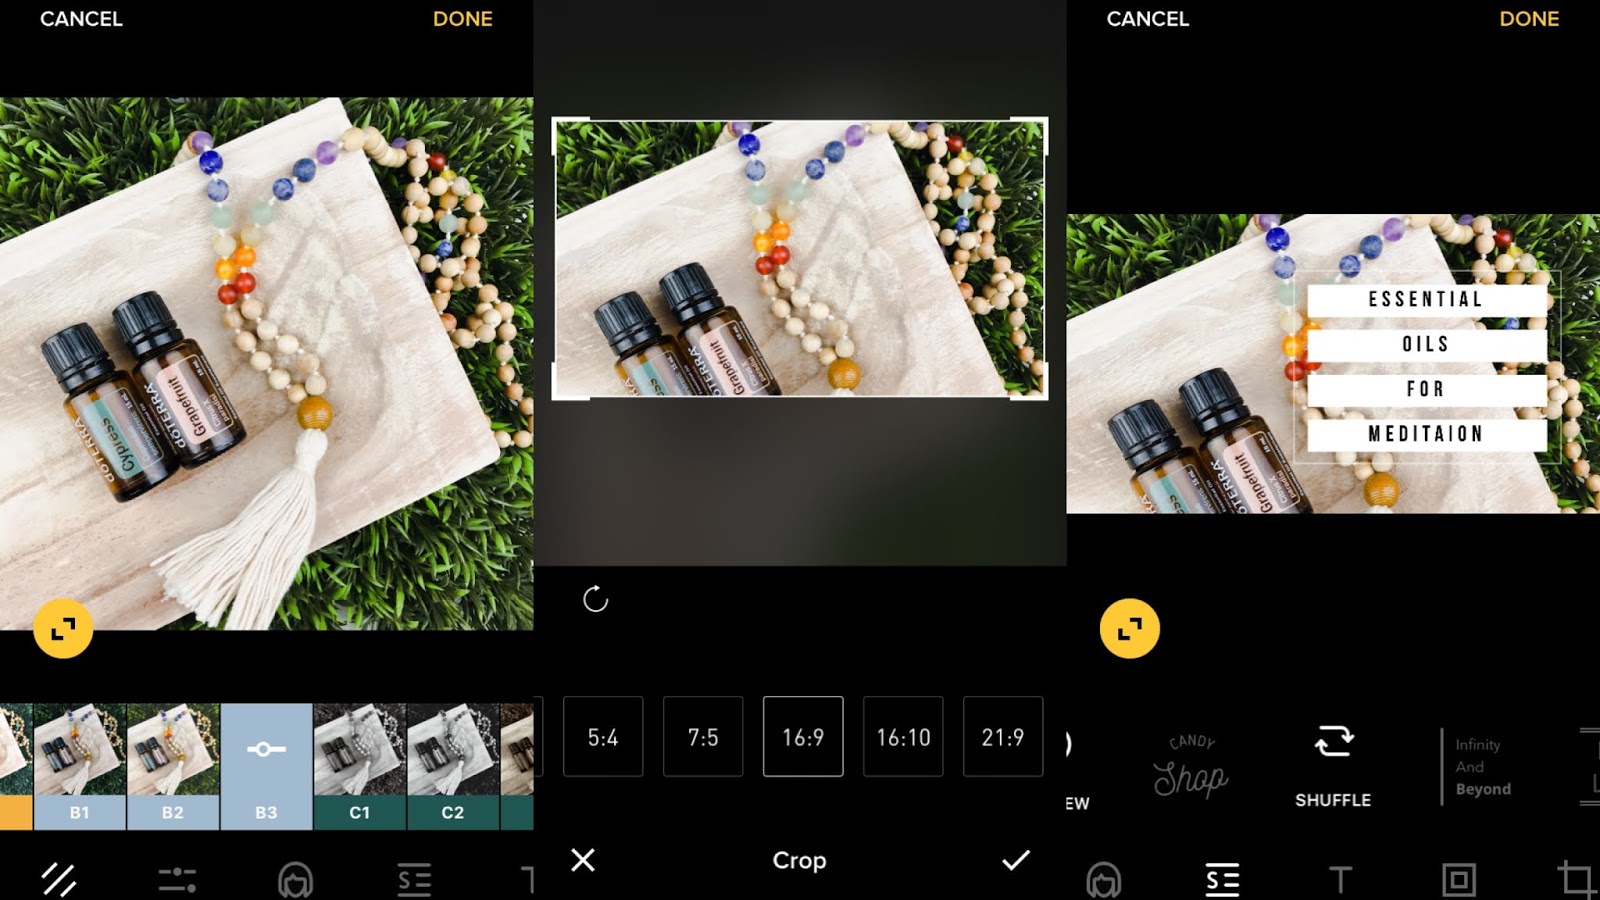
Cropping your media all in the same app is important & Instasize gives you many options to crop your media for various sites. The only downside I can find is that you're unable to crop in a vertical format - think long form video or stories for Instagram or SnapChat. In the example below I edit a photo, crop it for a YouTube thumbnail, then add text.Preset Font Overlays & Customized Text
If you need a quick graphic, Instasize offers 10 text overly presets. This is great to be consistent with your branding when you're posting to Instagram or other social feeds. Use the second text overlay - Finish Line - for a series of posts outlining a process, use the first option - Candy Shop - to announce a sale, & use the Full Moon overlay for a little bit of simplicity.How it helps you
Because this app is nearly an all-in-one content curation app, Instasize gives you a way to plan, edit, and be consistent with your online presence. As a blogger, influencer, & content creator you'll have a ton of easy to use tools right at your finger tips.
All in all, Instasize is a great app to create the consistent social feed you desire! While you can use the app for free upgrading to the monthly subscription will give you the best experience with the app. So I recommend it.

|
|
Want to learn more about how to use Instasize? Check out the Instasize blog here. Find more iPhoneography tips on my blog here.
What apps do you use in your online branding? How do you keep a consistent feed?