Showing posts with label homemade pasta. Show all posts

2.18.2013

Make it Monday // Homemade Black Fettuccine Noodles

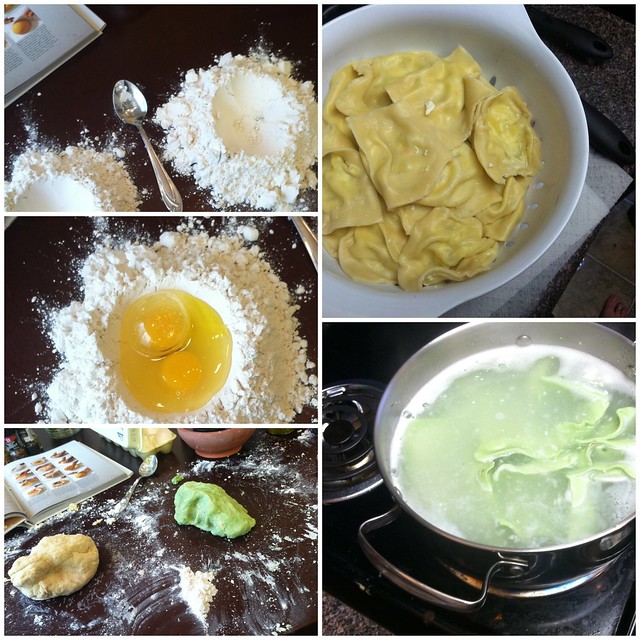
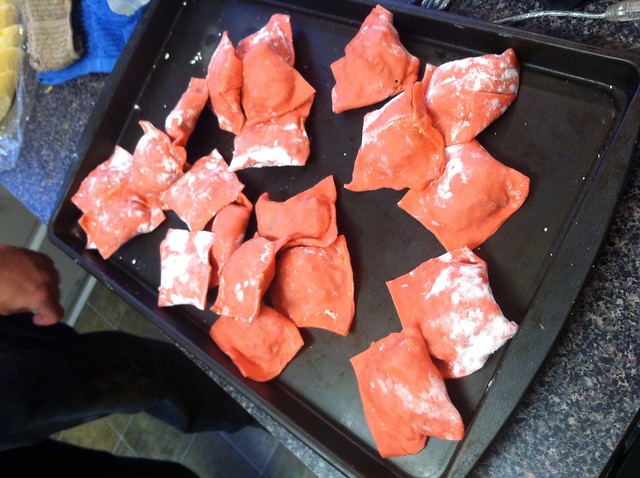
Zach & I have an annual tradition of making homemade pasta each Valentine's Day.  Last year we made three types of ravioli: cheese, sausage, & spinach and mushroom.  Each pasta was a different color: sausage = red, cheese = white, spinach = green. This year we wanted to do colored pasta again but try a fettuccine noodle this time, and try a twist to the coloring!  So today I am going to share with you how to color pasta black with cuttlefish ink. You read that right & it's really fun.
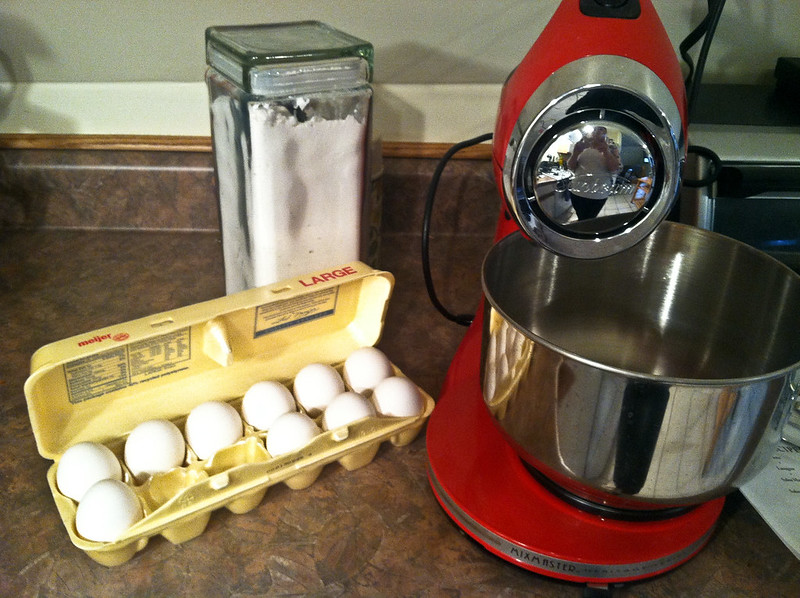
Start with a regular pasta recipe (we used a modified one from memory & looked to the book that came with our pasta machine for reference).  The general ingredients are flour, eggs, & water, you'll also need to pick up some cuttlefish ink.  You should be able to find this at any sort of international store or even if you have a amazing supermarket.  Zach found his online.
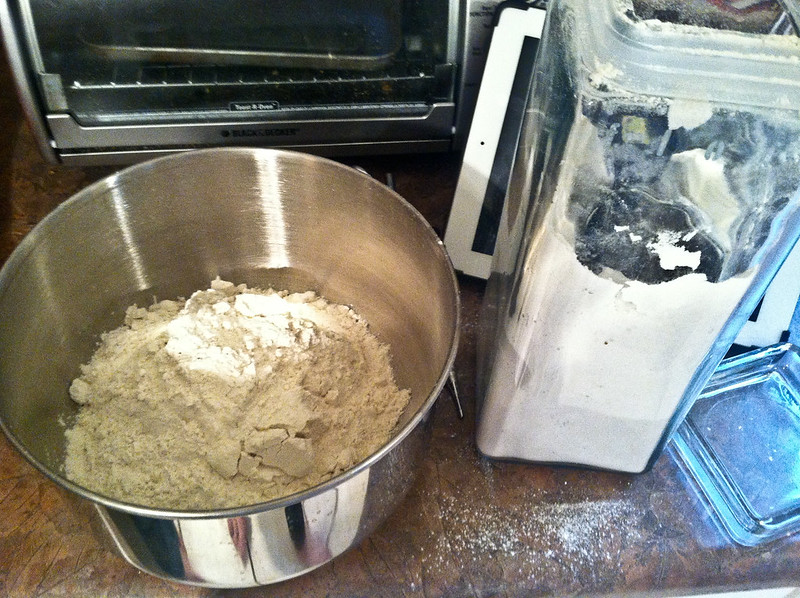
This was the first time we got to try using the mixer to make pasta & it was a bit of a challenge.  Last year we made piles of flour & egg on the table and I worked it together with my hands.  This year I really wanted to try the dough hook attachment on my mixer.  A place online suggested to start with the regular beater attachment to get the mixture going, then to switch to the dough hook.  That's what we did.
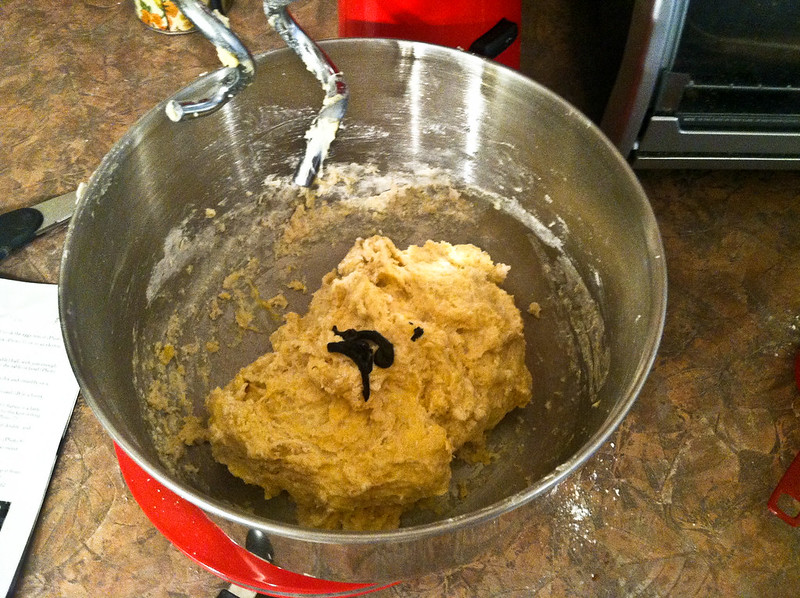
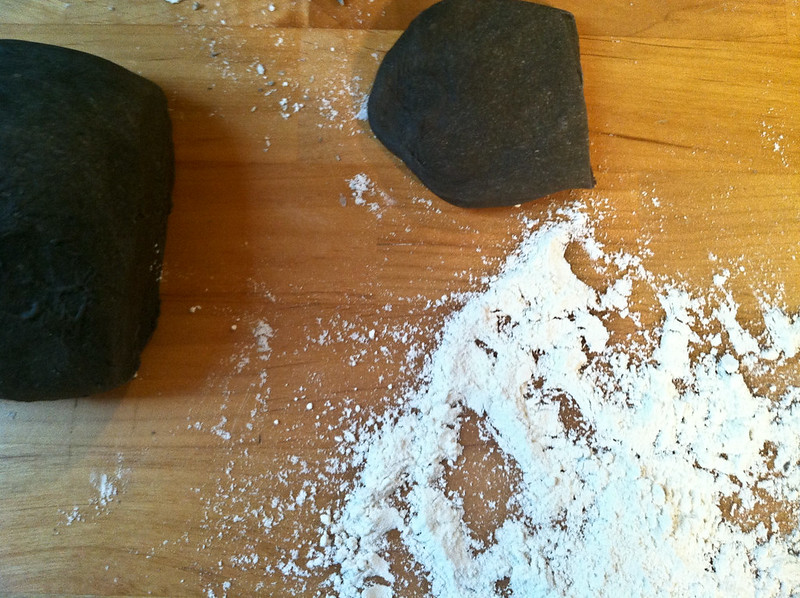
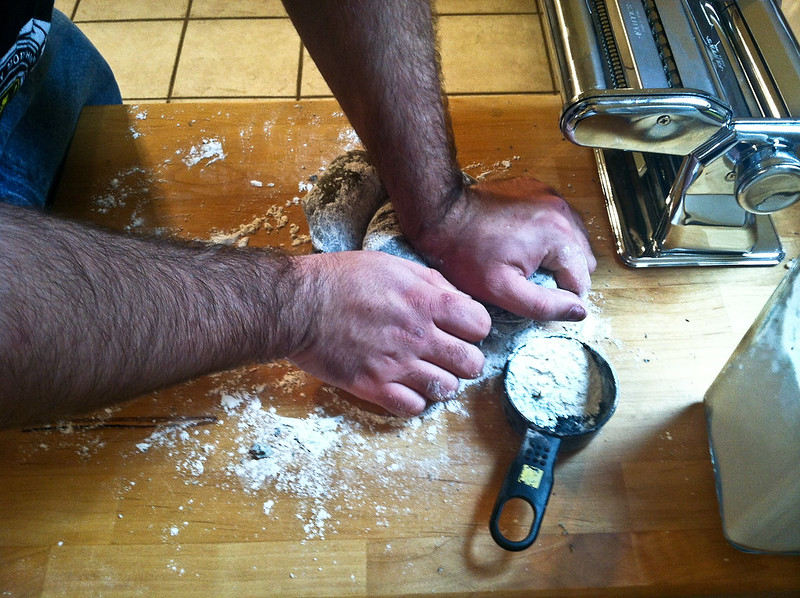
From last year we learned that sometimes you'll need more water & sometimes you'll need more flour.  As we started to mix the eggs, four, & water we also added two packets of the cuttlefish ink.  Now, I will worn you it smells a bit ...... fishy.  But don't worry! It won't be fishy when you get done, I promise!  Because we were a little bit inexperienced with the mixer we pulled the dough out a bit & worked it with our hands to get the ink distributed well.  The mixer takes a lot fo the kneading out but you'll still need to knead it a bit with your hands until it's the right consistency.
Here's where I took it out the first time to incorporate the ink. I threw it back in to knead some more
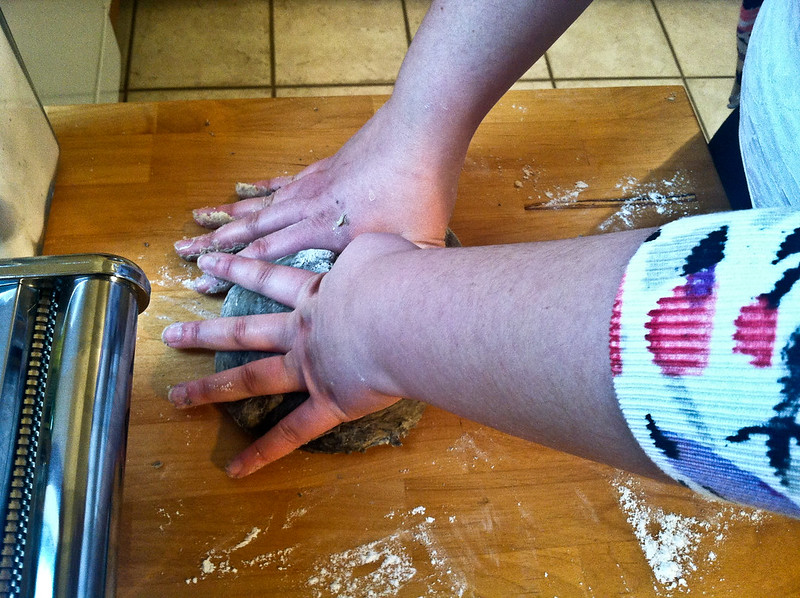
Our cart came in pretty handy when making the pasta! It was great extra counter space! At the end of it all you want the dough to not be sticky.  Your ball of dough should almost feel like play-dough on the dry side - it still sticks to itself, it's not flaky, but it's not sticking to your hands - it's just a nice little ball of dough.  This will take adding more water or more flour to the dough, but do it in increments so you don't end up adding too much.
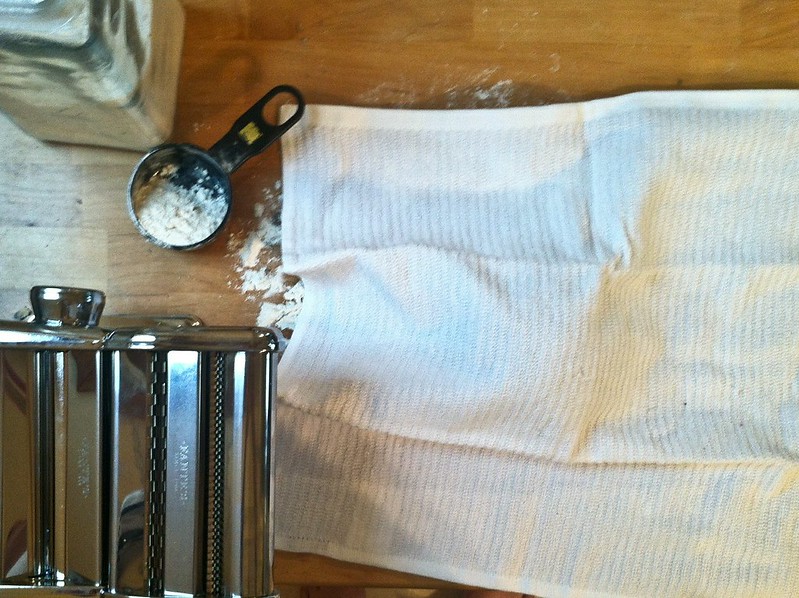
Now you're ready to let your dough sit for 30 minutes.  Throw a towel over it & just let it be.  Now is the time to clean up your mixing bowl, but don't put your flour away.  You'll need it to help running the pasta through the pasta maker.
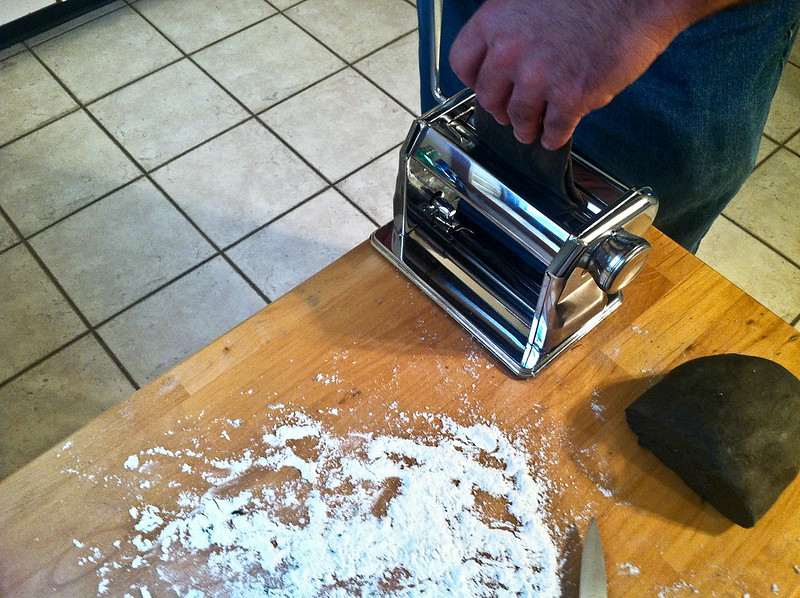
Start by cutting off chunks from your dough ball about an inch in width.  Begin running through your pasta maker on the largest setting.  You'll need to add flour if it starts sticking, fold it over, run it through again.  You want it to become a consistent sheet of dough before moving down to the next notch  Keep going, making a consistent sheet of dough before moving down in size.  We ran our pasta dough until it reached the 7 notch.  Then threw flour on both sides & ran it through the fettuccine attachement.  Let me tell you, it's much better to have a friend doing this with you!  Your sheet of dough will be long & you may need a friend to catch and organize the pasta strings.
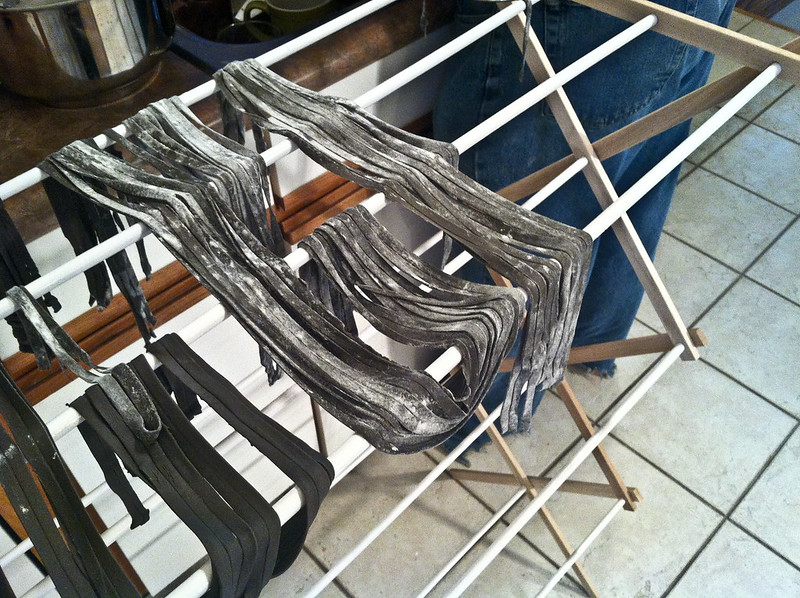
Since our dryer is out (we just had the new one delivered, but it's not hooked up yet..can't wait!) we've been using drying racks for our clothes.  These drying racks did double duty as a place to hang the pasta!  I am not quite sure what we would have done if we didn't have these, so a place to hang your fresh pasta is important!
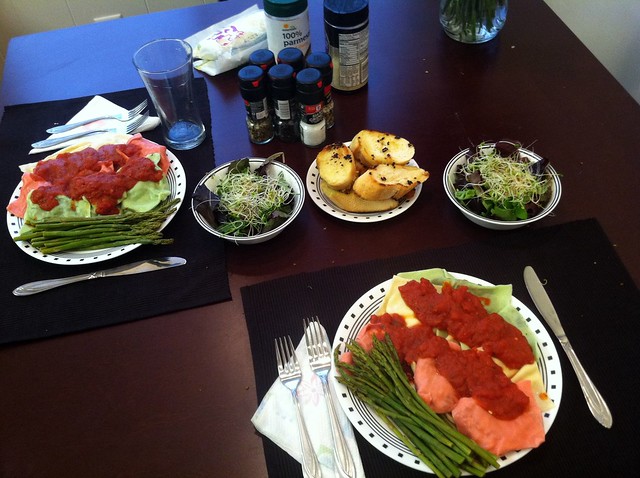
Now prepare your meal as normal.  Since your pasta is fresh, it won't take any time to boil up so watch it & make sure it doesn't overcook.  Zach made up some scallops & shrimp, added some asparagus and we put Alfredo sauce over the noodles.  It was an amazing dinner.  You may want to have a few friends over because you'll end up with a lot of pasta, we'll have leftovers for a bit.
So there you have it! Homemade pasta dyed with cuttlefish ink!  It turns out really pretty.  Homemade pasta is very fun to make.  You can make it yourself, but it's fun to do with a friend.  I think it's really a team work sort of thing because you have to work together when the sheet of pasta gets too long for you!   Cooking together is one of my favorite things.  I'm so glad I have a great cook to work with!

xoxo, Moe

Connect on Twitter // Follow on Pinterest // Peep me at Hello Cotton

2.13.2012

Make it Monday // Homemade Pasta from Scratch

If you love pasta, then you'll love homemade pasta! This past Saturday, Zach made the best ravioli I think I've ever had for our Valentine's Day Dinner.  There were three types of ravioli: Ricotta, Mozzarella, & Provolone, Spinach & Mushroom, & Sweet Italian Sausage.  I mean it when I say this, I had a blast making the pasta & watching Zach  put it all together.  (We've been watching Chopped recently, so presentation was a big thing for this meal!)  The final product was a serving of ravioli, side of asparagus, spring mix salad with sprouts & Olive Oil & Vinegar, and garlic bread.  We topped it off with Milk for him & Champagne for me (of course!)

So, if you are interested, here's how you make your own homemade pasta (just the pasta, not the yummy insides...I'll save that for another post!)


First, clean your damn counter tops! We didn't have a space big enough to make the dough on so I scrubbed the heck out of the table to make a clean surface.

Second, lay out 3 separate piles (if you are making different pastas) of 2 cups flour.  Great a little bowl shape in the flour with a spoon to hold your other ingredients.

Third, add two eggs, 1tsp, 1.5 Tbsp water.  (you may need to add a bit more water as you make the dough.)  To the middle pile of flour, eggs, olive oil & water, add a few drops of green food coloring & to the third pile add a few drops of red.  <-- that last part is optional.  We wanted to do a fake out of pasta with tomato & pasta with spinach.  But the color does help with the would be Russian Roulette of 'what does my ravioli have in it?' We put the spinach in the green pasta & the sausage in the red pasta.

Next, take a fork & begin to whisk the egg mixture in the little bowl in the flour.  This helps combine a little of the flour so the egg doesn't go everywhere.  Slowly begin to whisk in more flour from the walls until you get a rather thick mixture.  Begin to knead the dough by gathering up the sides of the flour walls & pushing down (toward the table) & then away from you.  Keep gathering & kneading.  This is the place you might want to have a cup of water handy to add a Tbsp here or there.  It takes a bit of water to get the dough to stick to itself.

Then, keep kneading & kneading & kneading.  The dough should feel a bit like almost dried out play-doh, then you're done.

Then move on to the next pile.  The one good thing about having a few piles is that I got better at kneading & incorporating the ingredients by the end of it!

Next, (here's where I get wordy..) pull out the good ol pasta machine & begin to roll your dough through.  I am not going to go into too much detail because I followed the instructions in our pasta machine & it came out perfect, but here are some necessary tips:

  • Just go down in thickness slowly & make sure you run the dough through a few times to get the dough all the same consistency.
  • Don't worry if when you run it through the first time it falls a bit apart.  just pull it out & layer the other parts of the dough over each other.  Add a pinch of flour between the layers.  The only reason I could think why it would fall appart on the highest setting is because the middle of the ball of dough was moist & the outside was a bit dryer.  (This is why you need to put the pasta through a few times)
  • If the pasta gets too long, cut it in half & work with one half at a time.  This makes it easier to make the raviolis too!
  • If you are making raviolis, make sure the final run of the pasta makes it at least as wide as the pasta machine.  If it's not wide enough, fold the dough in half (from end to end & not side to side) and run it through again.  Do this until it is the width of the pasta machine.
  • DO NOT lay the made sheets of pasta on top of each other, they'll stick! You could try to add flour between the layers, but you'll have a harder time sealing the pasta to itself for ravioli.  If you're going to make another type of pasta, it might be ok to do that....
Finally, get out your ravioli ingredients & start to stuffing! Lay out the sheet of pasta & put little dollops of filling down the long side, spaced about the size of your thumb apart.  Fold the pasta sheet (long side to long side) over & press around the mound of filling.  (press a bit hard to seal 'em up!)

Then take a knife & cut them apart, being sure to seal any edges that may come open (use some water if you need too).  This is what they look like:


There is a bit too much flour on these, but they are ready to be boiled! Cook them like you would any other pasta.  Our filling was already cooked so you don't have to worry too much.  We did add egg to the filling (you'll have to ask Zach why, though) but you'll cook 'em long enough to cook the egg.  

There should be another attachement to your pasta machine that will make spaghetti or fettucini, if you're interested.  Just run it through there & you'll be set!

All your hard work, it will take a few hours (!!) will turn into this yummy, yummy meal

Bon Appetit! 

(ps. all these photos were taken with my iPhone! Pretty good quality this time!)