Showing posts with label faux woodgrain. Show all posts

1.30.2012

Mini Make it Monday // Mini Notebook DIY

I've been super busy this past week & had no time to do a real DIY.  I had this contact paper left over from these other DIY's last year & knew I had to do something with it.

start off with your notebooks & pieces of contact paper measured to approximately the size of the notebook.
peel a bit of the backing off the contact paper & begin to apply it to the front of your notebook.
wrap it around to the back.
trim off all the hang over & flatten any bubbles.
Repeat!

On another note I am off today to go thrifting some more...I am hoping to have something in the works here soon as a part of the blog & the shop!

It's been weird today, being home by myself, since I was with my family all last week.  It's kinda like I don't know what to do with myself.  I had a big list of things I wanted to accomplish today but I just don't feel motivated.  I sort of feel lost.

Yesterday I met up with Megan from Freckled Italian & asked her loads of questions.  I am so happy to be friends with such an awesome lady.  It's so great to have a real person to talk blog stuff with!

Happy Monday, all!

1.17.2011

Make It Mondays: DIY Faux Woodgrain #3 - Decal Stickers

Still in love with contact paper!  Since this contact paper is pretty much removable & re-positionable you can make great stickers with it to decorate pretty much anything:

Here I've decorated my laptop

Using the woodgrain contact paper or any other awesome pattern you can score, create stickers to decorate:
  • letters & mailers: decorate you Valentine postage with cute heart stickers
  • kitchen canisters: pick up some vintage tins or some new ones from the dollar tree & decorate with cut letter stickers, hearts, etc
  • walls, doors, & decor: cut out shapes to decorate a wall with a mural or add a bit of wimsy to the side of a window
  • electronics: place your cut initials on your lap top, cover your camera, ipod, or flipvideo camera. Add some spiff to your tv as well.
  • car: put accent decals in your back window or plastic console.
  • stationary: create cool school supplies for your kids, decorate that new planner you've got for this year,  add some spice to you address book.
Before you know it you'll be heading back to the dollar store to pick up more rolls!

What would you do with woodgrain stickers?  Enjoy your Monday!


PS. Don't forget to check out the link parties in the Side Bar or click here!

1.10.2011

Make It Mondays: DIY Faux Woodgrain #2 - Vanity Tray

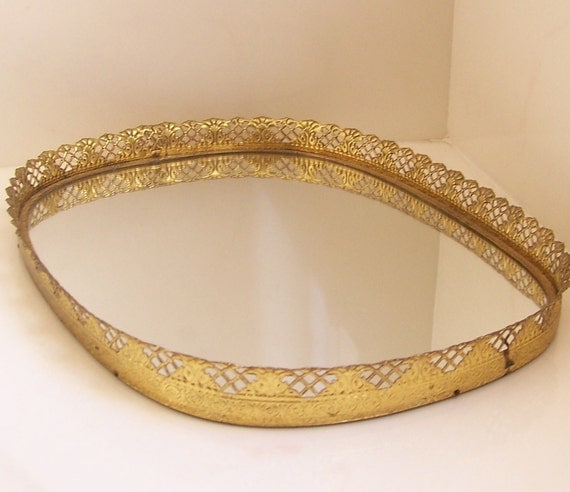
I am still totally in love with my woodgrain contact paper.  I was over at a friends house the other night & not only did I find a needle point portrait of a man with a mustache & a kitty but I found a really cute vanity tray.  It was gold with a mirror in the bottom.  It looked kinda like this:


I knew I needed one! But let me tell you, I don't need anything else in my bathroom in my apartment so I couldn't see going out & searching thrift stores for one.  It stuck it the back of my head for a while but then I realized I had some divided lunch trays & some of the wood grain contact paper.  I got these trays my freshman year of college when I worked at a party supply store.  I thought they'd be cute to use in my little dorm room as dishes!  I bought them in three colors: orange, lime green, & blue.  After moving into an apartment, I stored them away at my parents house & really haven't thought twice about what to do with them.  I loved them so much & I am so glad I could give them new life!
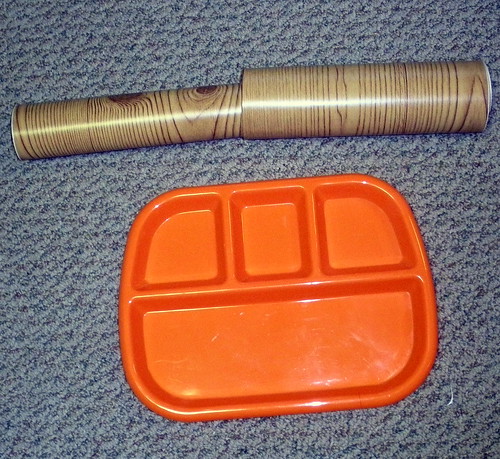

What you need:
Contact paper, tray, paper to make a template, pencil, scissors

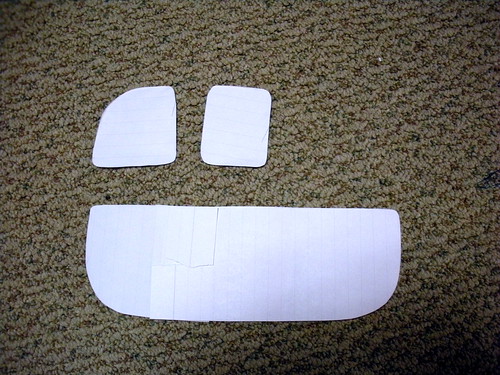
start off by making paper templates for the divided parts in the tray.  I cut a piece of paper big enough to press down in the divided parts.  I ran my fingernail around the edge to push it down into the part to make it fit.  Then I just cut around the indentation.  The hardest one was the long one.  Make sure that your paper fits back in the way you want so the contact paper with fit that way too.


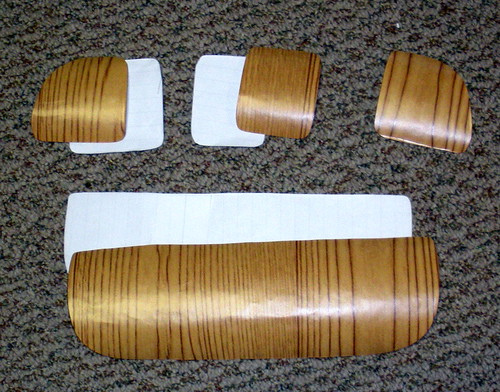
Trace your templates on the back of the contact paper.  Make sure you flip the template over when you trace it so it fits in the right spot.  I used the corner piece twice since they are just mirror images of each other.  Take the cut contact paper & make sure it fits how you want it.


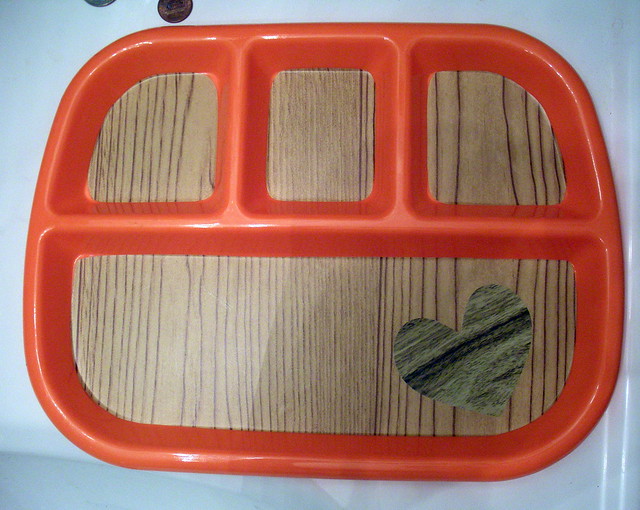
Remove the backing & press the contact paper down on the tray.  This is the hardest & tedious part!  The good thing is you can remove & reposition it a bit because the tray is plastic.


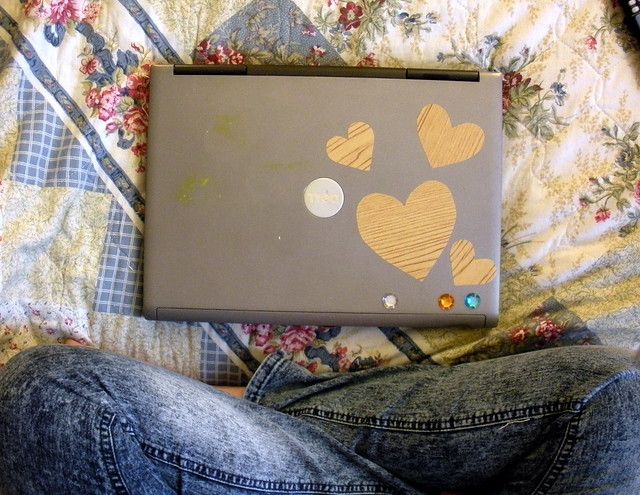
I cut out a little heart of a contrasting contact paper because I thought it was adorable!

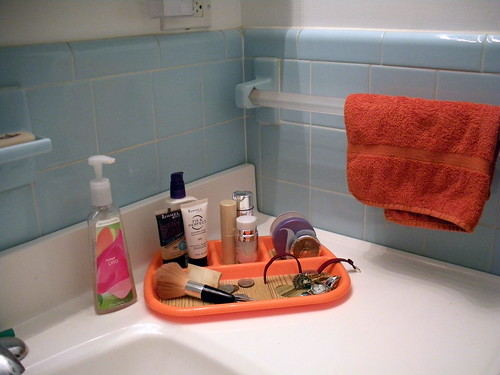
Then stick it in your bathroom or vanity! We have a huge side counter part in the bathroom at my parent's house so thats where I staged it.  I think it would also look great on the back of your toilet for candles & lotions.  You could even use one of the sections to put your rings/bracelets if you forget to take them off when you get in the shower.  Just don't knock the tray in the toilet!!


PS. Don't forget to check out the link parties in the Side Bar or click here!