10.31.2016

Make it Monday // DIY Planner Pocket

Last week I shared a post on some crafty things I was currently obsessing over.  One of those things was something called a bagflip.  This concept inspired me to make a planner pocket perfect for my personal planner.
(this post contains affiliate links, please read my full disclosure here.)

This pocket is great as a decorative dashboard, a place to collect receipts, a place to store inspiration, or a pocket to put whatever you want in it!  I've included free cut files as well so you can get your craft on with this guy.  Here's how to put this together:

supplies // Cricut Explore cutting machine or scissors, SVGs or PDF template to trace, glue or adhesive roller, hole punch, coordinating scrapbook paper, bone folder, scoreboard or ruler
First, download the SVG file here then upload it to Cricut Design Space.  I'm not 100% sure how to get the SVG to be the proper size so in the file I've included a layer you can hide that tells you the sizing.  Select the SVG on the canvas then from the edit tab size the width to 21 inches.  Leave the proportions locked.
Right click (or two finger click on a mac) then select ungroup.  Hide the layer that says Five Sixteenths Blog & the sizing.  Click the Go button.
Choose the four pieces of card stock or scrapbook paper to create the pocket.  8.5 x 11 inch card stock or scrapbook paper is wide enough for this tutorial so you don't have to use 12 x 12 inch.  Cut each piece out.
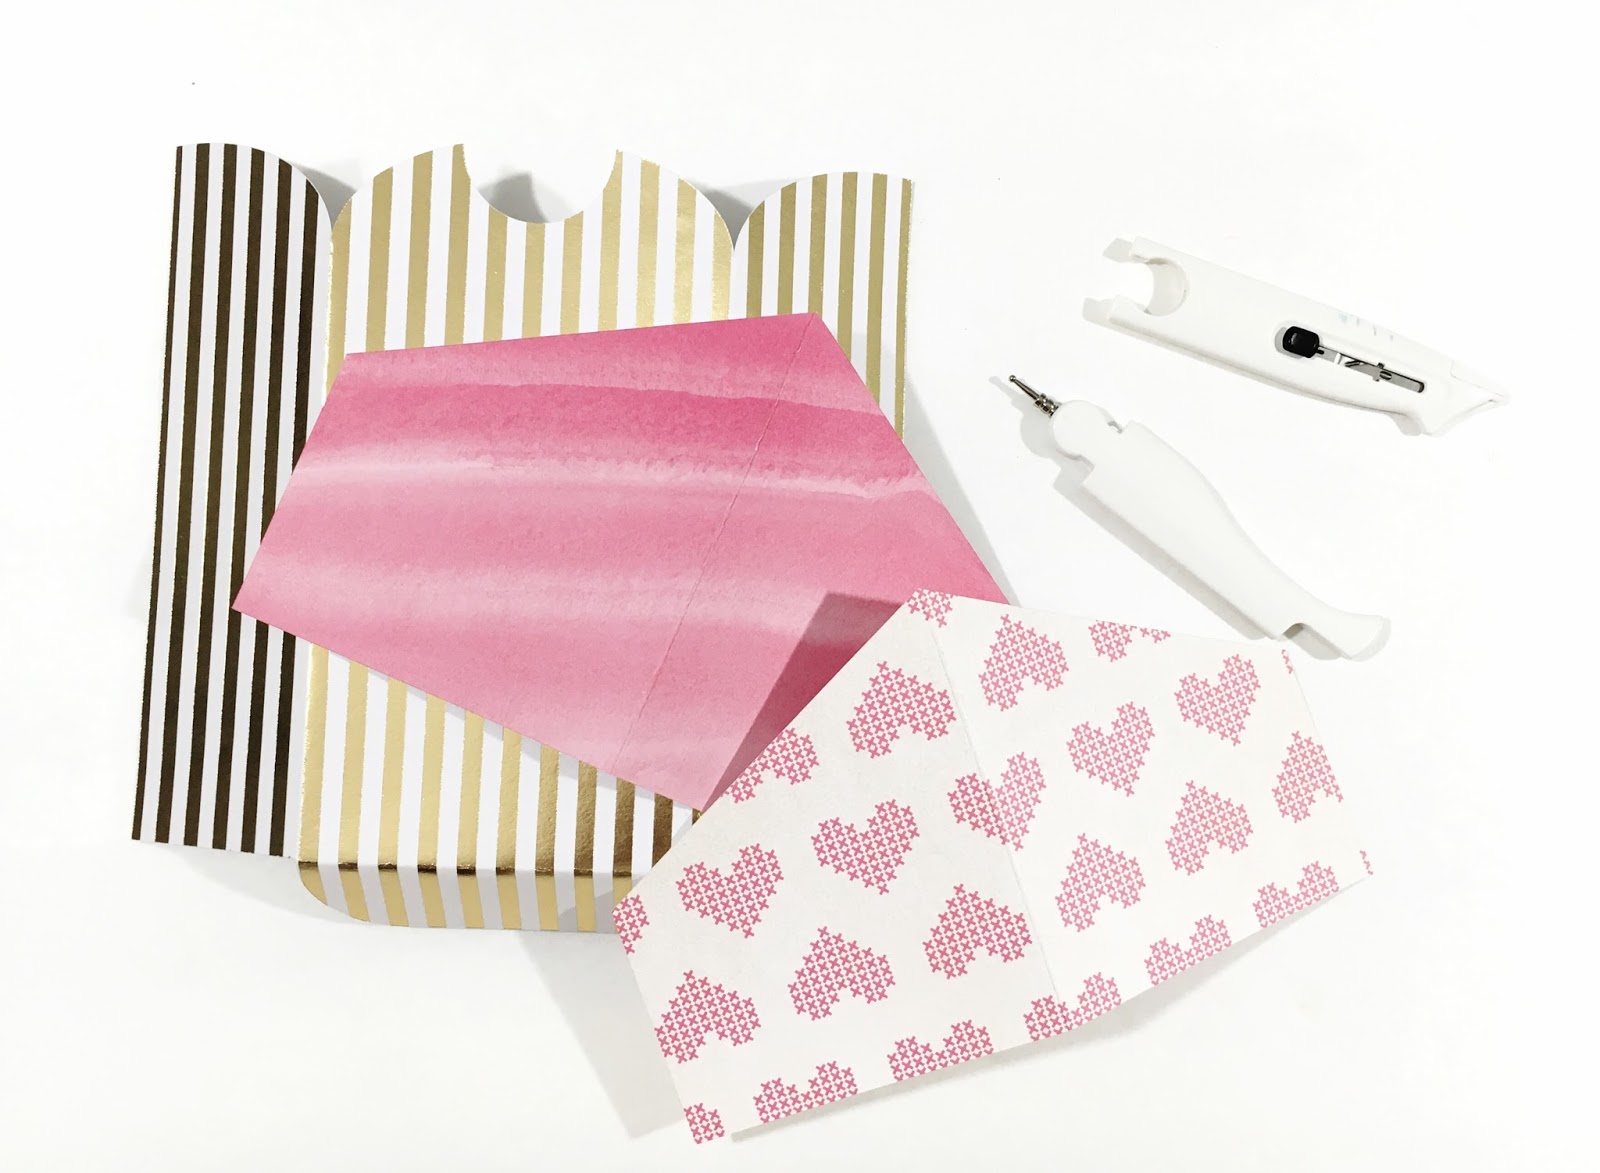
I am not sure how to create an SVG to utilize the scoring capability of the Cricut Explore, so if you don't have a score board lining up a ruler and using your bone folder to score works greate too.

Assemble the pocket but putting the envelope together first, adding the rounded rectangle piece to cover the seam.  Punch this for your binder.  Then assemble the outside pocket and punch holes as well. 
These make great storage solutions for your binders but also really great pen pal or planner swap gifts!  I could fill these guys up all day long!  These can be themed for the holidays or made with the same papers your dividers are made from (check out this tutorial for making your own dividers with the Cricut Explore).  You also don't have to punch these and can use that cute little envelope on its own!
If you're wanting to know where some of the accessories came from here's a break down - planner is a Marion Smith Heart of Gold Personal Size planner (review here and the planners seem to be unavailable right now...), unicorn bookmark similar to this tutorial, & various paperclips from Webster's Pages (check them out on Blitsy often).

xoxo, Moe

10.28.2016

Free Sticker Friday // Thanksgiving Countdown Stickers

Happy Friday again!  I missed the last few weeks Free Sticker Friday but I'm back at it again this week.  I can't believe that October is almost over.  Only a few more days and Halloween will pass us by and we're on to the next holiday.  I know Christmas decorations have been out since around July but it's time to just take a moment and appreciate this season!  I know these countdown stickers are just another way to make the days pass by, but its important to take the opportunities to do things with friend, family, and yourself!
(this post contains affiliate links, please read my full disclosure here.)
These little pumpkins will fit perfectly on your weekly pages to countdown the days until we get to stuff ourselves full then wake up at the butt crack of dawn and shop!


Included in the file is a PNG to cut with your Cricut Explore, a Studio file for use with you Silhouette, and a PDF file if you've just got your good ol scissors.  If you're looking for a way to kiss cut your stickers by hand, I hear great things about this tool.
Additionally - if you haven't heard I've created a Facebook group just for Cricut Ready printable stickers!  Go ahead and join up right here!  If you have any questions about cutting these files with your Cricut Explore, I've made a video right here for some tips!  Be sure to size the PNG to 5.5 inches wide once you've uploaded it to Design Space.

As always, these stickers are for personal use only.  Please to not claim the design as your own.  Do not print and disseminate the stickers in mass quantities.  Do not sell the file, design, or end product.  If you'd like to share these stickers with others, please link or Pin this blog post - not the download.  If you have any questions please let me know.  And thank you for playing nice!

If you'd like to find more Cricut Ready stickers on the blog click here.  Find all Free Sticker Friday Posts here.

xoxo, Moe

10.25.2016

Trend Tuesday // Origami Owl New Adventure

I have been in love with the Origami Owl jewelry brand for a long, long while now.  I've posted about a jewelry piece I made in honor of my family dog Rudy, here.  That is what I love about this brand - you can customize a locket to tell YOUR story.  That is the whole premise behind the brand - to tell a personalized story unique to you.  
My new adventure is that I've launched my own Origami Owl business!  I'm now an independent designer ready and willing to help you create a one-of-a-kind keepsake for you to hold close to your heart.  If you want to find some awesome locket inspiration please follow my new O2 Instagram account @o2plannergirl!

If you're unfamilliar with this awesome jewelry brand, let me introduce you!  This brand was started by a young girl, Bella, who had a dream to own her own car by her 16th birthday.  She started this company from the ground up and now independent designers bring these one of a kind keepsakes to you.  You can shop online or from a jewelry bar.  Here are the 5 steps to creating your locket -
I do hope you'll check out my new adventure and shop the website here and let me know if you're interested in hosting a party or have any questions!

xoxo, Moe