5.29.2014

Coastal Scents Revealed Palette Review

Happy review time again!  Today I want to share some thoughts on a really awesome eyeshadow palette for you today - the Coastal Scents Revealed Palette.  This is a palette that is super affordable & very comparable to the Naked palettes from Urban Decay.  I love this palette because of the colors & because its so slim it's easy to travel with!
From the Website
Smooth powdered shadows.  Easy to blend.  Slim palette with twenty shadows.  Not too much info from the website there but they have quite a few pictures!  Information taken from the Coastal Scents website here.
First Impression & Application
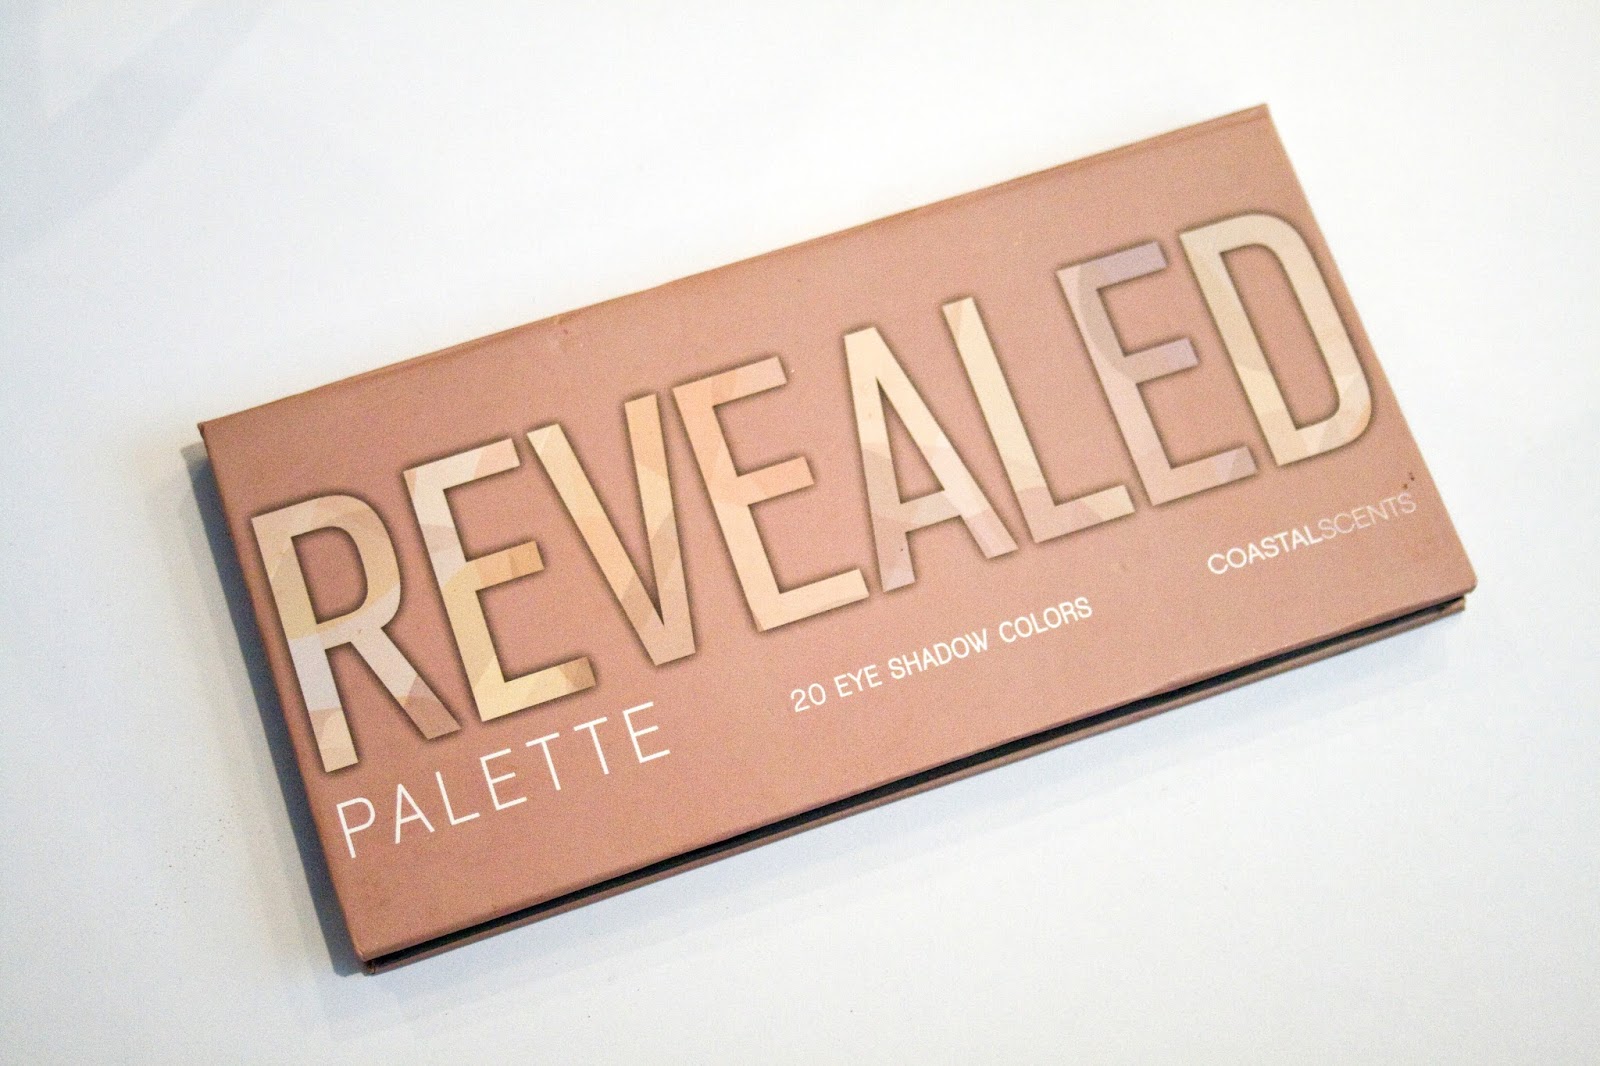
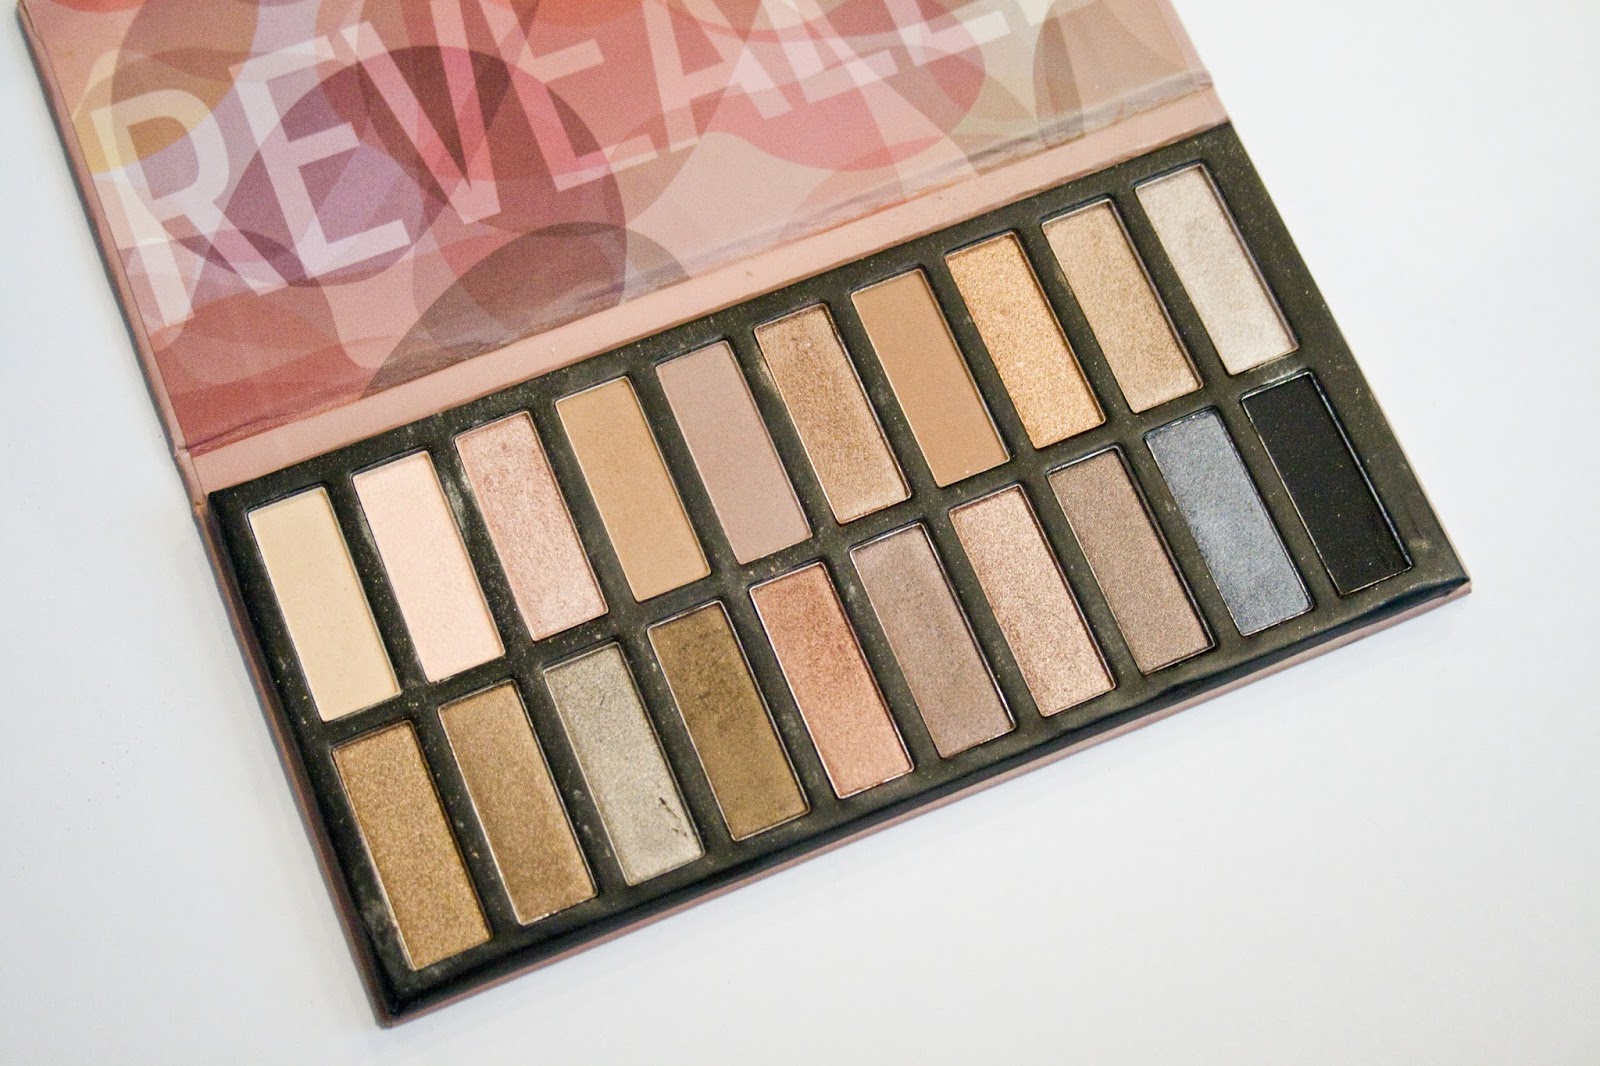
This palette arrives in a cardboard box (a thinner cardboard box, like a standard little protective box) & the palette itself is made of thicker cardboard, something reminiscent of the Naked Palette or the Lorac Pro palette.  A stiff, durable cardboard that makes the packaging slim yet protected.  This cardboard can get dinged up from traveling but its not going to fall apart.  Additionally there is a strong magnetic closure for being a cardboard palette!  I'm not worried about this popping open in my makeup bag.  There is no mirror in this palette which disappointed me when I opened it because there's a huge surface area for it.  There is a plastic protector over the top of the shadows that you can keep in the palette or remove.  There are no color names however.  The twenty shadows come in two rows, are set in metal pans, and set into the cardboard.  They are pretty close together but the pans are big enough that you're not going to cross contaminate the colors.  Of the twenty colors 5 are matte - a nice beige highlight, 3 medium brown blending or crease shades, and one dark matte black.  The rest are shimmery.  (When I look for a palette matte blending & highlight shades are the keys - see my what to look for in an eyeshadow palette video here.)

As for application, these shadows are all very smooth.  They blend nicely together too.  I love using this palette because it's nearly effortless to get an awesome look.  All of the neutral shadows can give you a multitude of wonderful looks.  Since there are twenty shades it's most comparable to having a set with both the types of colors from the Naked & Naked 2 palettes.  The top row has warmer colors & the bottom row has cooler colors.  You can layer, blend & pack on color until you're hand hurts.

Wear Time
I find that these eyeshadows were wonderfully with a good primer.  I can go for the most part of a day at work (about 8 hours) with the color on my lids.  Around the 6-7 hour mark they start to be noticeably fading & creasing.  Not in a bad way.....actually if you're looking at yourself in the mirror the color is still noticeable but a little faded in the crease.  The colors are vibrant and really impress me with their wear time.
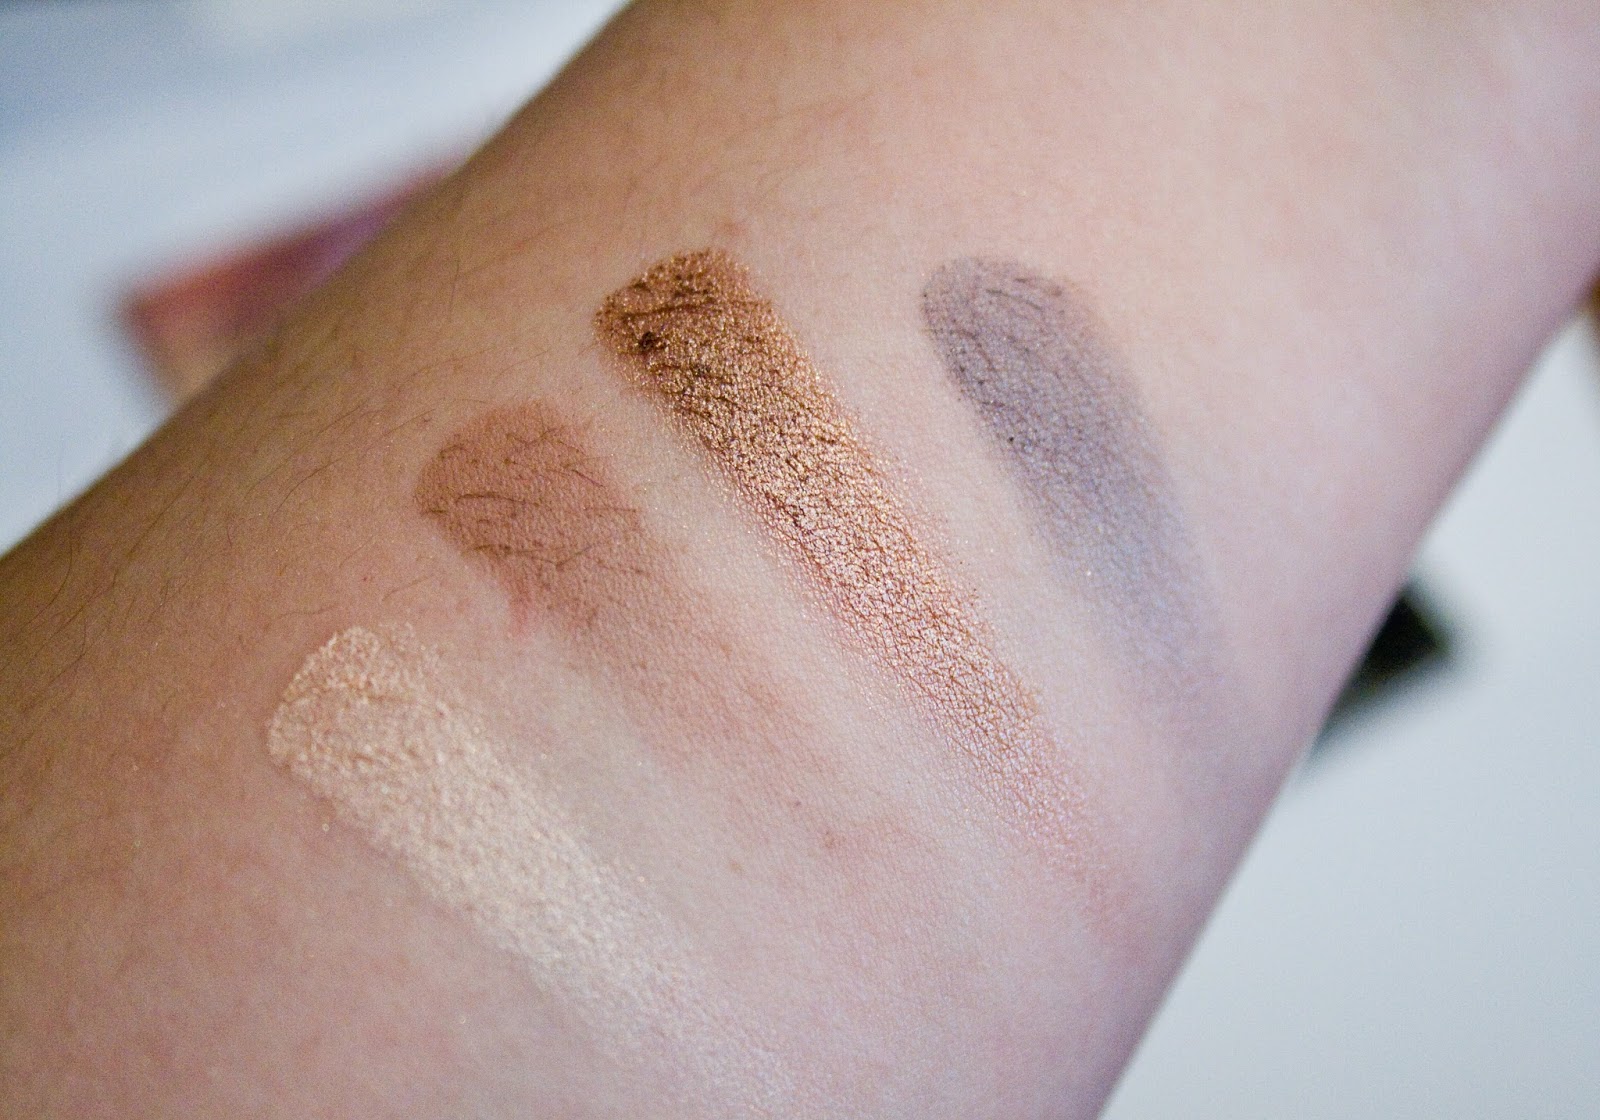
Here you can see the shimmer coming out in that copper color

Overall Impression & Recommendations
This palette is super versatile & great for travel.  If you love neutral shadows but you don't want to pay for Urban Decay's Naked palettes, this is a great option.  The colors are vibrant, easy to blend, & the lasting power is pretty impressive.  You can get a variety of looks from this single palette and recreate any looks you've seen done with the Naked palettes.  And at $19.95 (but it's often on sale, sign up for Coastal Scents emails!) it is ridiculously cheaper that two of the Naked palettes!

Purchase you're Revealed palette here.

xoxo, Moe

**This product was purchased with my own money & I wasn't compensated for this review**

Connect on Twitter // Follow on Pinterest

5.26.2014

Make It Monday // Simple Single Bead Pendant Necklace

This isn't a particularly challenging DIY - it's rather a beginner project.  When I was in high school, I was a part of a little after school beading club as we called it where I learned some basic techniques for beading.  Specifically I learned about how to use & cut a head pin and how to open a jump ring properly.  This little tutorial features both of these techniques as they are key in making any jewelry you make durable & professional looking!
So first off, sorry for the quality of these photos...I feel like my camera & I are fighting.  For the life of me I can not get a good photo.  It's too dark, too blue, too something & I can't get it right.  But anyway, here are the supplies you'll need:
Supplies:  length of chain, three beads, head pin, two jump rings, clasp of your choice, wire cutters, needle nose pliers.
The bead I chose to be the focus of my little pendant was one I picked up over the weekend from an SCA event.  We headed down to Tipton, IN for the Crown Tournament and there, scattered throughout the 4H center where the event was held, were beads for the populace to find.  These were beads created after   I found one hanging on the back of the bathroom stall, which was kind of weird.  But I learned that this type of bead - a viking style bead from around 900 AD - is called a melon bead.  First beads were made from clay & covered with a silica substance.  Once it was discovered exactly what was happening with the silica on the beads, glass beads were made.  I was told that purple beads during this time period were always translucent.  It wasn't until later that an opaque purple was made.  So to showcase this bead in a wearable piece of jewelry I decided to make a simple necklace!
First you'll need to gather your head pin & the three beads.  There should be a center bead (like mine from the SCA event) and two smaller beads.  The two smaller beads here match for symmetry, but you could choose whatever you like.  Make sure the smaller bead on the bottom has a hole small enough to keep the beads on the head pin.  If the bead has a hole that is too big, the head pin will slip right through.
To create a perfect loop, fold the remaining wire of the head pin at a 90 degree angle as close to the first bead as you can.  This will give you a more professional looking loop to which you can attach your bead to your length of chain.
Next, trim the rest of the head pin so you can create your loop.  I've found that using my fingertip as a guide works for me.  I hold the 90 degree angle of the pin about 1/3 of the way down my fingertip & trim right at the edge of my finger tip.  This gives you enough wire to turn into a loop.
Now, using the needle nose pliers, roll the wire back towards the top bead.  Place the edge of the wire  right in the middle of the prongs of your pliers.  Make sure the bead is dangling downward from your pliers & roll your pliers over hand towards the top of the bead.  This creates a professional loop with a nice bend at the neck of the loop.
Measure your length of chain & trim it.  To add your clasp, open your jump ring by holding the ring with the slit opening facing up between your forefinger & thumb.  With your needle nose pliers grab the other half of the ring (next to the slit opening, mirroring the way you are holding the ring with your finger & thumb).  Instead of pulling outward & stretching the ring your will pull the half of the ring you are holing with the pliers towards yourself.  This will maintain the strength of the jump ring.  Add your chain to one jump ring & close by holding the ring the same way as before & pushing the two halves back together.  Try holding the ring in your pliers while you slip on the chain, then grab the half of the ring you were holding before & use your pliers to push backwards.  Open your second jump ring the same way, add your chain & your clasp, then close it up.

To add the bead pendant you can open the loop you made in the same was as the jump ring & slide it onto a single ring of your chain or if the loop is big enough you can slide it onto your chain before adding your jump ring & clasp.
Now you have a simple beaded pendant that incorporates simple wire jewelry techniques to make your other jewelry products look crisp, durable, & professional.  This is a great way to showcase a memorable bead like the one I found this weekend!

Thank you for putting up with the crappy photographs!  Who knows when I'll get back on track with my camera!

xoxo, Moe

Connect on Twitter // Follow on Pinterest

5.21.2014

Wednesday Decor // Nail Polish Collection & Storage

Hooray for another peak into our home!  I think I'm giving you these peaks right now knowing that in a few months we may be doing renovations on the upstairs.  Hopefully we'll be adding another bedroom with a walk in closet & a cool little laundry room expansion type of deal.  I know I said a while ago I was going to do a little laundry room make over - well I sorta did it then I put off the rest.  If it's going to change I didn't want to spend time & money on it to have to redo it later!
A while ago I posted the above photos on Instagram (follow me @fivesixteenths!) and today I wanted to share with you what I actually did with all my polishes!  I first posted about my nail polish display/collection here way back in January of 2012!  Since then I've moved & changed it a little bit.....and now I changed it a little bit again.  This post today is going to be a bit similar to this post I did previously about the perfect manicure kit in the sense that I still store my nail polish in baskets.  But I've stepped up my game a little bit & made it a bit fancy.  Peek below to see!
If you don't like seeing bathrooms - avert your eyes, especially because there's a toilet brush in there!  But I store my nail polish collection in the bottom of these three baskets in a skinny 3-section bookshelf.  This little shelf is from Target, it's about $14 and you can find these all over the place especially around move in time for college.  If you're curious - feminine products are in the middle shelf & extra TP is in the top shelf.  Just keeping it real here.  These baskets are from Target & currently on Clearance in the store as well - I can't find them online so I hope they are still in store!  I bought the bottom two full price then found the 3rd one on clearance later.
I love these baskets because the style came in different sizes & this smaller tray.  (This could totally be DIYed with a smaller tray/basket & two leather straps attached.)  This tray stacks neatly on the top of the basket and it still fits in the shelf.
In the tray I keep all the things I would need to do a manicure so I can fill the tray & take it with me.  It acts as a carry all & catch all and as a hard surface, if I need one, when I do my nails.  I wish I could link for you this little pink tray (behind the pink & black heart pouch) that is awesome for setting between your legs & using as a little table to paint your nails on....but sadly it was a gift ages ago & I can't find one.  It't pretty cool because it fans out & holds three polishes....just in case you're painting your nails on the couch or in bed.  In the pink & black hear pouch is also something I can't link because Icing discontinued their Base & Top Coat that I looooove.  I have like 5 back up bottles!  In that pouch are some of those Icing top coats & various other drug store top coats.  I like to keep those separate so I don't lose them in my polish collection.  Then I have some of my favorite polishes, nail clippers, files, lotion, & my nail brush.  I can pick all this up & take it to where I plan on doing my manicure then wrangle it all back together to put away.
Then in the big basket I store all my polishes, extra files, my nail file/drill thing (scary!), a tub to soak my hand, and nail polish remover.  As you can see from the images at the top of the post I threw out a lot of my old polishes.  I haven't bought a new one in a loooooong time!  But most of my collection is from Claire's & Icing's because I love the formula.  There's some Zoya & Nailtini from Ipsy bags, some Sally Hansen, Revlon, & L'Oreal.

It all fits so nicely in this little set up that I'm super satisfied!  Hopefully you can find these at Target now but if not, the tray is very DIY-able.

How do you store your nail polish?

xoxo, Moe

Connect on Twitter // Follow on Pinterest