2.04.2014

February 2014 Wishlist

I wasn't going to post a wishlist this month because I din't really want anything new this month. But now that I think about it there are a few things I do want to get my hands on this month.  Some of this months wants include things with time - I want a wii fit board to spend time being active since it's snowy & cold and I want to spend time enjoying my coffee.  Anyway, more on the items below:

Wii Fit Board - Like I said, it's snowy & cold out.  Usually I'm on the couch under a blanket and that's not very active.  I mean during the warmer months it's not like I have an exercise routine but I am more active because I'm not freezing.  One of my favorite games - though I don't know what disk it's on with the games that go with the wii fit board - is the hula hoop game.  So there's always the reason that I want to invisible hula hoop in my living room.

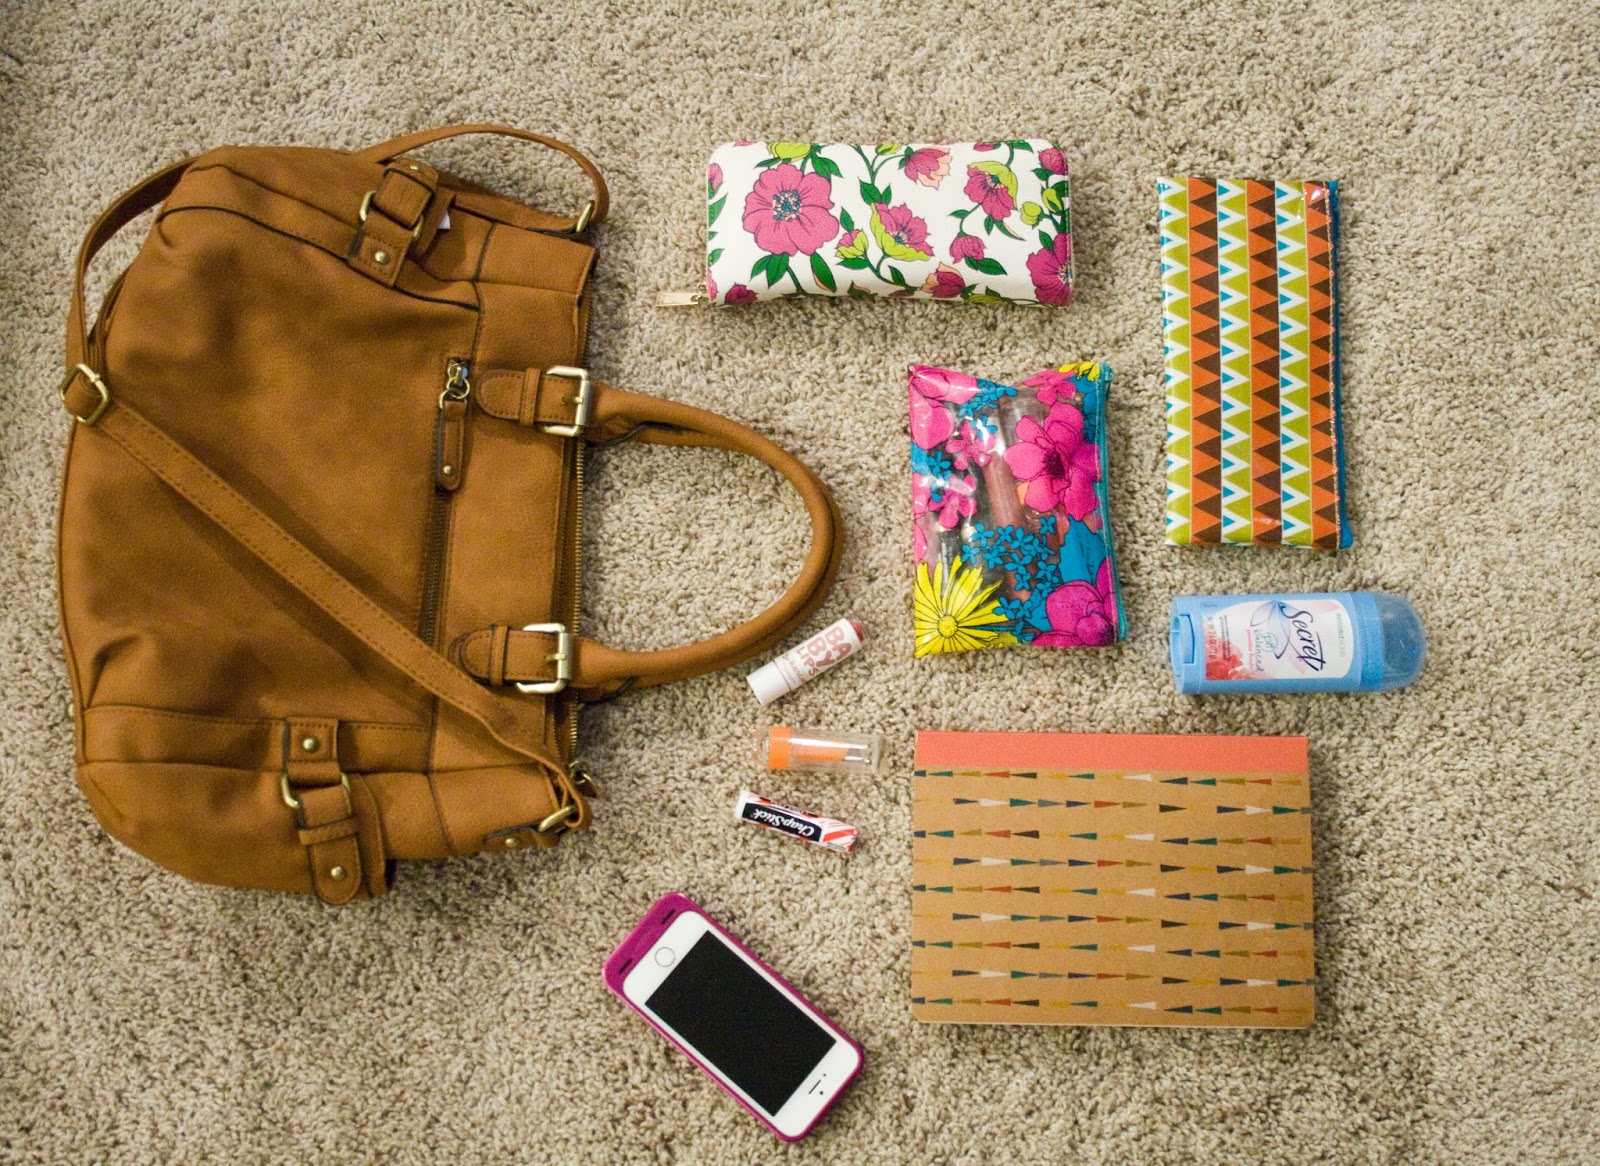
Bigger Make Up Bag - Right now I don't really have anything big enough to travel with.  Every bag I have is too tiny for what I need to bring.  This one was just too cute on the Forever21 website!

Beauty Blender - I had enough points through Ipsy to get a Beauty Blender for free this month so I'm anxiously waiting for it to come in the mail.  I had enough points because some of you signed up through my link! I'm so happy for that & thank you all a bunch!  If you're interested in signing up for Ipsy check out some of my reviews here & click here to sign up!

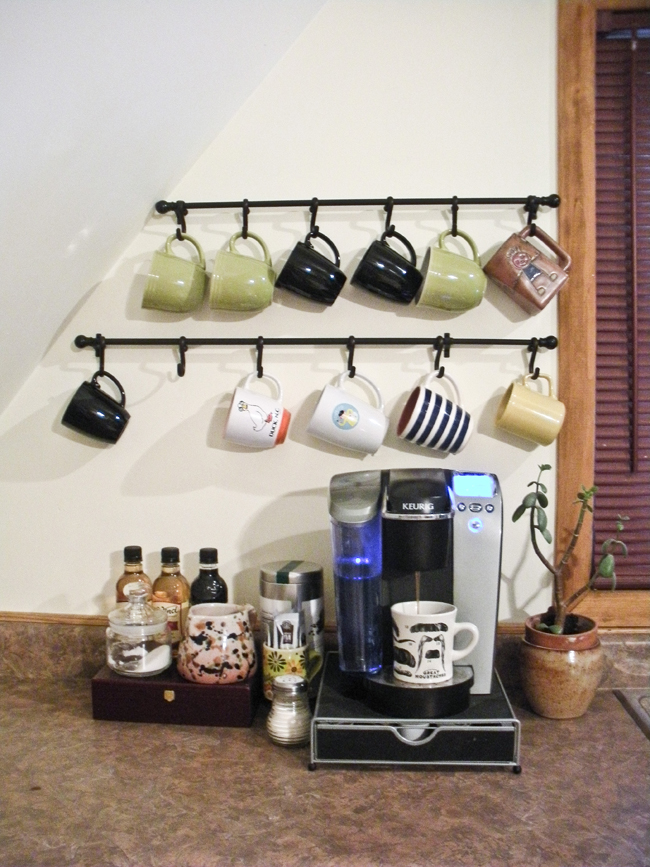
More Time Enjoying Coffee - Simple coffee is very enjoyable to me but lately I've been drinking coffee for energy & not to enjoy it.  I drink a cup between key strokes each morning in the office but I don't enjoy it.  That sounds so harsh!  I just want to have more coffee & me time like the time I spend with it on the weekends.

Eco Tools Face & Body Sculpting Brush - This reminds me of the NARS Ita brush I've seen around.  It seems like it would be great for contouring!  I actually want to try out a few of the Eco Tools brushes but in stores I can't find the ones I'm looking for - so on to Amazon it is!

Anything & Everything Radiant Orchid - If you didn't know from yesterday's post my favorite color is purple so I'm so in love with the Pantone Color of the year.  I'll take one of each please!  That mug seems amazing I think I need it to take coffee to work - yeah right I make my coffee at work, saves time (& my coffee) in the morning!

New NYX Butter Lipsticks - I just want more lipstick & want to take a trip to Ulta.  I've seen a few reviews & swatches of these guys so I want to try a few myself.

So that's what I'm wishing for this February - along with the wish that this snow will go away so I can go onto complaining about how hot it is.  Yeah, I want that.

What are you wishing for this month?  Anything fun you want to do or try?

xoxo, Moe

Connect on Twitter // Follow on Pinterest

2.03.2014

Make it Monday // 10 Minute Pantone Color of the Year Wall Art DIY

We've reached the second month of the year & I haven't done a Pantone post yet which surprises me.  Why? Because any & every shade of purple really gets me.  It's literally my favorite color ever.  No question.  There was one time in middle school though where I wanted Tangerine to be my favorite color - however I will never cheat on you again purple, I promise.
I've been in a little bit of a DIY rut lately so again this past weekend I busted out some paint & threw it on canvas.  I got these little squeegee type things from a campaign with Martha Stewart crafts a while ago but hadn't used them.  They sat, unloved, in my basket of painting tools until Saturday and boy do I regret that!  They are super fun to use & make abstract paintings rather quickly.  This is why I called this the 10 minute wall art DIY.  I'm not even sure if it took my 10 minutes - it might have been less!  Here's how you do it:
Supplies: assorted paint colors (I used acrylic paints in the purple family + some yellow + some white),  this Martha Stewart Squeegee or an old credit card (or a thick piece of card board might work though you may need a few), canvas, hair dryer to speed the drying process, brushes if your paint is too thick to squeeze, 10 minutes or less.
I got this canvas at Big Lot's of all places!  Whenever I see crazy stuff in Big Lot's I buy it.  This canvas actually came from a Big Lot's in Williamsburg 2 years ago - yep, it made the trek up to Indiana.  Never get rid of art supplies.  Anyway, start by dotting a few dots of paint over your canvas.  I actually surprised myself - you don't need a lot of dots!  The less you use the better the colors show.  So just dot your paint in different colors at different places on the canvas.
Start from the top left (or right) side & with your squeegee, squeegee the paint down.  Start all the way to one side, on the edge & all the way at the top.  It helps to hold the canvas with your free hand.  Once you reach the bottom of your canvas move the squeegee up back to the top & an inch (ish) over.  Continue to squeegee down until you've covered your whole canvas.  If you find that you've reached the other side & need to go back over places, just place the squeegee & drag.  It creates a beautiful blend of colors.  The uncontrollable nature of this project really inspires me!
I definitely thought that I would have needed more paint to get the look I wanted but boy I was surprised that I didn't need a lot!  Now run the canvas upstairs (or wherever your bathroom is with your hair dryer) & dry that bad boy for a minute or so.  If you're counting you've probably only been working for about 2 or 3 minutes, so the dryer might take 5, which gives you 5 more minutes to add the contrasting paint.  You want the paint to dry before you move onto the next step because you want to create defined vertical & horizontal colors.
Run your canvas downstairs (or where ever you were painting) & turn your canvas 90 degrees from the original orientation.  You are now going to add much fewer dots to the canvas than what you did before.  This time with your squeegee start at different places on your canvas.  I ran my squeegee down one side, half way down on another side, half way up, in the middle, etc to get a random look.  This time you're just adding movement & balance to your painting.  Should take no longer than a minute but at this point you can be a bit more careful & precise - if you want to add more color here add another dot, etc.  But don't fill it up all the way like you did before though, (unless that's your jam, then go ahead).
And you're done.  Go over it with the hair dryer if you're going to hang it right now & you won't get paint on your walls.  Can you believe this took less than 10 minutes?  I can't. Seriously, I surprised myself!

Hope you enjoy!

xoxo, Moe

Connect on Twitter // Follow on Pinterest

1.30.2014

Boost Your Blog // How to Create Pinterest Friendly Blog Images

I struggled a lot with the title of this post.  Because it's not about how to add a pin it button to you blog but rather how to encourage others to pin from your blog.  What am I talking about?  I'm talking about those images on Pinterest that sum up the entire pin in a single image.  There are multiple ways to achieve this & multiple reasons to choose any of those ways.  Sometimes you want to highlight one item & sometimes you want to highlight a process or a collection.  But how do you continue to think about that when you're taking blog photos without over thinking it - I tend to do this.  You want to make sure these images are summaries of the posts, if that makes sense.  Here's what I do:

Highlight a Collection by Including it all in One Photo
From the What's in My Purse post here
From the Home Coffee Bar post here
This works best when the post is about a process or a collection - think a about posts that include a lot of things.  This photo needs to sum up everything in the post.  That will be the easiest to pin & explain the post that is linked easily.  For example in my recent what's in my purse post I used a the top image as an overview of everything & when I pinned the post to promote it, that is the image I used.  It sums up the post in a single image.  If I'd just pinned my purse it might have seemed like the post was all about that purse.  So focus on getting the entire body of the post in the image not just one part.  This technique is great for posts that require multiple parts to make the whole.

Highlight a Single Item by Simplifying the Background
From this Salmon Recipe post here
From this Gift Idea post here
Sometimes there are posts where you're focusing on one item & you have multiple pictures of that one item.  So that others will know exactly what the link is to when they see the picture on Pinterest, simplify the background.  Move out the clutter, play with your depth of field (make the background of the image blurred while the foreground is focused - you can achieve this in a simple manner by moving the object closer to the camera).  Think about product images - there's no background to distract you.  Make the item you are blogging about the center focus of the image.  A crisp & clean background will put that item in focus.

Add a 'Beauty Shot' at the Top of Your Post
From this DIY post here
When I am a part of sponsored posts here on the blog, usually one requirement is to create a beauty shot & put it at the top of the post.  This is a styled image where the project or product is the sole focus but it's also in an environment that gives it purpose.  If you've made a craft that needs to live in certain environment - maybe it's a home decor piece - creating this beauty shot will put the item in it's place & show others how to use it.

Add text over your 'Beauty Shot'
From this Boost Your Blog post here
from this post
Along the same lines as the tip above, adding text on top of your beauty shot will let pinners know exactly what they are clicking on.  Describe your post or even add the title of the post to the image.  These are great pinnable images because you know exactly where you are going & which board to pin to.  I think these images encourage the most pinning because you don't have to write a caption to know why you pinned it.  Also this is a chance to add a watermark to your photo in a non-obvious way.  (See tip below)

Include a Watermark just in case
Learn how to do this here
I hardly (read - never) include a watermark in my blog photos...so in this case, do as I say & not as I do.  A watermark will ensure that if your link gets lost somewhere another pinner can google your blog name, find you blog, & maybe find the original source of the pin.  If you want an easy way to add watermarks to your photos, check out this tutorial here.  (Don't forget, if you click this link you can use Picmonkey Royale feature for free for one day!)

So these are the things I keep in mind when working on photos for the blog.  Giving the most info possible in a single image is the goal here.  You want others to know exactly what's going on with a single image.  A picture is worth 1000 words!

How do you create pinnable images?  Do you like others pinning from your blog?

xoxo, Moe

Connect on Twitter // Follow on Pinterest