this post contains affiliate links, please read my full disclosure here.
If you're into adult coloring you'll have a fun time coloring in these pop/retro inspired designs.

supplies // this digital download, black or metallic gold permanent marker, assortment of colored permanent markers (my favorite Sharpie collection) or colored pencils, ShrinkyDinks shrik plastic, scissors, pin backs (I used these but these work too), E6000 adhesive, oven, printer, optional: ModPodge Dimensional Magic
First, print the digital download on to printer paper. You can do this at home or take the file to a local printing place. If you're really ballsy and don't have a printer but you have an iPad or the like you can try to gently trace the image on to the shrink film from the screen. These images are around 3 inches wide/tall because the shrink plastic will shrink to about a third of its size so we need to make sure we don't end up with baby tiny pins! They should shrink to around an inch.

Using the black permanent marker trace the outline of the shape onto the rough side of the shrink plastic. When using permanent markers, it is best to trace just the outline first, color the shapes, then trace the details - like the lines in the palm of the hand and the seeds on the watermelon or prickles on the cacti - so as not to start blending the back marker with the main color of the shape. You can also use a metallic gold permanent marker to outline if you'd like that traditional enamel pin look.


Because the shapes are still a little bit see-through, you can paint the backs either black or white so that the pin back doesn't show through. Let dry before attaching pin backs. Adhere the pin backs to the back of the cut out with E600 adhesive. If you did not use Dimensional magic, adhere the pin back to the matte side of the pin for better stick. Let dry for 24 hours.

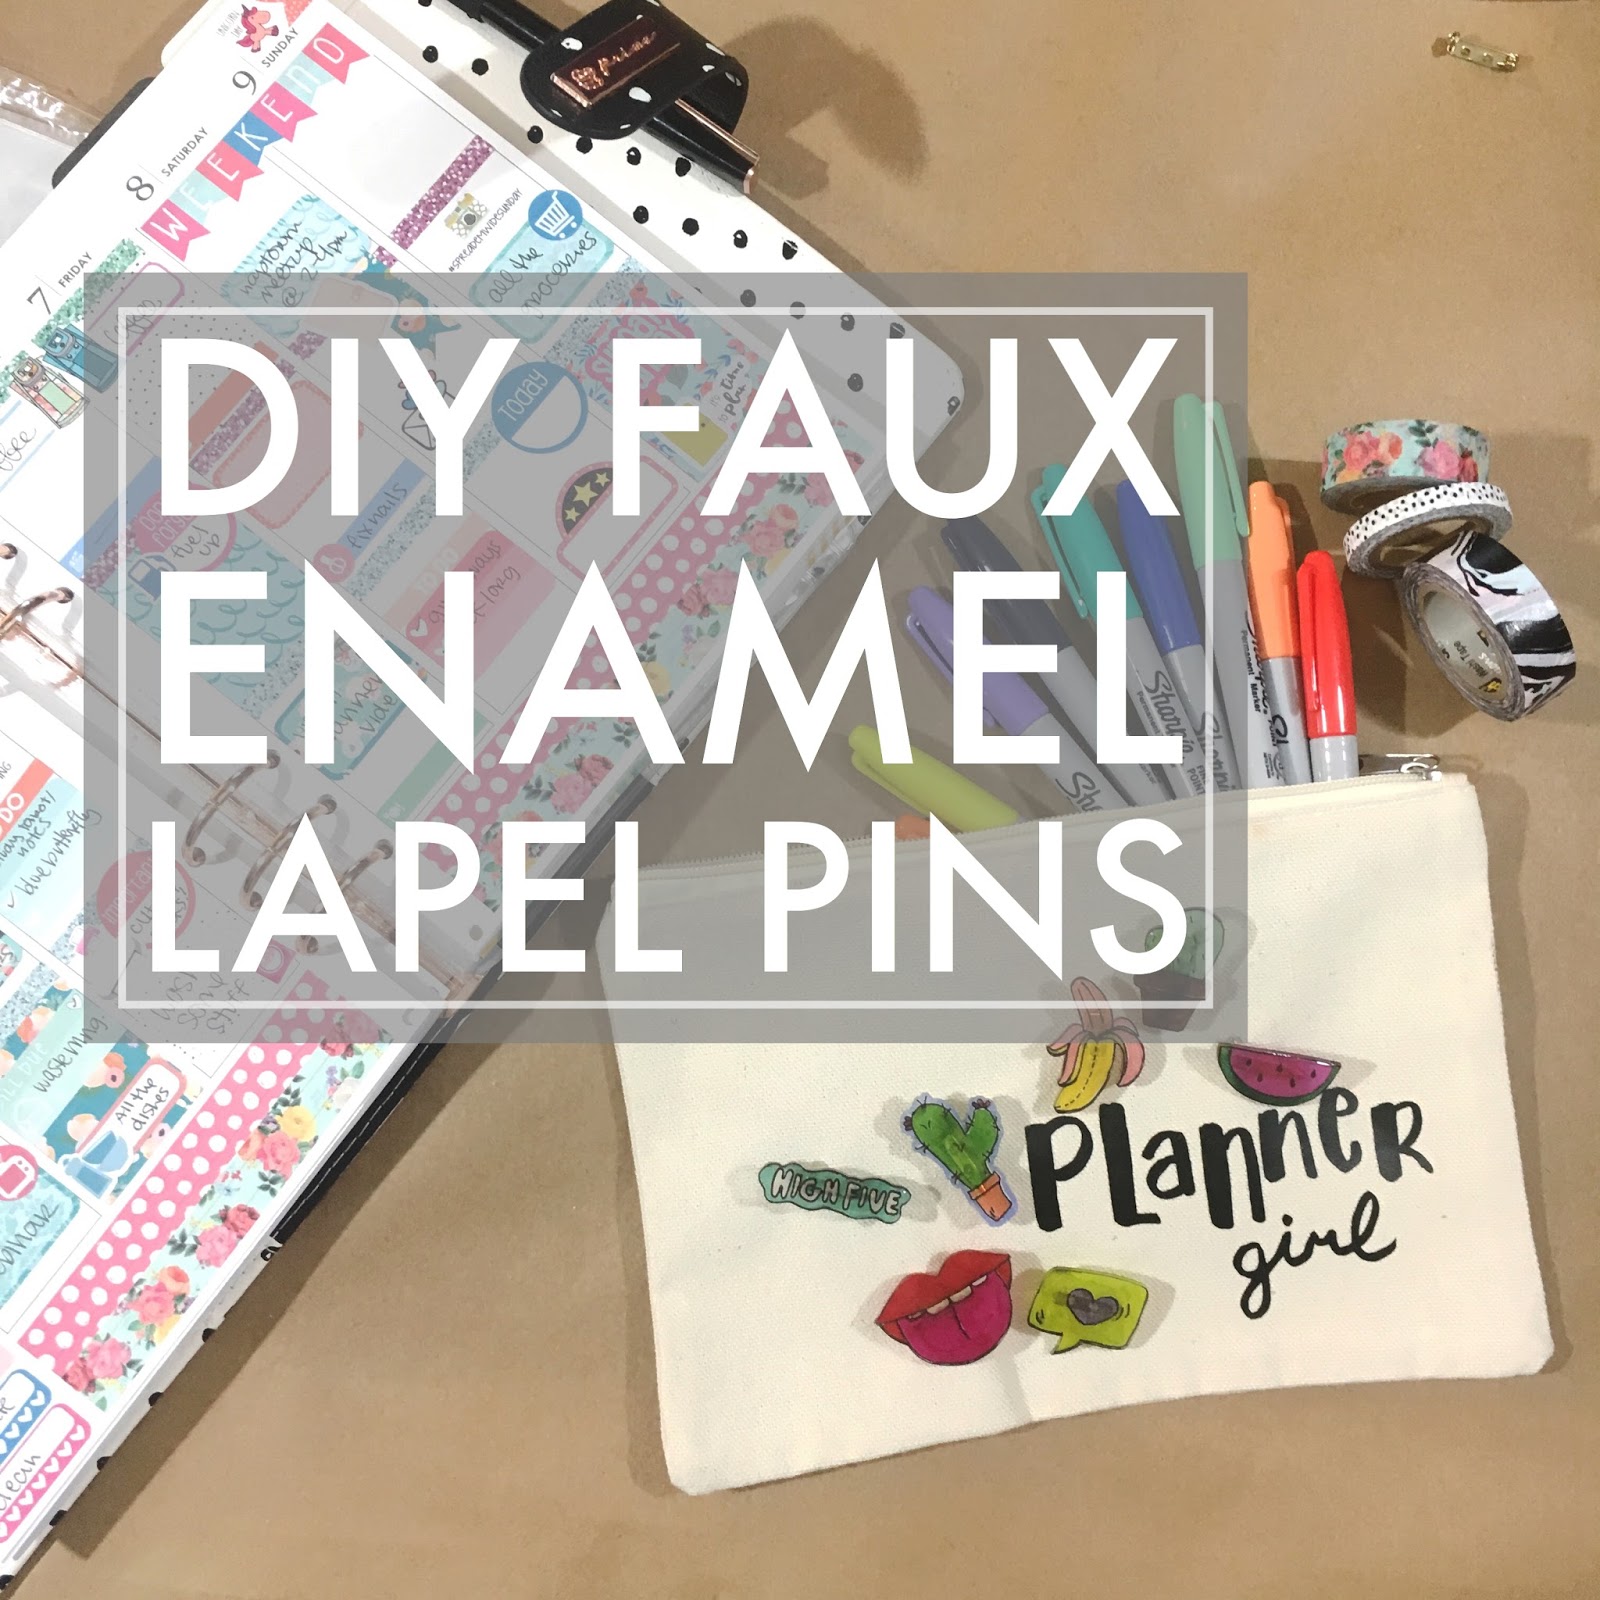
Now rock your pins! I love this because now I can own all the pins with out breaking the bank. Pins can go on a ton of things - my personal favorite is the jean jacket..but I also love decorating little pouches. Learn how to digitize your handwriting and use it to make a personalized pouch here!
 Stay tuned for another DIY using your inkjet printer + your Cricut to create even more awesome pins. If you want to learn how to make this Planner Girl pencil pouch, check out this post!

Are you loving the enamel pin trend? What pins would you make?
xoxo, Moe
No comments:
Post a Comment
Hi there, thanks so much for taking the time to comment. I love &value each & every one! If you have a question, I will respond as soon as I can. Don't be afraid to shoot me an email! If you have a blog, I will pop on by :)