Last week I shared a post on some crafty things I was currently obsessing over. One of those things was something called a bagflip. This concept inspired me to make a planner pocket perfect for my personal planner.
(this post contains affiliate links, please read my full disclosure here.)
This pocket is great as a decorative dashboard, a place to collect receipts, a place to store inspiration, or a pocket to put whatever you want in it! I've included free cut files as well so you can get your craft on with this guy. Here's how to put this together:
supplies // Cricut Explore cutting machine or scissors, SVGs or PDF template to trace, glue or adhesive roller, hole punch, coordinating scrapbook paper, bone folder, scoreboard or ruler
First, download the SVG file here then upload it to Cricut Design Space. I'm not 100% sure how to get the SVG to be the proper size so in the file I've included a layer you can hide that tells you the sizing. Select the SVG on the canvas then from the edit tab size the width to 21 inches. Leave the proportions locked.
Right click (or two finger click on a mac) then select ungroup. Hide the layer that says Five Sixteenths Blog & the sizing. Click the Go button.
Choose the four pieces of card stock or scrapbook paper to create the pocket. 8.5 x 11 inch card stock or scrapbook paper is wide enough for this tutorial so you don't have to use 12 x 12 inch. Cut each piece out.
I am not sure how to create an SVG to utilize the scoring capability of the Cricut Explore, so if you don't have a score board lining up a ruler and using your bone folder to score works greate too.
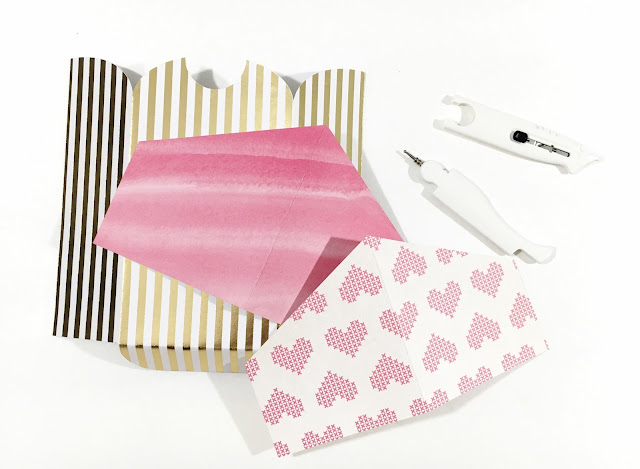
Assemble the pocket but putting the envelope together first, adding the rounded rectangle piece to cover the seam. Punch this for your binder. Then assemble the outside pocket and punch holes as well.
These make great storage solutions for your binders but also really great pen pal or planner swap gifts! I could fill these guys up all day long! These can be themed for the holidays or made with the same papers your dividers are made from (check out this tutorial for making your own dividers with the Cricut Explore). You also don't have to punch these and can use that cute little envelope on its own!
If you're wanting to know where some of the accessories came from here's a break down - planner is a Marion Smith Heart of Gold Personal Size planner (review here and the planners seem to be unavailable right now...), unicorn bookmark similar to this tutorial, & various paperclips from Webster's Pages (check them out on Blitsy often).
xoxo, Moe


Hi there Moe! My name is Vilna and I just wanted to say hi and that I love your blog. I've recently been part of the planning community and I came across your blog while searching for planners. I've been hooked ever since. Since getting my Recollection personal planner I've trying to find really functional pocket folder inserts but haven't been able to find any that I like. I was thinking of making my own an dthis post has definitely inspired me to give it a go. Only snag is I don't have a Cricket Explorer but it's definitely going to be on my Christmas wish list this year! so thanks for sharing this and inspiring the crafter in me :) Love your blog and thanks for sharing.
ReplyDeleteVil xxx
love this cut now I need to try and make it for the mini planner....love your videos also
ReplyDelete