A few weeks ago I posted a tutorial on making your own journalling cards for scrapbooking, etc using PicMonkey. If you remember, in that tutorial I showed you how to make a transparent version of your design & to save it as a .png file. If you don't remember - heres the run down:
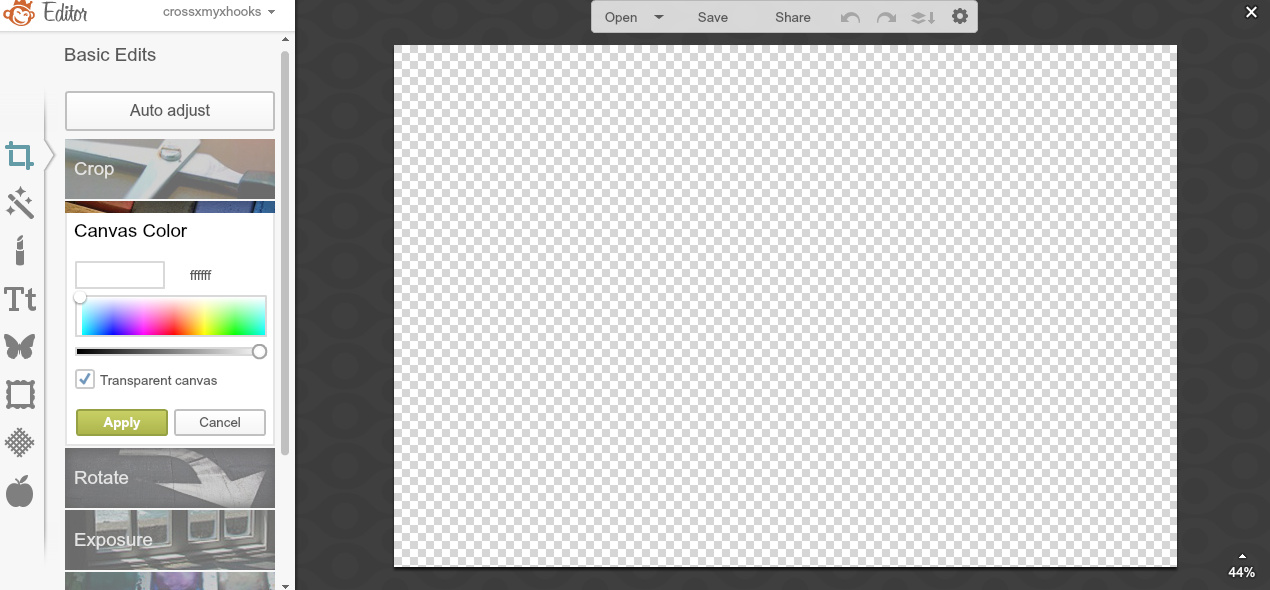
From the design tab on the home page of PicMonkey select your canvas size. I chose a 4x6 canvas since I was just going to use it for smaller photos. If you want to use it for bigger, full size photos go for a bigger canvas. Then under the Basic Edits tab set your canvas color to transparent (you could also set the canvas color to transparent after you've made your design, but we're gonna do it first here). This is an important part - your canvas color must be set to transparent.

Next, add your design. I used the font Eight Fifteen that I'd downloaded to create this fun handwritten feel. Add text or other overlays. Adjust the color to your liking. I find that white or faded gray designs work best for overlaying photos.
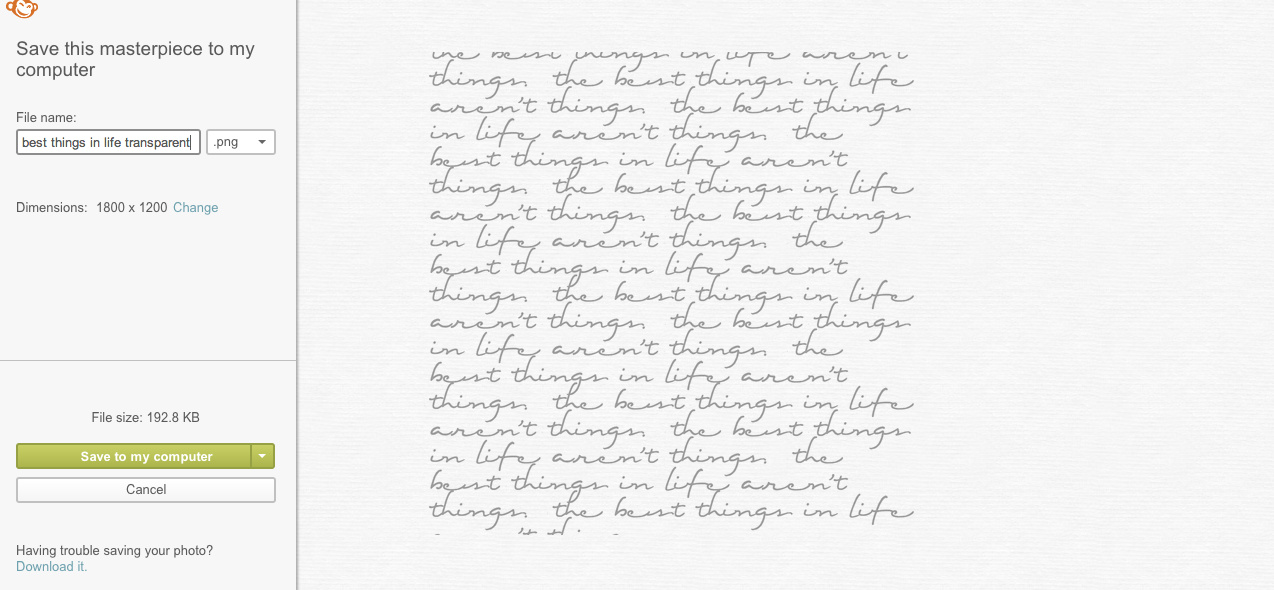
Now save your photo as a .png file. This is important too! The checkerboard background won't show up so don't worry but it needs to be a .png.
Once you're .png photo is saved to your computer, go back to PicMonkey & open up a new photo. I chose a photo of a bridge from back home that I'd edited in the Camera+ app way, way long ago!
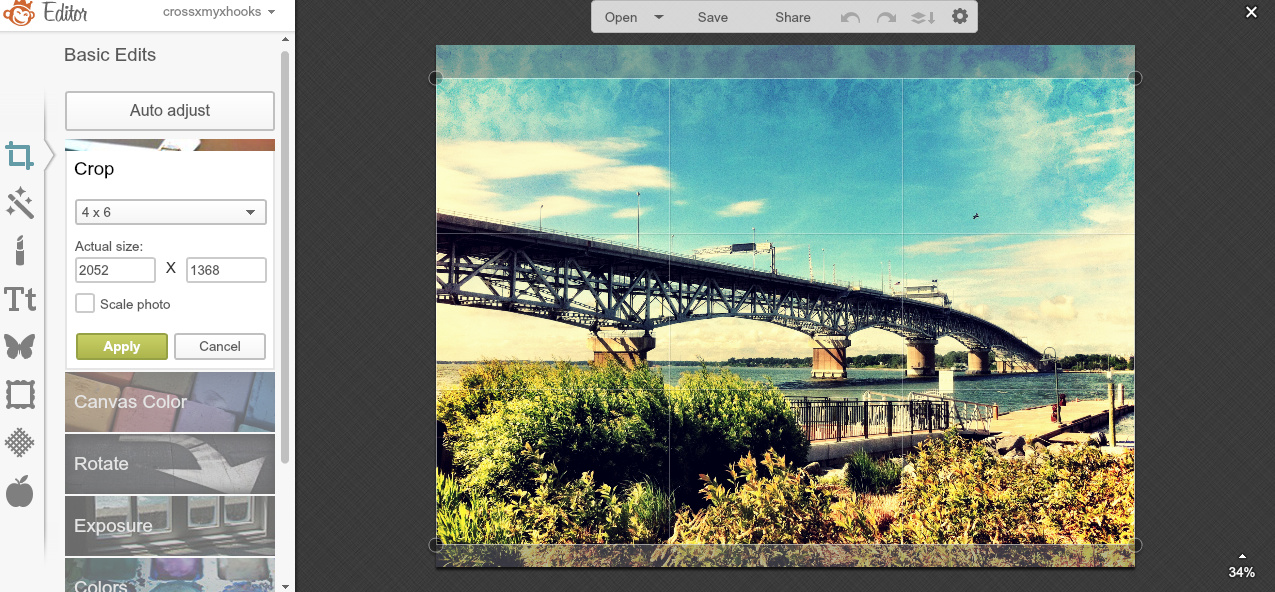
I cropped it down to be 4x6 for my Project Life album but you can use whatever size you need. This is where it becomes more important for the size of the .png file to be bigger if you're going to use it over a bigger photo. For this example the two sizes worked out alright. Now we are going to add the overlay.

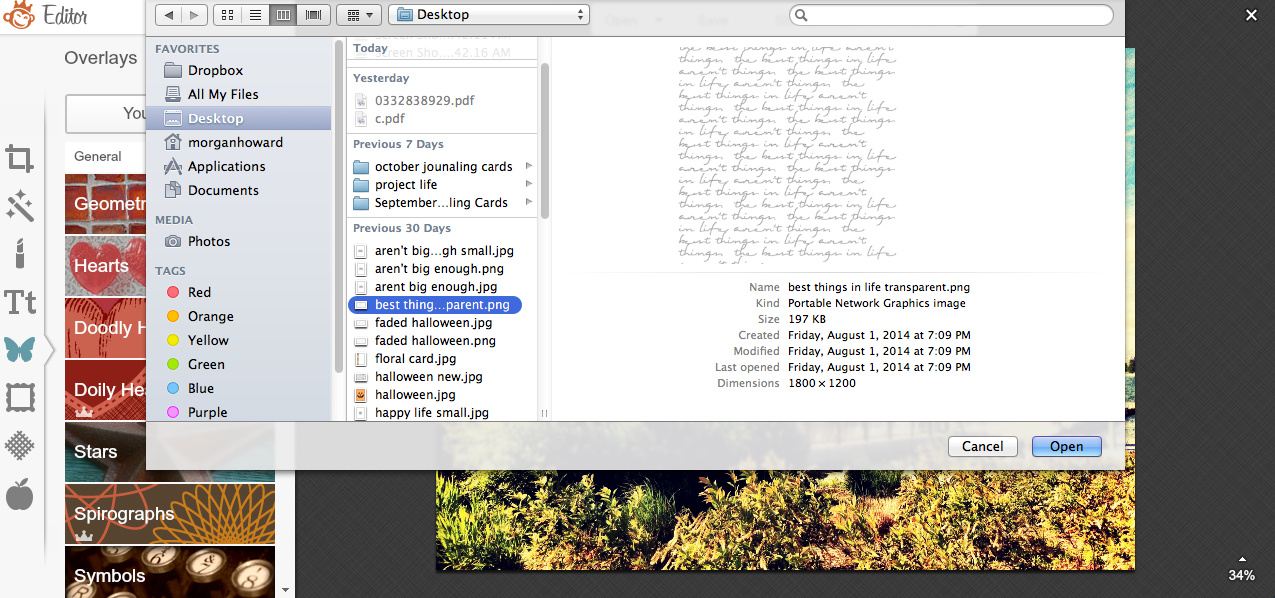
Click on the Overlays tab (it's the one with the butterfly!) and at the top select Your Own. From the drop down box select My Computer and find where you saved your .png file. Open it.
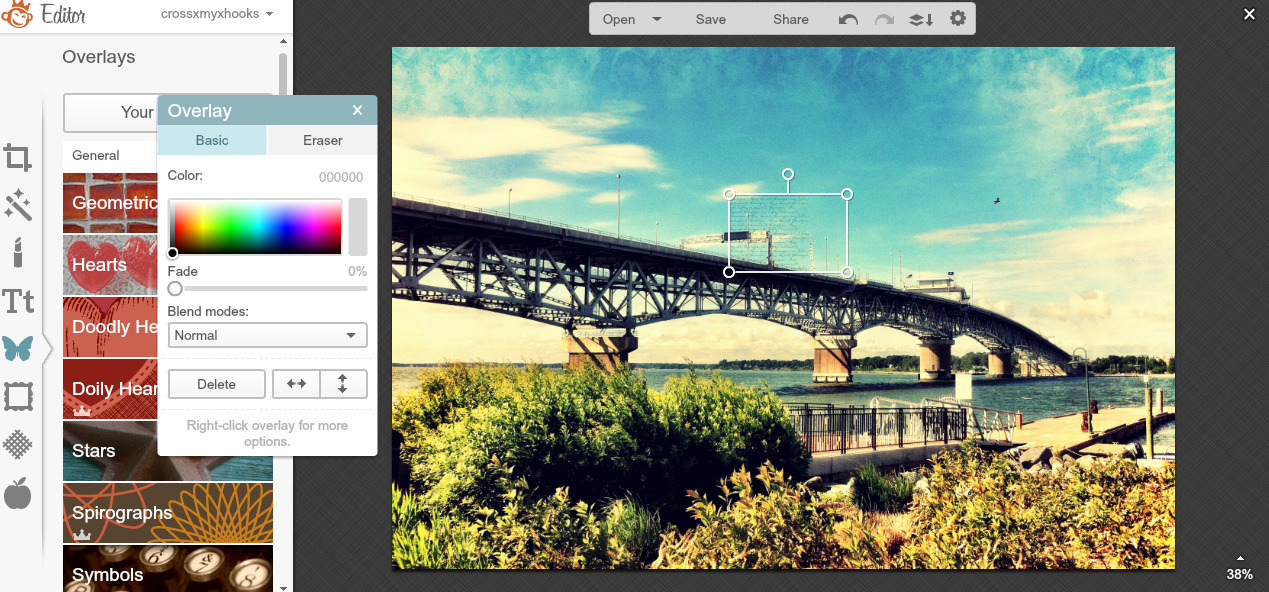
There's your custom overlay! Adjust it to the size you need. Like I said before, for this small project the smaller sizes are ok. The reason the overlay is smaller than the photo is because they don't have the same pixels. But thats fine for this smaller project here, especially for an album like Project Life or for even putting onto your blog.

I've adjusted it to where I want it to be and you can see this overlay gives a nice vintage type texture to the photo.
You can create overlays with type or your own designs. You can also use this technique to create a watermark - but there's a whole separate tutorial on the blog here if you're interested.
And thats how you can create fun overlays for your photos for your blog or your memory keeping! Hope you found this helpful!
xoxo, Moe
No comments:
Post a Comment
Hi there, thanks so much for taking the time to comment. I love &value each & every one! If you have a question, I will respond as soon as I can. Don't be afraid to shoot me an email! If you have a blog, I will pop on by :)